Groups UI
Create and edit relationship-based access control (ReBAC) groups in the Permit.io dashboard, without API calls. This page is for developers and administrators who manage groups in the Permit dashboard. A group gives all its users the same roles on resource instances: you grant a role to the group once, and every user in the group derives it. For how groups, member roles, and role derivations work, see How groups work. To manage groups from code, see the Groups API.
Prerequisites
- A Permit.io account with a ReBAC policy that has the resource types, resource instances, and resource roles you want to grant. See What is ReBAC?.
- The users you want to add, synced to Permit. See Sync your first user.
Open the Groups tab
In the Permit dashboard, go to User Management and select the Groups tab.
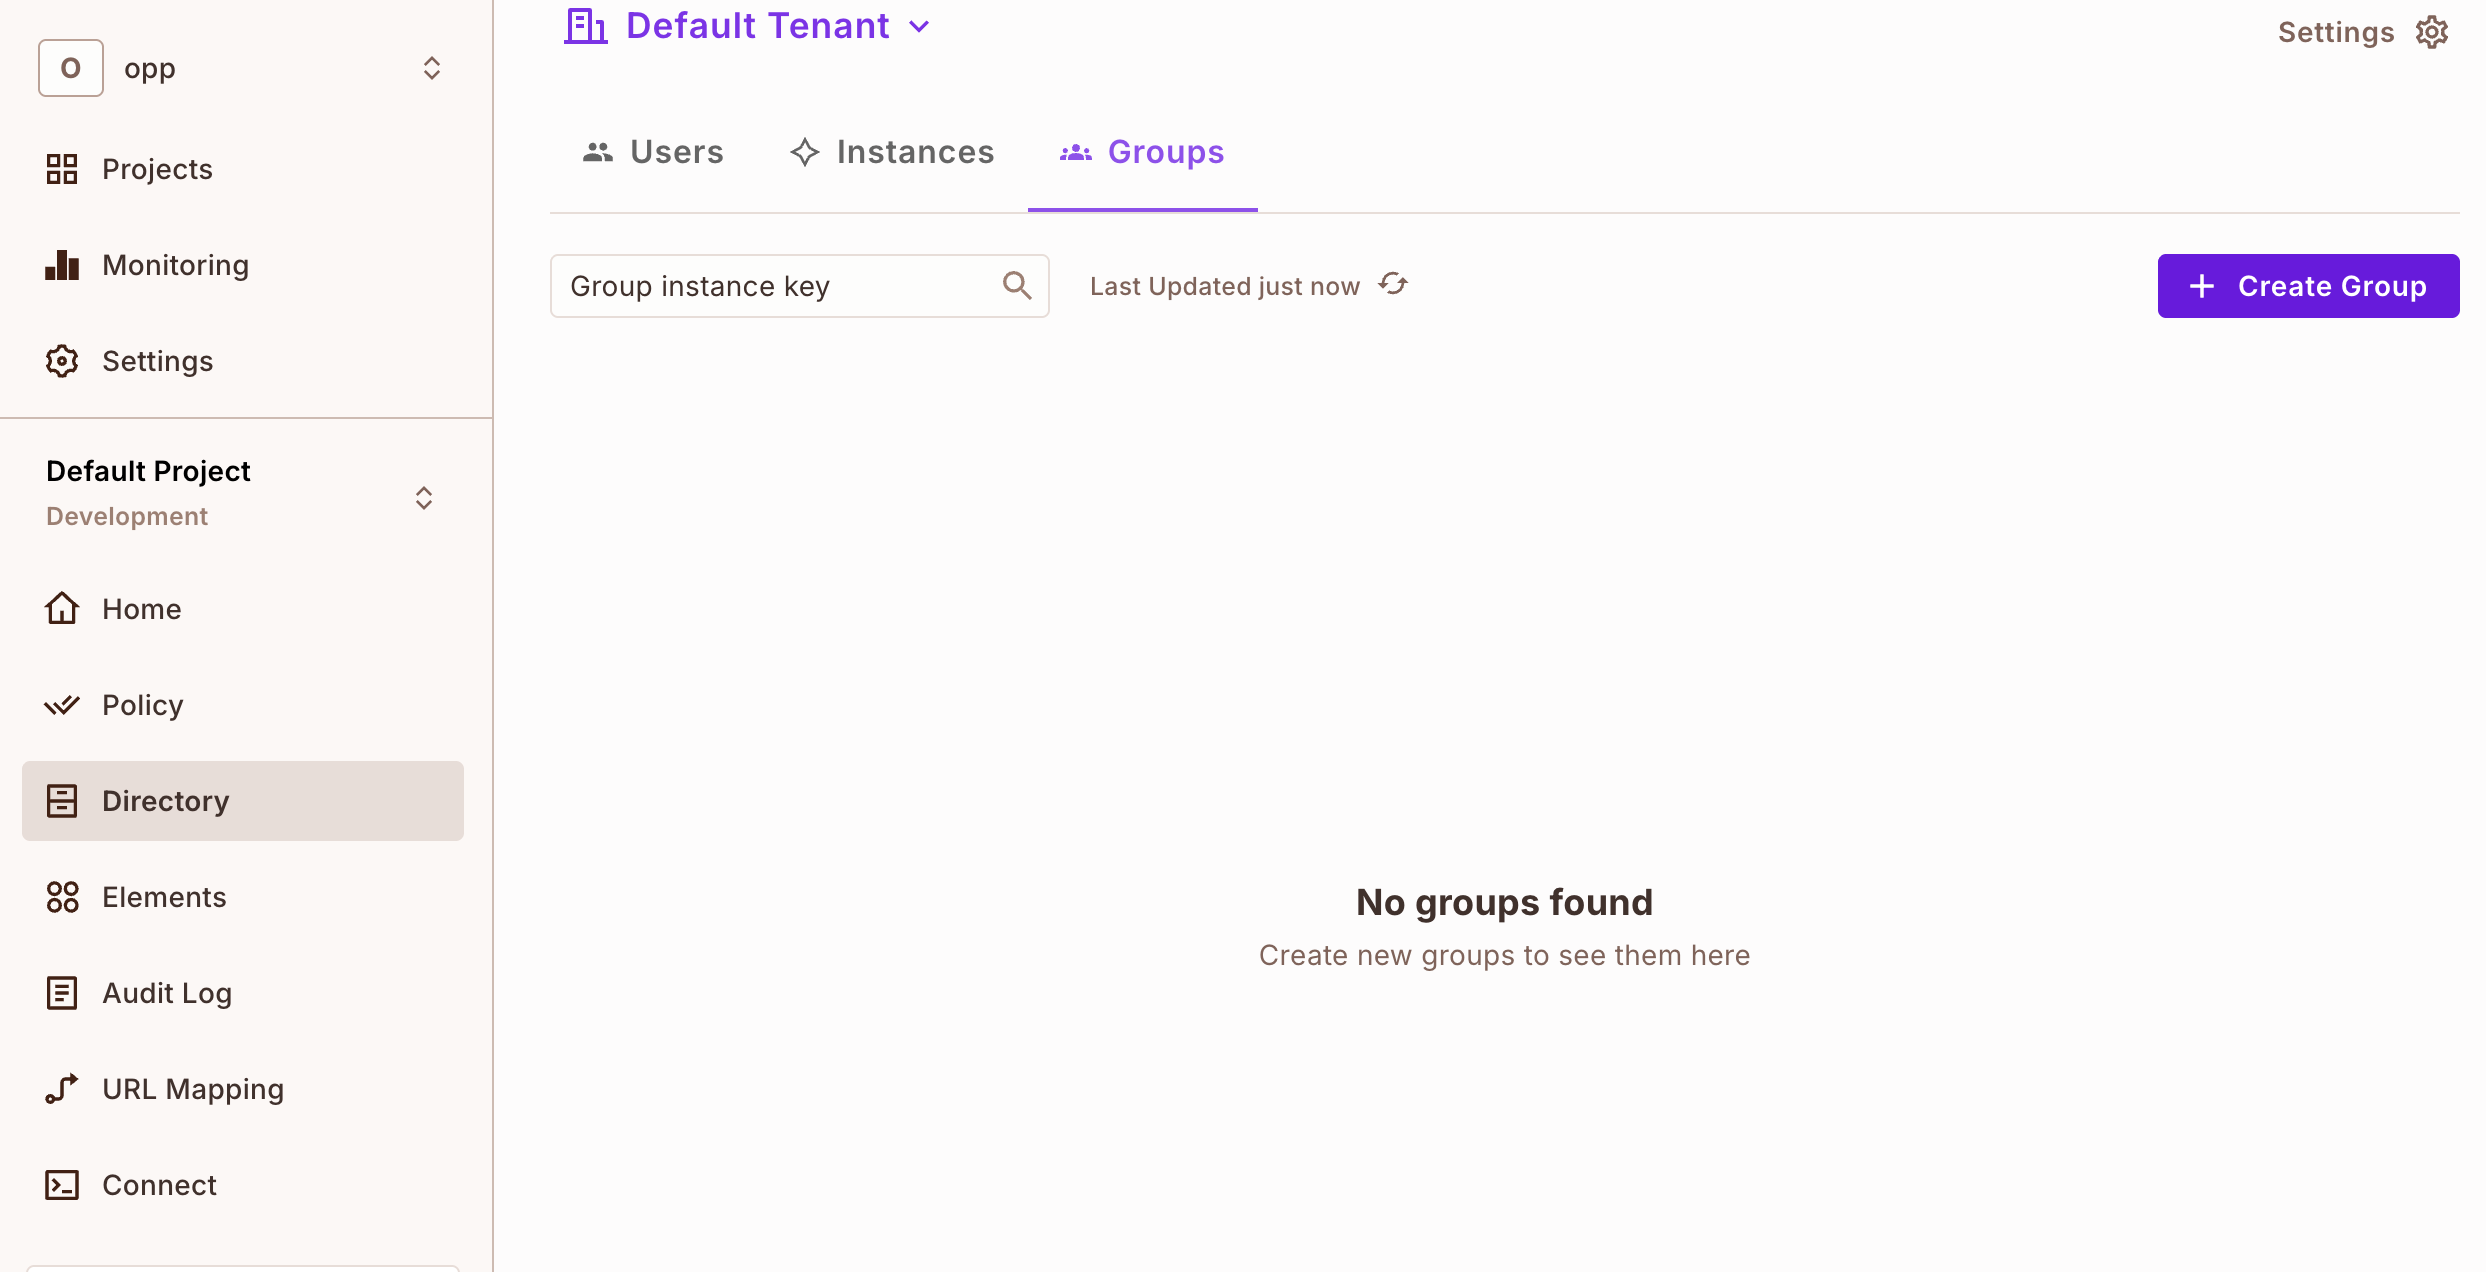
The Groups tab lists every group with these columns:
| Column | Description |
|---|---|
| Group Instance Key | The unique key of the group instance |
| Group Tenant | The tenant the group belongs to |
| Resource Type | The resource type of the group |
Create a group
- On the Groups tab, click + Create Group.
- Fill in the fields, then click Create Group.
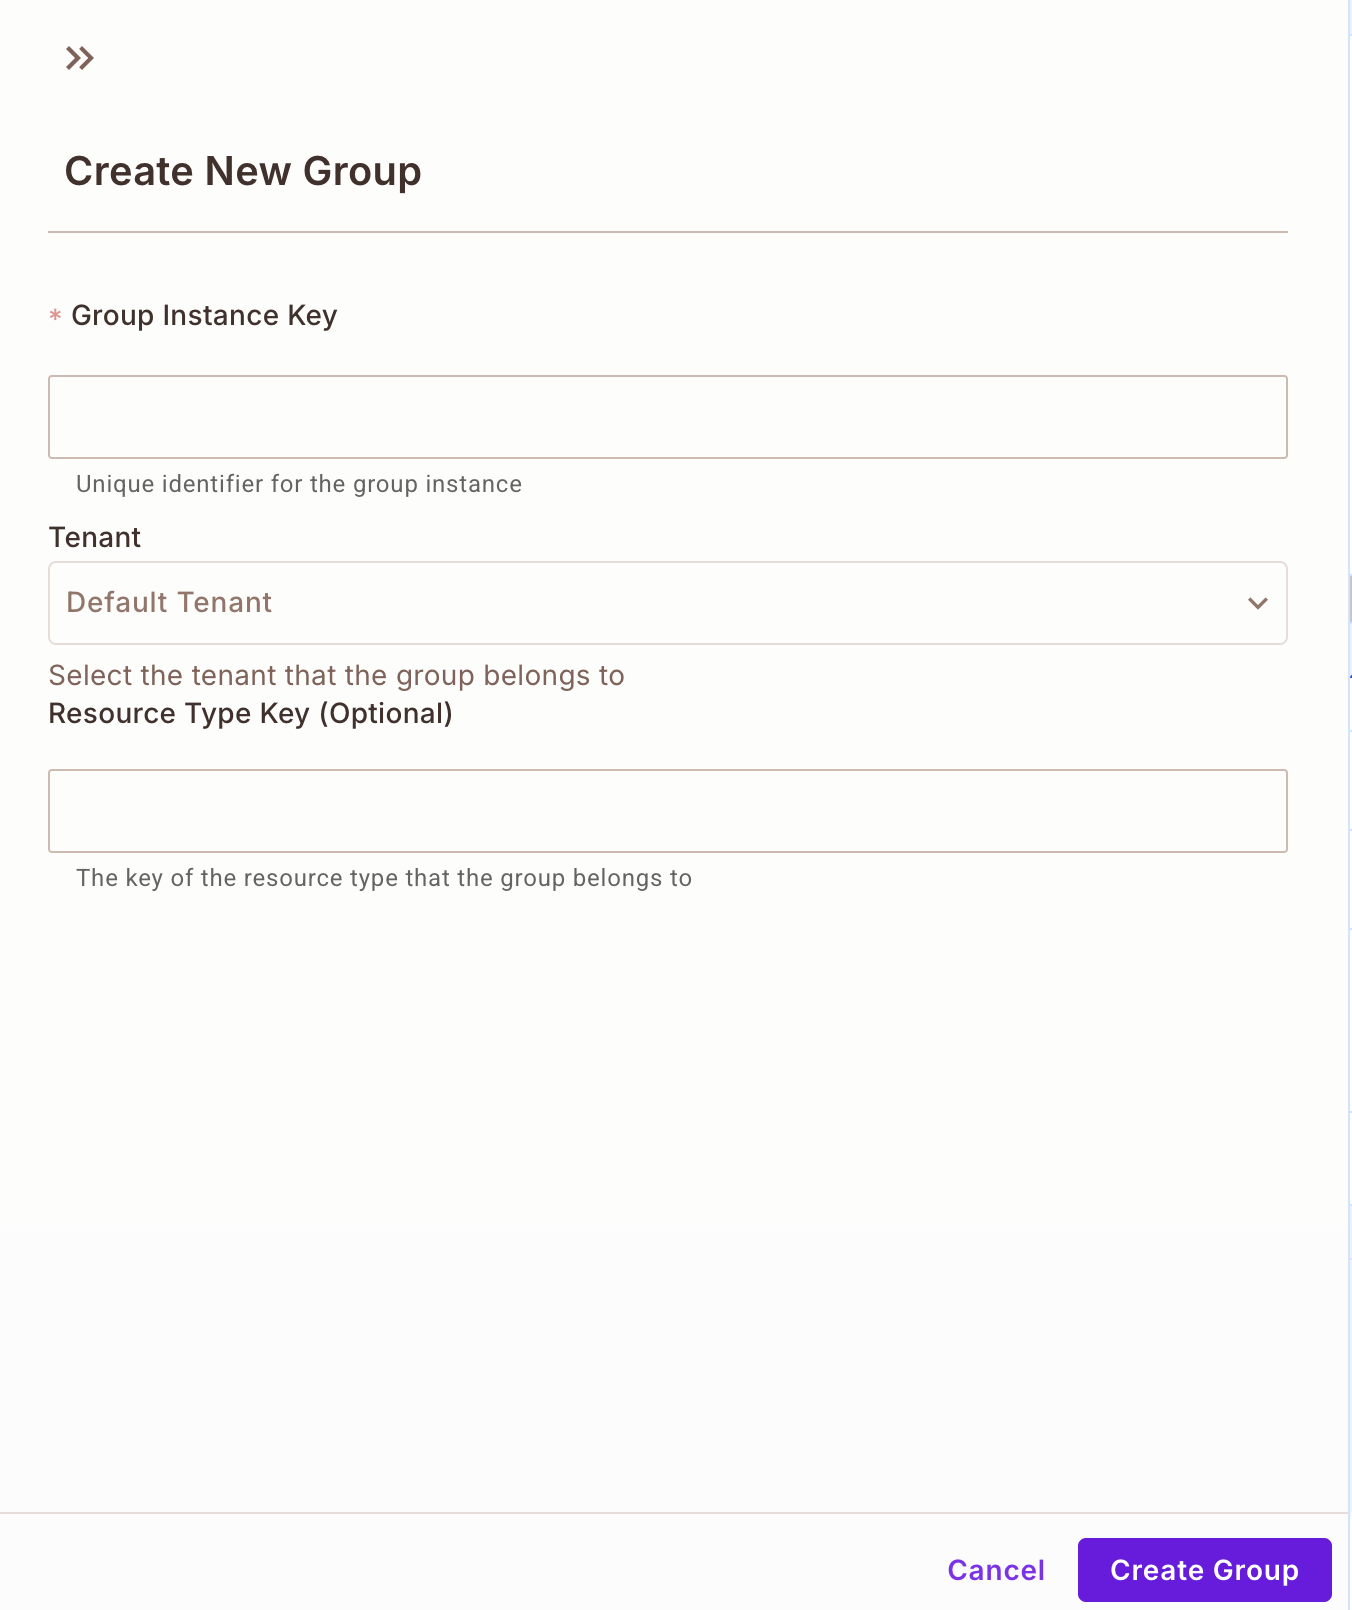
| Field | Required | Description |
|---|---|---|
| Group Instance Key | Yes | The unique key of the group instance, for example marketing, support, or eng-team. Use a key that follows your naming conventions. |
| Tenant | Yes | The tenant the group belongs to. The default is Default Tenant. |
| Resource Type Key | No | The key of the resource type the group belongs to in your policy. |
The new group appears on the Groups tab.
Edit a group
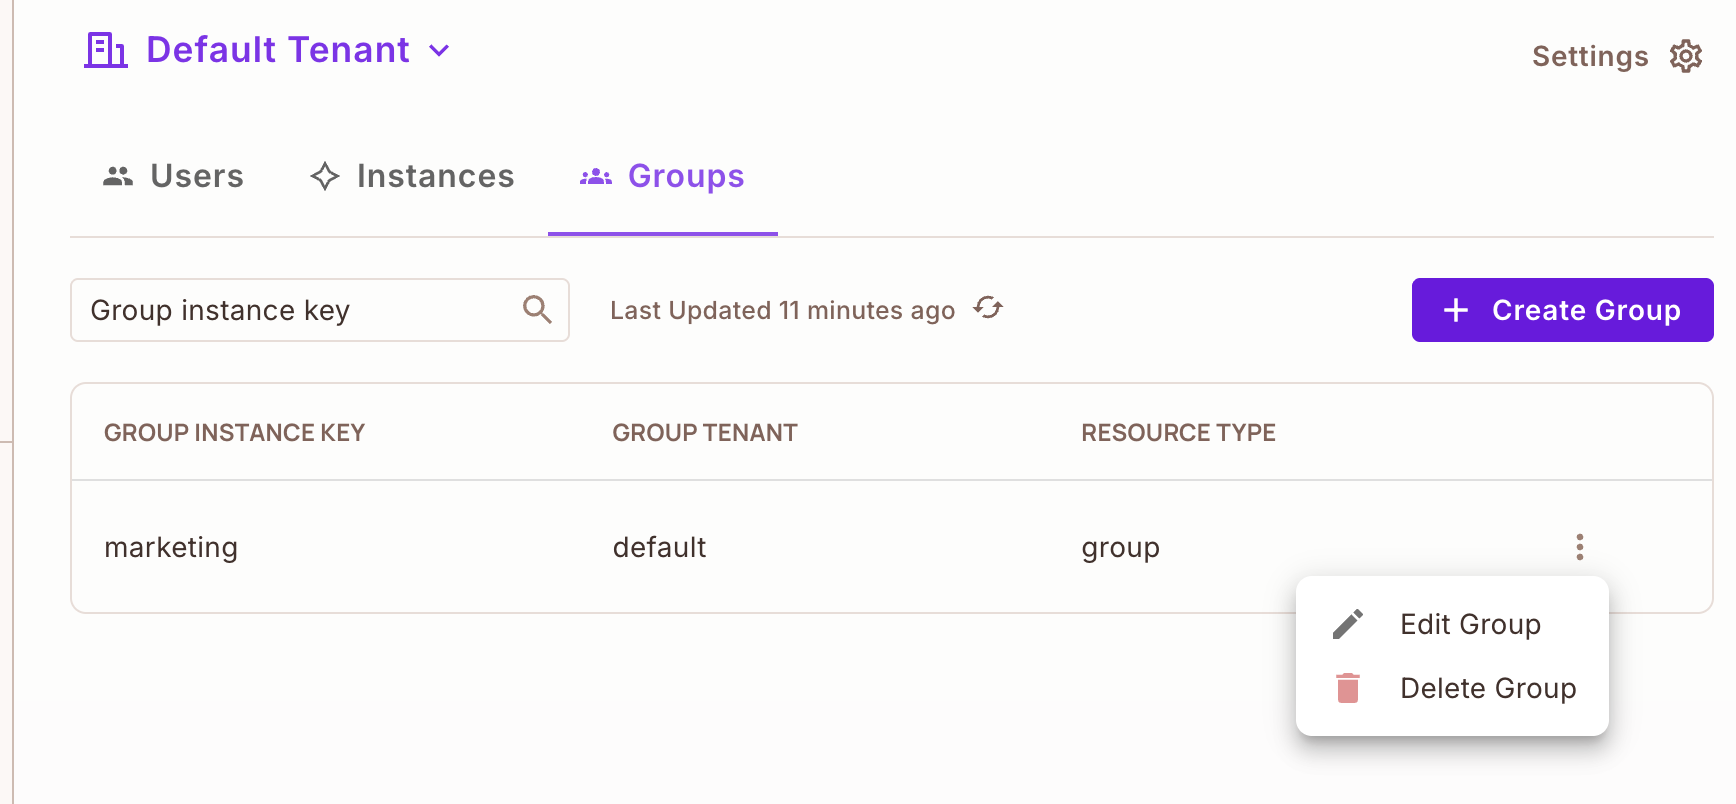
Click the three-dot menu (⋮) next to a group to open the Edit Group screen.
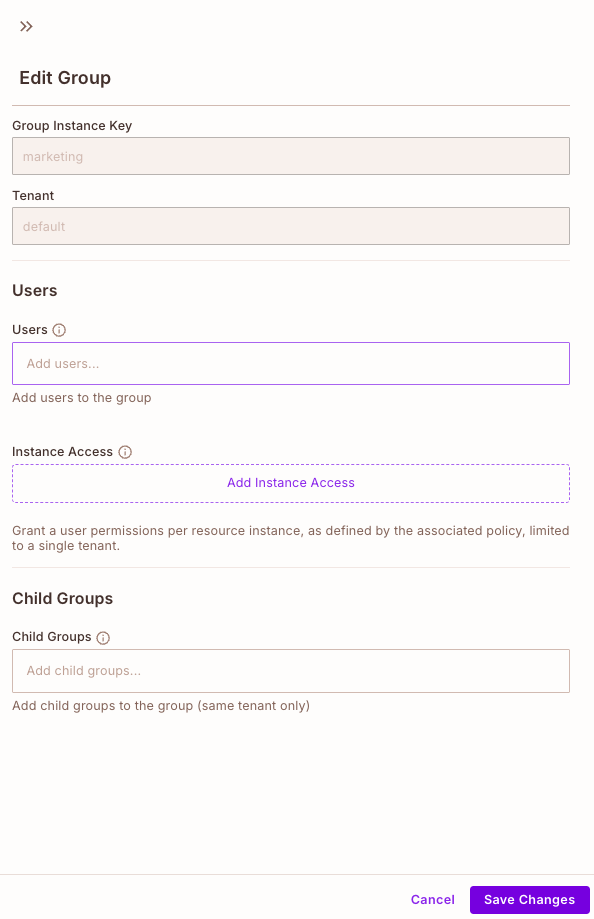
The top of the Edit Group screen shows the group instance key and tenant. You can't change either after you create the group.
Add and remove users
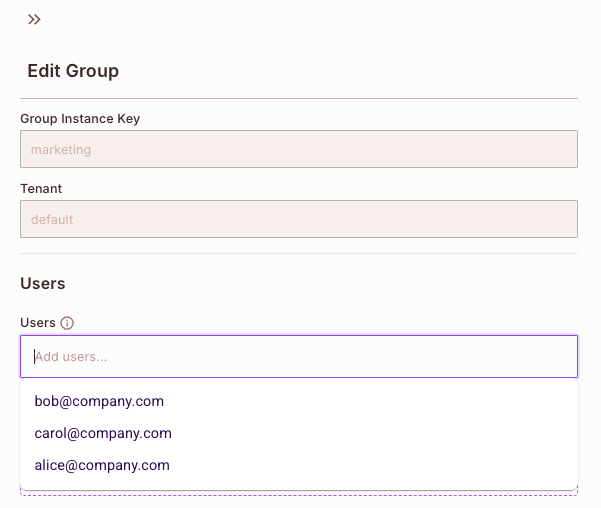
- To add users, type their email addresses in the Users field. You can add several users at once.
- To remove a user, click the × next to the user's email.
Every user in the group derives the roles granted to the group. When you remove a user from the group, the user stops deriving those roles.
Grant the group a role on a resource instance
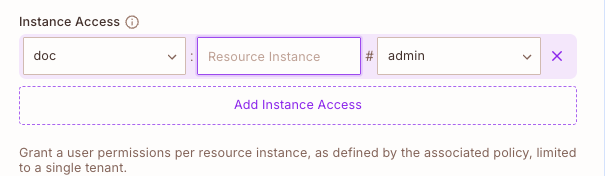
In the Instance Access section, click Add Instance Access and set these fields:
| Field | Description | Example |
|---|---|---|
| Resource Type | The resource type of the instance | document, social_media |
| Resource Instance | The key of the resource instance | marketing_plan, training_video |
| Role | The role the group gets on the instance | editor, viewer |
The role applies within the tenant of the group. Every user in the group derives the role on the instance, including users you add later. To grant roles on more instances, click Add Instance Access again.
Add child groups
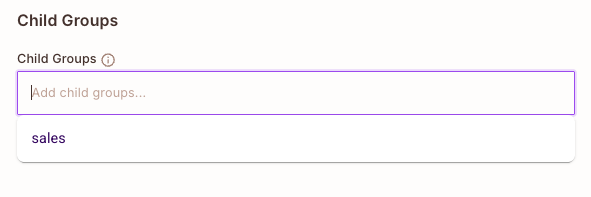
In the Child Groups section, type the keys of existing groups to add them as children of this group. A child group must be in the same tenant as the parent group, and must have the same resource type. For example, a company group can have the department groups marketing, engineering, and support as children.
For the objects Permit creates when you link two groups, see Assign a group to another group.
Example: give the marketing team editor access to a video
This example gives every user in the marketing group the editor role on the training_video instance of the social_media resource type.
1. Create the marketing group
- On the Groups tab, click + Create Group.
- Set Group Instance Key to
marketing. - Select the
defaulttenant. - Optionally, set Resource Type Key to
teams. - Click Create Group.
2. Add the team members
- Click the three-dot menu (⋮) next to the
marketinggroup. - In the Users field, add the team members, for example
john@permit.ioandsam@permit.io.
3. Grant editor access to the video
- In the Instance Access section, click Add Instance Access.
- Set Resource Type to
social_media, Resource Instance totraining_video, and Role toeditor.
Every user in the marketing group has the editor role on training_video.
4. Add child groups (optional)
If the marketing team has subteams, add their groups in the Child Groups section, for example content-team and design-team.
5. Verify the group access
- Reopen the Edit Group screen of the
marketinggroup. The Users field lists the team members, and Instance Access listssocial_media,training_video, andeditor. - Run
permit.check()for a team member, an action theeditorrole grants onsocial_media, and thesocial_media:training_videoinstance. The check returnstrue. See Check permissions.