Quickstart
Create a Permit.io account and workspace, then build your first role-based access control (RBAC) policy in the Permit dashboard. This quickstart is for developers who are new to Permit. At the end, the user sam@permit.io has the Admin role, and the Admin role has permissions on a Document resource.
Prefer video? This walkthrough covers the core features of Permit in one sitting.
1. Create a Permit account
Sign up at app.permit.io. You use the account to configure and manage the authorization layer of your application.
You can sign in with a Google, GitHub, or Microsoft account. Permit also supports single sign-on (SSO) with your enterprise identity provider. For SSO availability and pricing, see the pricing page or ask in the Permit Slack community.
2. Create a workspace and name your organization
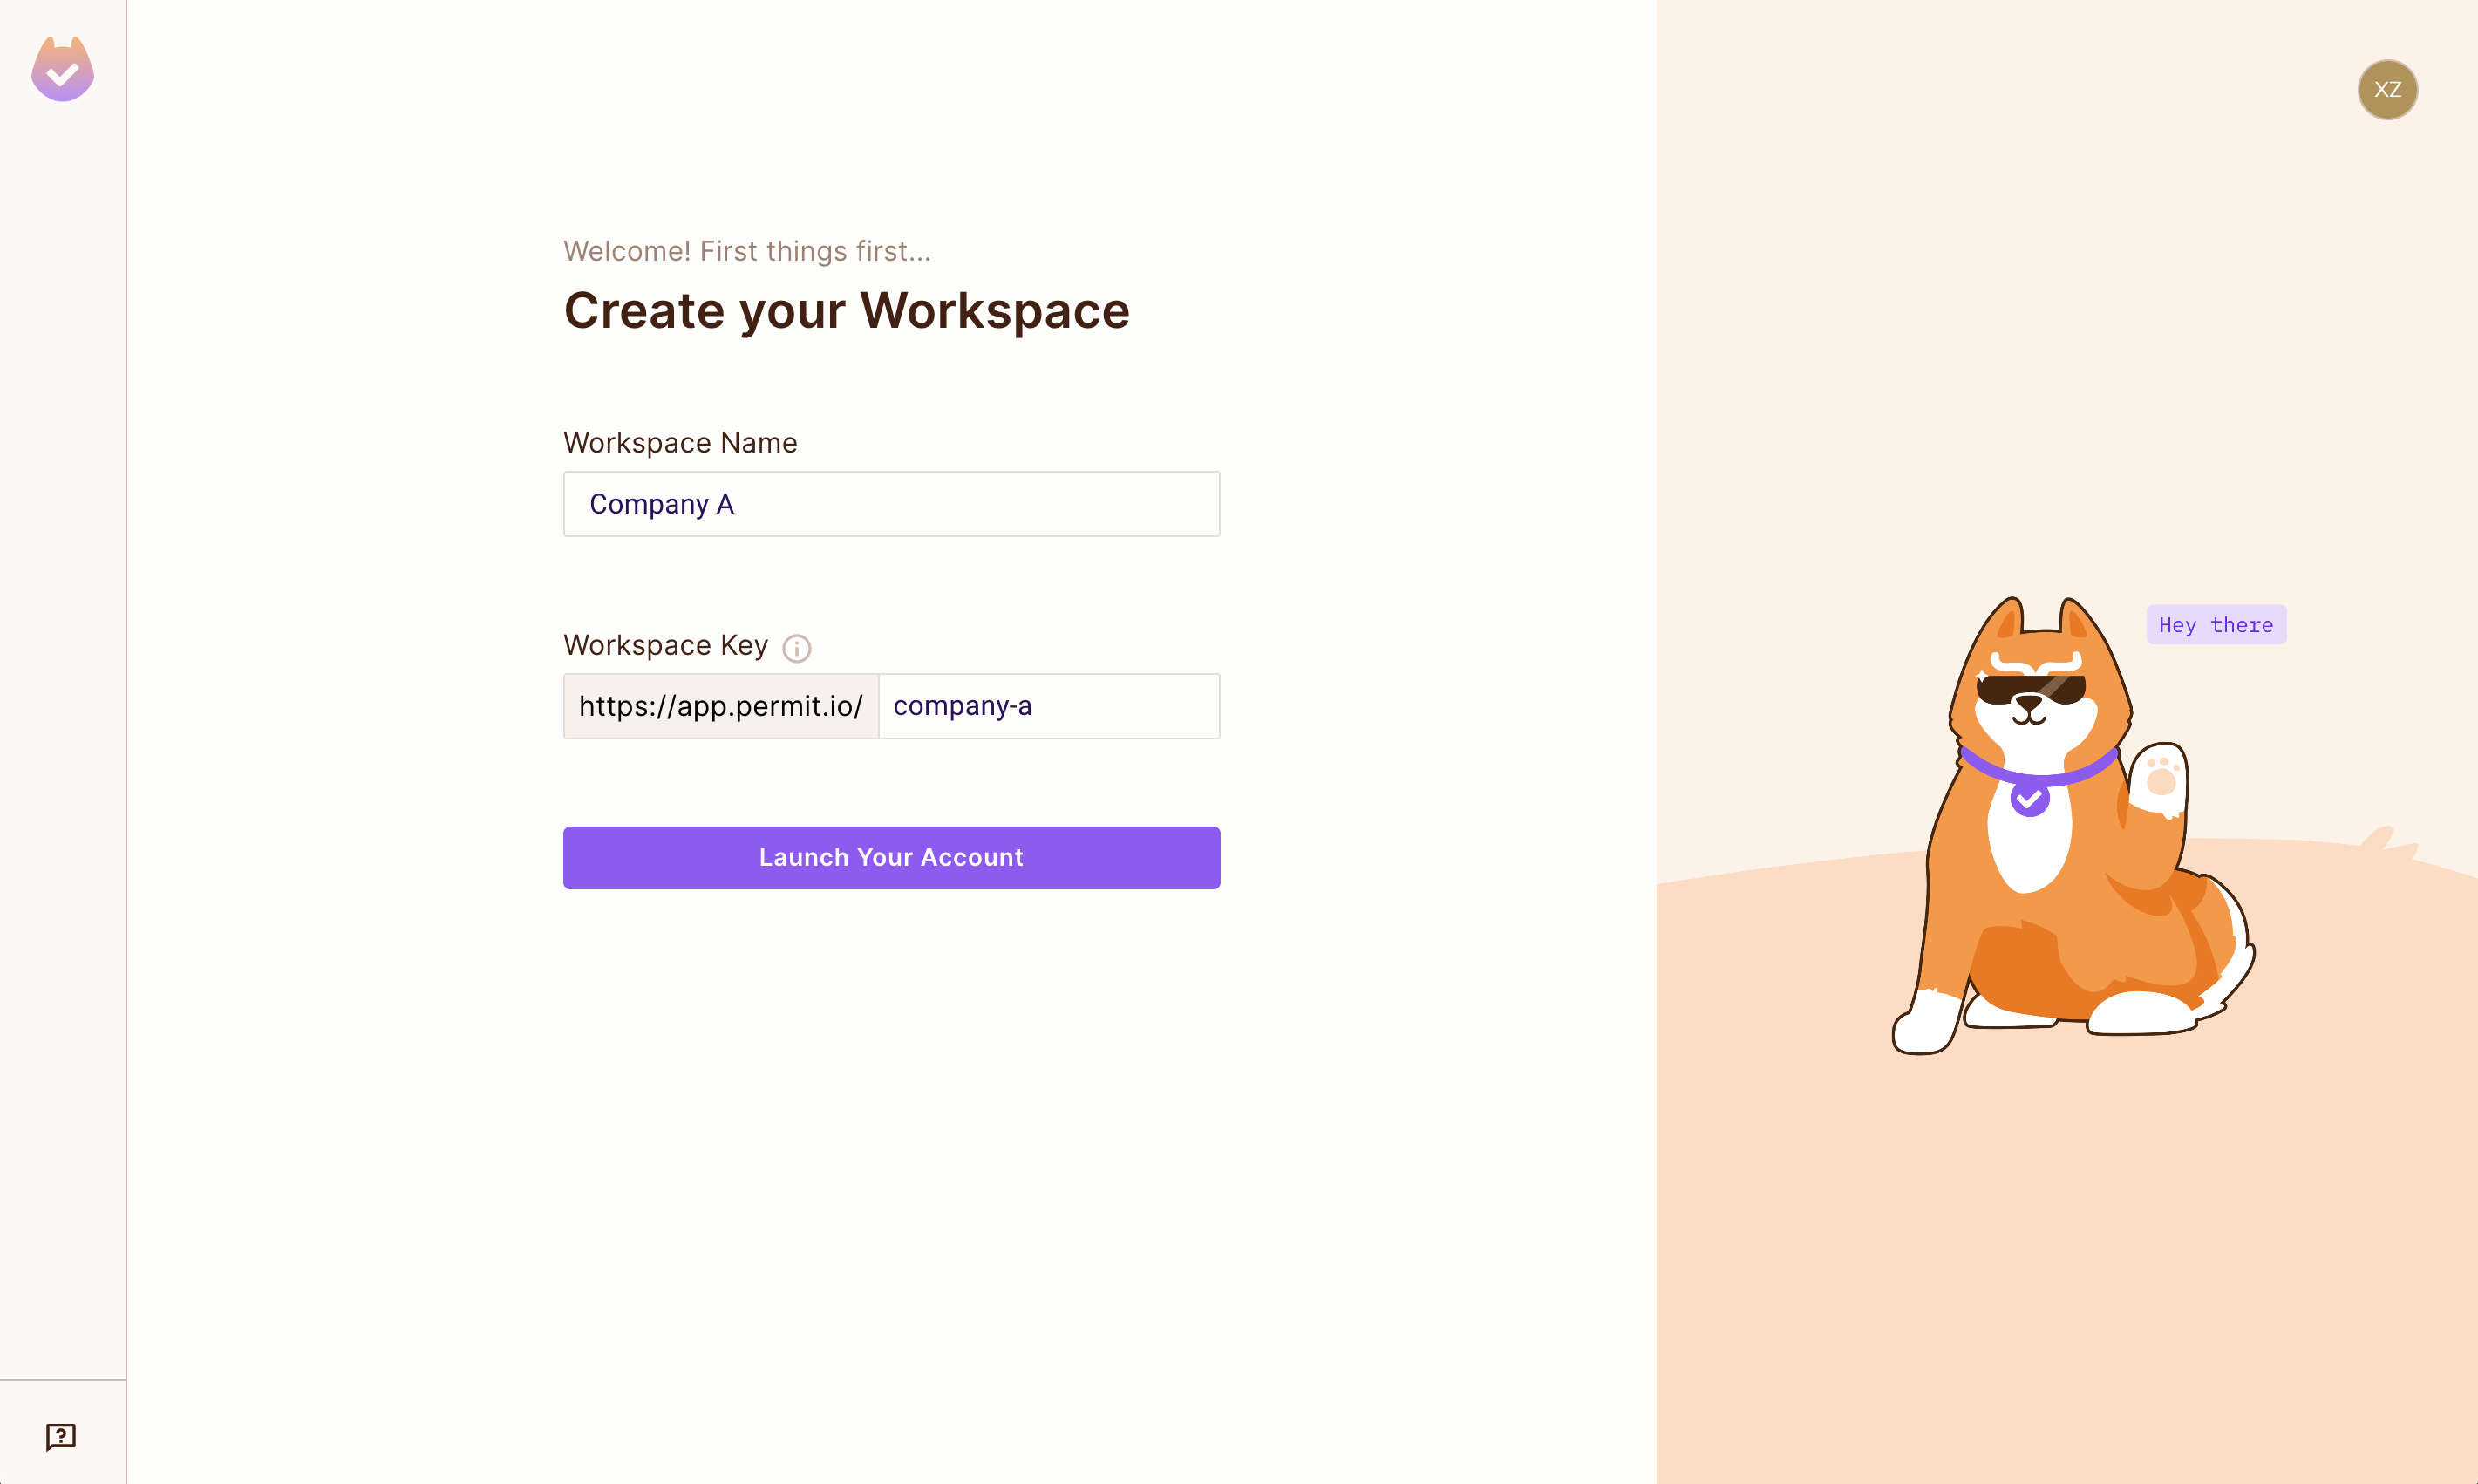
Create your workspace. A workspace is the organization account that holds all of your configuration, projects, and environments.
- Enter a Workspace Name. Most teams use the company name, for example "Company A".
- Check the Workspace Key. Permit fills in a URL-friendly key from the name, for example
company-a. - Click Launch Your Account.
You can create several workspaces and switch between them, though most teams need only one. Workspaces are fully isolated from each other.
3. Create a basic policy
Your first policy uses RBAC. You create a role, add a resource with actions, assign the role to a user, and grant the role permissions in the Policy Editor.
Create a role
Create a role called Admin.
- In the Permit dashboard, open Policy and select the Roles tab.
- Create a role with the name
Admin. - Click Save.
Create a resource and actions
Create a resource called Document. Keep the default actions Permit adds (create, read, update, and delete), and add a custom action: publish.
- On the Policy screen, select the Resources tab and create a resource.
- Enter the name
Document. - Add the action
publish. Press Enter after the action. - Click Save.
Create a user
Add a user called sam@permit.io and assign the Admin role to the user.
- Select Directory in the dashboard navigation.
- Click Add user.
- Enter the key
sam@permit.io. You use the key to identify the user inpermit.check(). - Under Top Level Access, add the
Adminrole. - Click Save.
Permit creates the user in the tenant you're working in. To create the user in a different tenant, switch tenants in the Tenant dropdown first.
Configure permissions in the Policy Editor
Choose which actions the Admin role can perform on the Document resource.
- On the Policy screen, select the Policy Editor tab.
- Under the
Adminrole, select theDocumentactions, includingpublish. - Save your changes.
RBAC is the starting point. The same Policy Editor also builds ABAC (attribute-based access control) and ReBAC (relationship-based access control) policies, and you can combine models in one policy.
4. Confirm the policy
Check that the policy and the role assignment are saved:
- On the Policy Editor tab, the
Adminrole shows theDocumentactions you selected. - On the Directory screen,
sam@permit.iohas theAdminrole in the Top Level Access column.
To confirm the policy from code, connect your app and run your first permission check. A permit.check() call for sam@permit.io, the publish action, and the Document resource returns true, and the check appears in the Permit audit log.
5. Next steps
Connect your application and enforce the policy you built: