Getting started with Permit MCP Gateway
Set up a Permit MCP Gateway host for your team, from connecting your Permit.io organization to your first allowed tool call, denied tool call, and audit log entry. This guide is for the admin or AI agent builder who sets up the gateway and gives other users access to Model Context Protocol (MCP) servers through it.
Permit MCP Gateway is a proxy between MCP clients (Cursor, Claude Desktop, VS Code, Claude Code) and upstream MCP servers. The gateway authenticates users, checks each tool call against a trust level, and logs each decision. For a shorter path that connects one client with Dynamic MCPs, see the Permit MCP Gateway quickstart.
When you finish this guide, you have:
- A live gateway URL.
- One MCP server imported, with a trust level assigned to each tool.
- One user with access to that MCP server.
- An MCP client connected through the gateway.
- One allowed tool call, one denied tool call, and audit log entries for both.
Prerequisites
- A Permit.io account.
- An organization-scoped API key from Permit.io Settings > API Keys. You use the key once, in step 1, to connect your organization.
- An MCP client installed: Cursor, VS Code, Claude Desktop, or Claude Code.
- The URL of an MCP server to secure, such as
https://mcp.linear.app/mcp.
1. Sign up and connect your organization
- Go to app.agent.security and create an account.
- In Permit.io, go to Settings > API Keys and create an organization-scoped API key.
- Paste the API key into the Permit MCP Gateway platform.
Your organization name appears in the sidebar of the Permit MCP Gateway platform. To connect more organizations, repeat these steps and switch between them from the sidebar menu.
2. Create a host
A host is a named instance of Permit MCP Gateway with its own subdomain, policies, users, and sessions. Each host maps to one Permit environment, and each Permit environment can be linked to only one host.
-
Go to the Dashboard, select Hosts, and click Create Host.
-
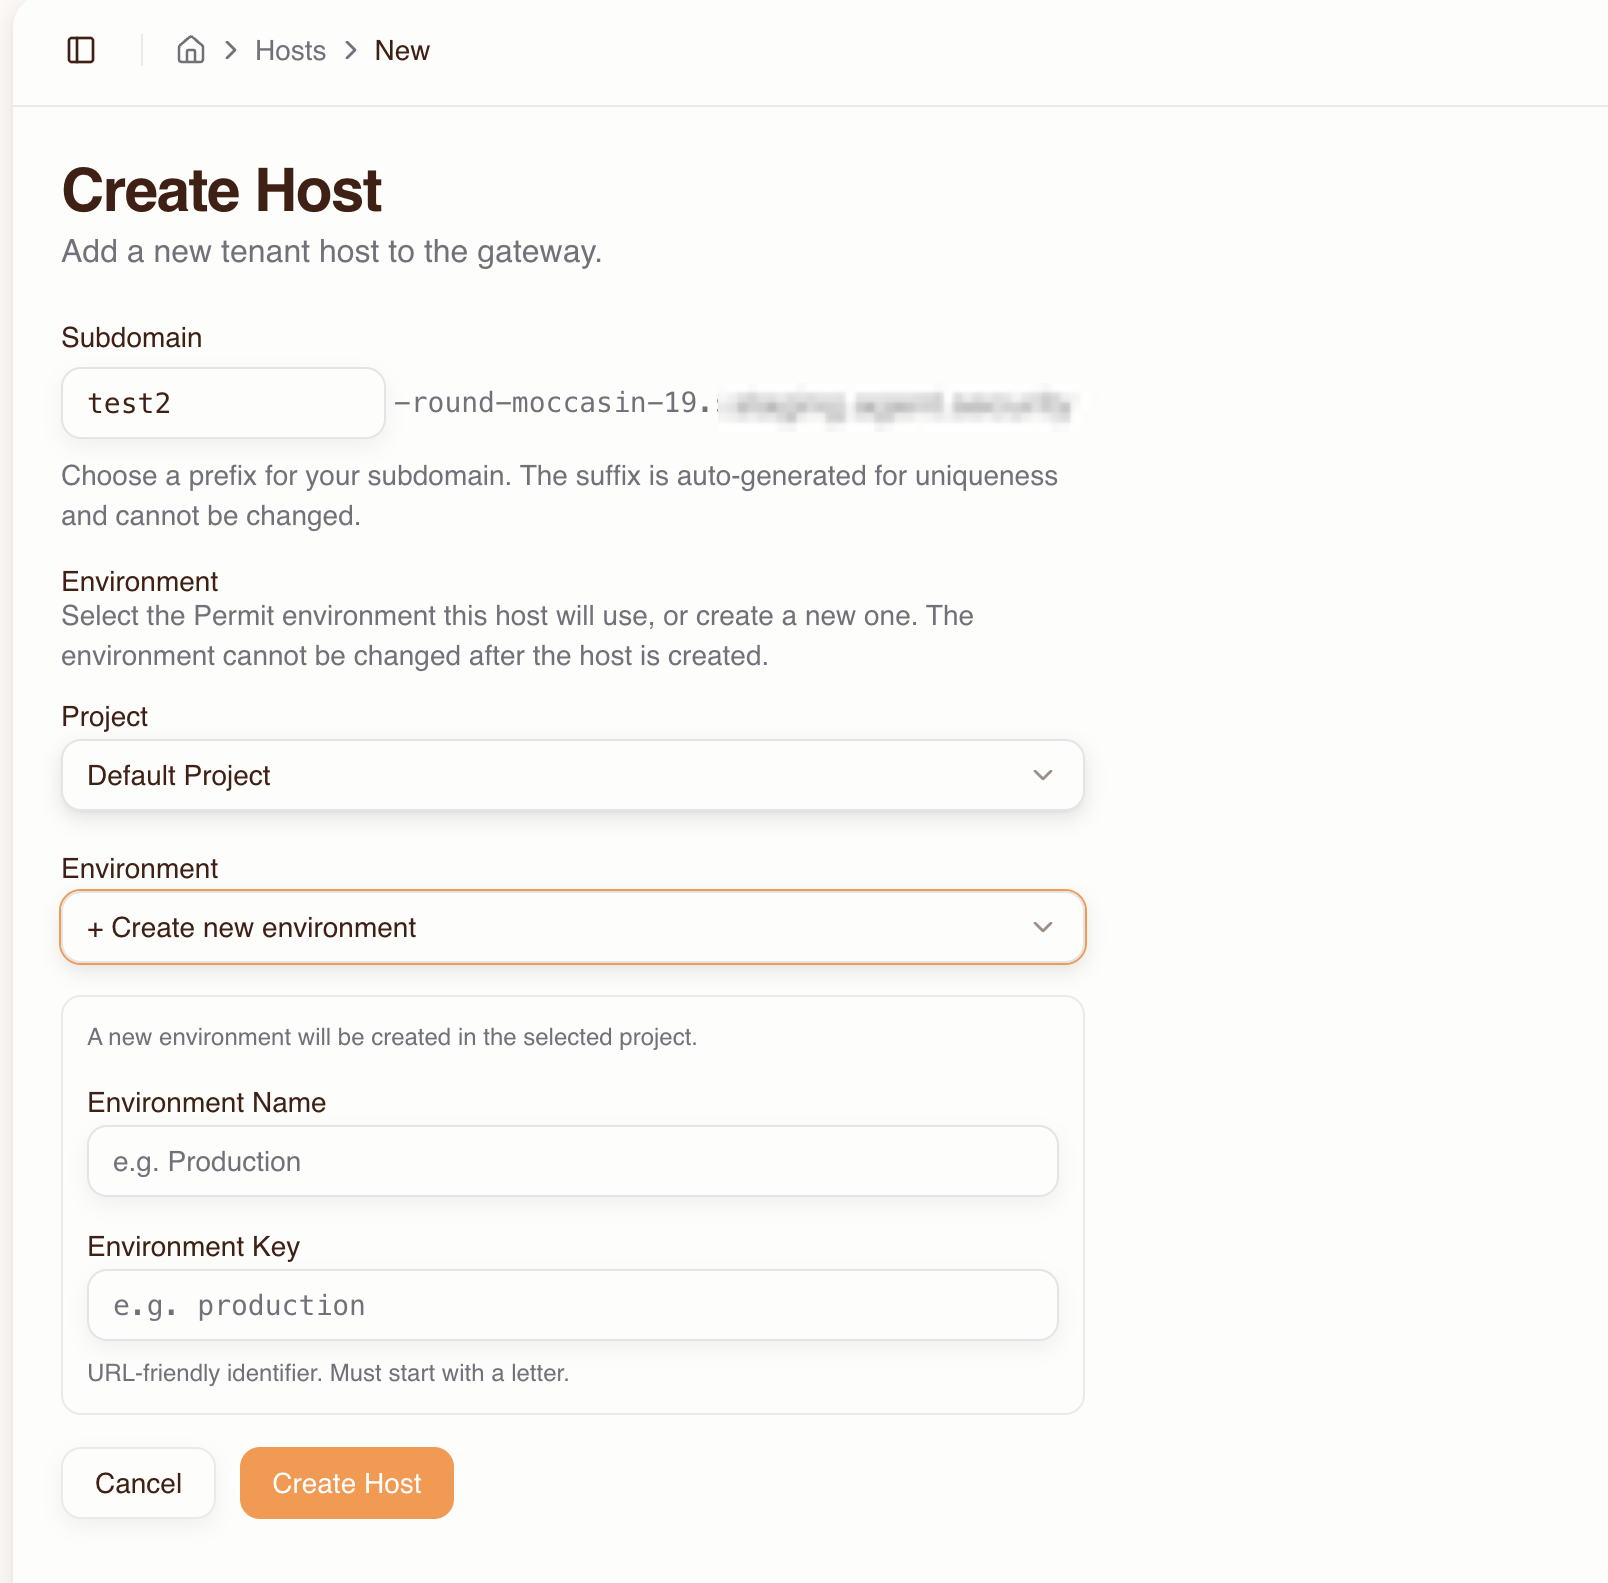
Fill in the host fields:
Field Value Subdomain A prefix such as my-tenant. The platform adds a unique suffix such asbrave-coral-37.Project The Permit project that contains the environment you want to use. Environment The Permit environment for this host. You can't change the environment after you create the host. To create an environment, select + Create new environment and enter a name and key. 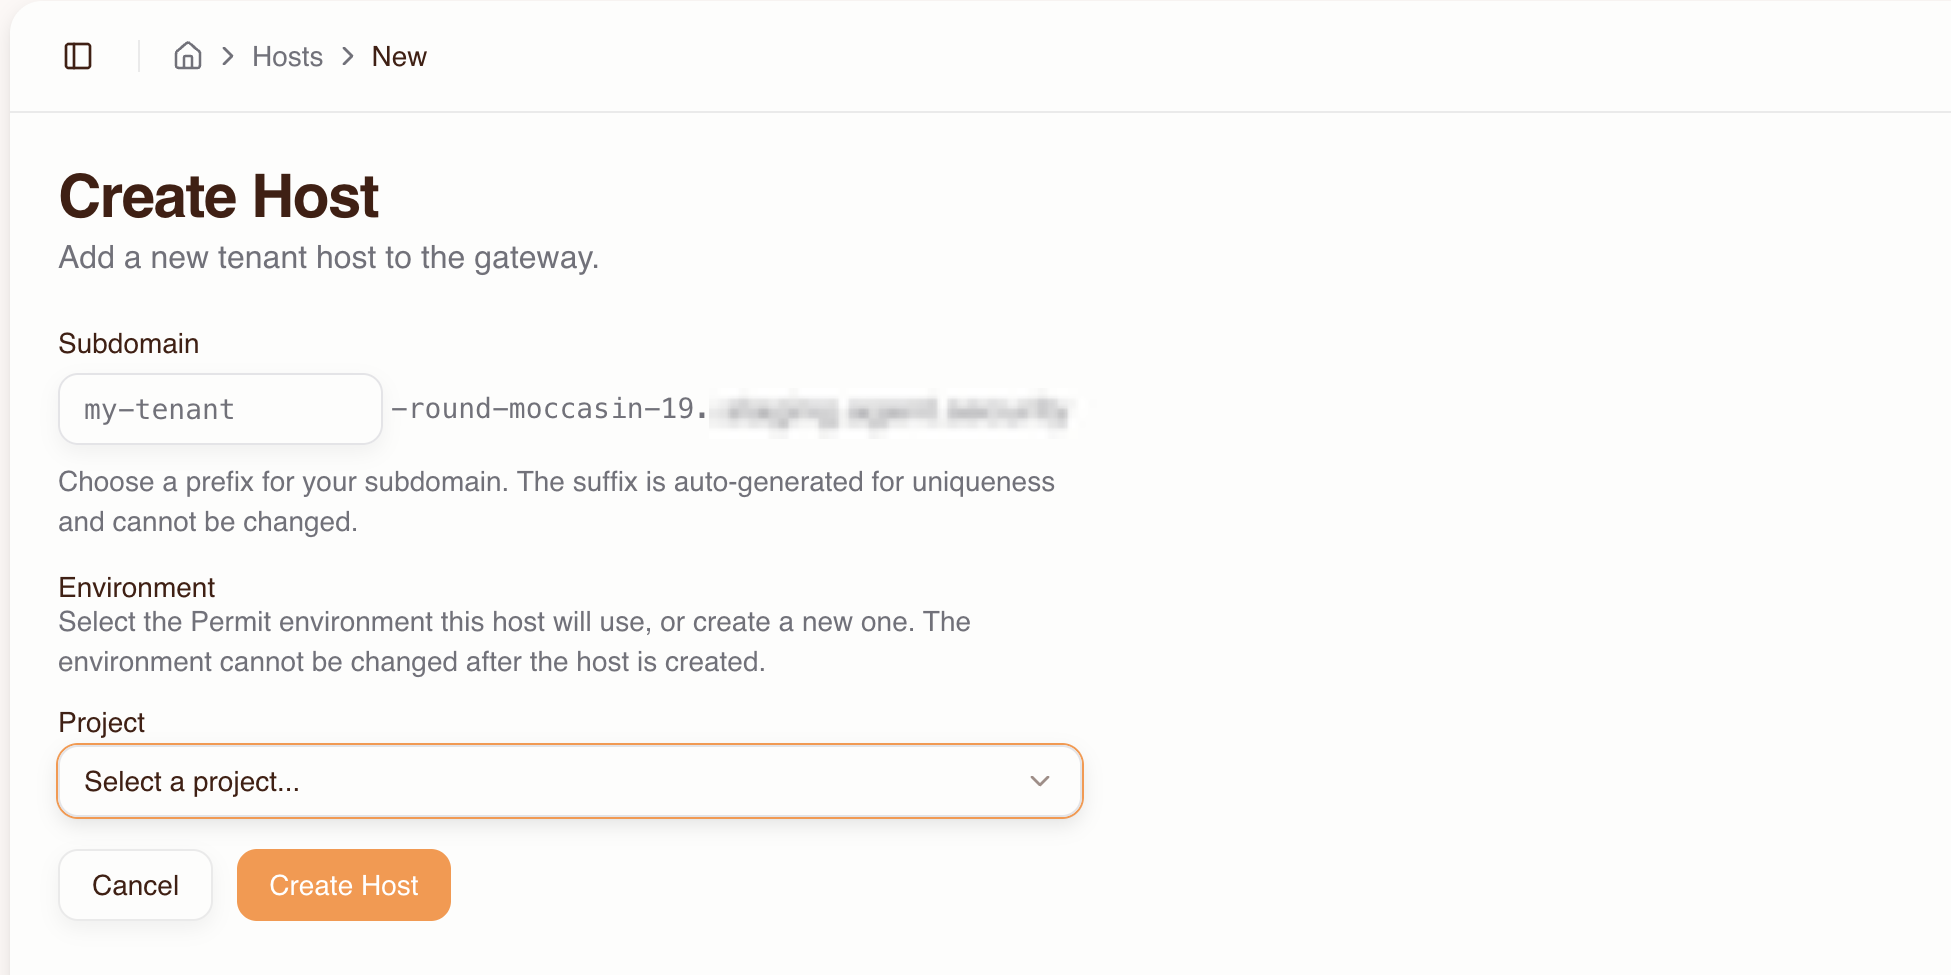
-
Click Create Host.
The gateway URL for the example host is:
https://acme-brave-coral-37.agent.security/mcp
The host detail page shows the full MCP URL and configuration snippets for MCP clients.
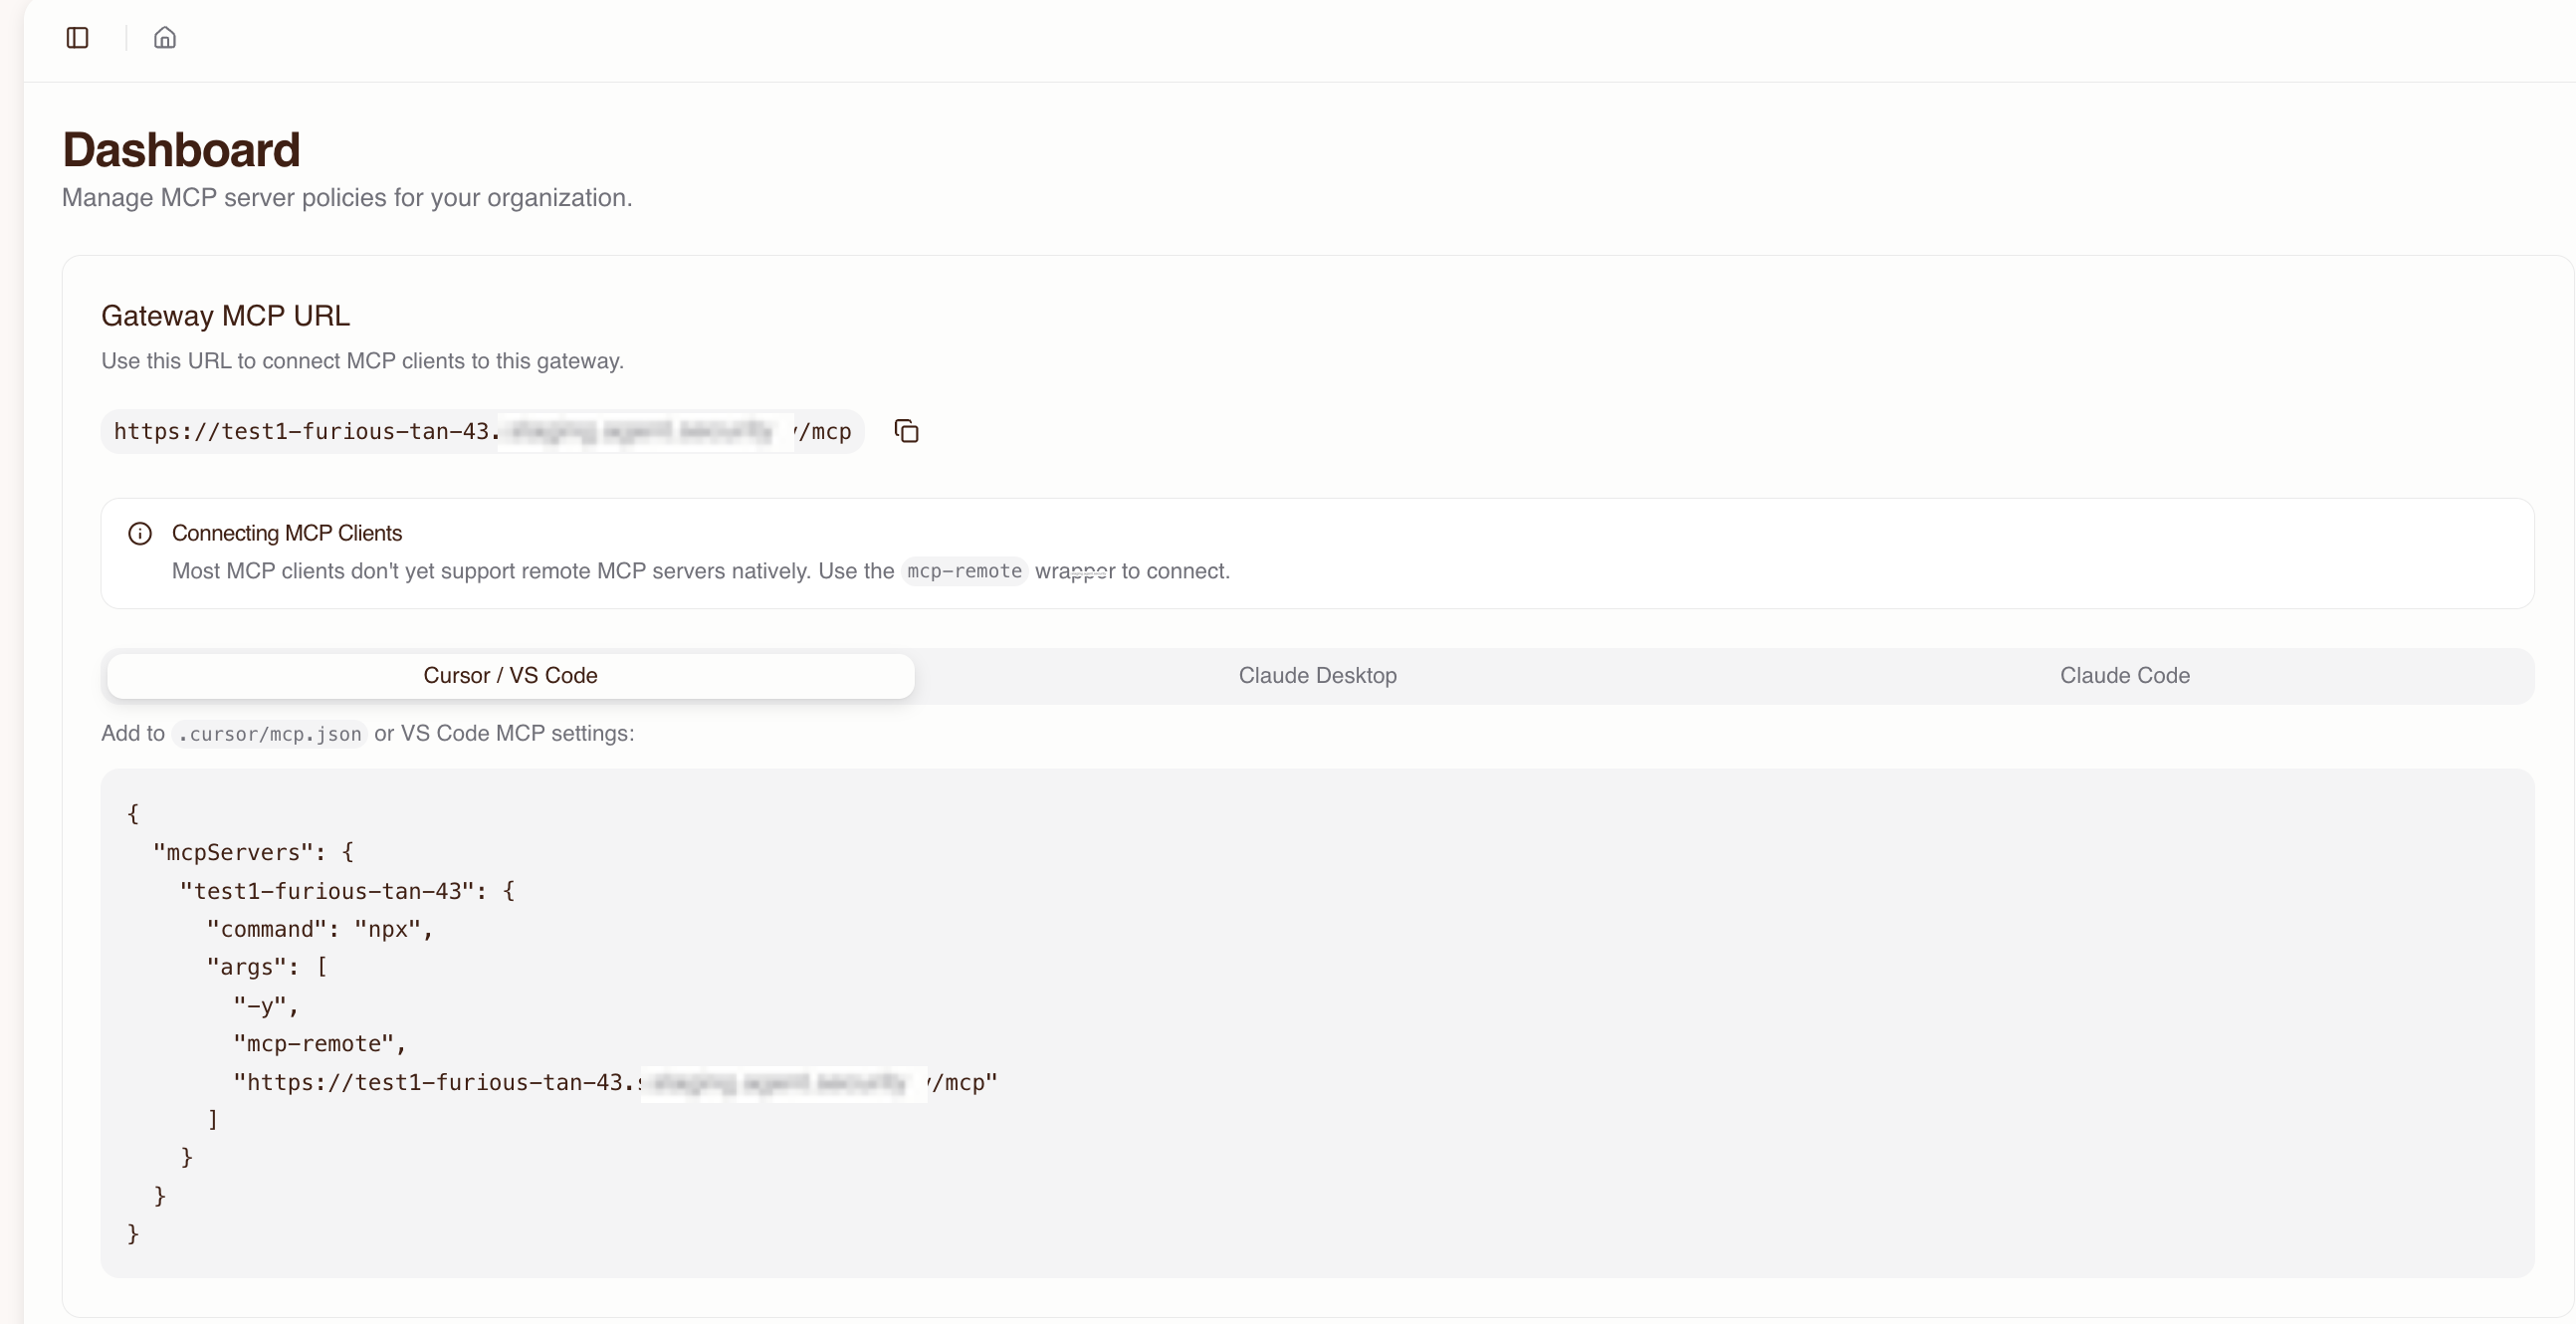
Expected result: the host has a live gateway URL. No user can connect through the gateway yet, because the host has no imported MCP servers and no access grants.
3. Import MCP servers
Importing an MCP server connects the gateway to the upstream server, discovers its tools, and creates the matching resources and permissions in Permit.
-
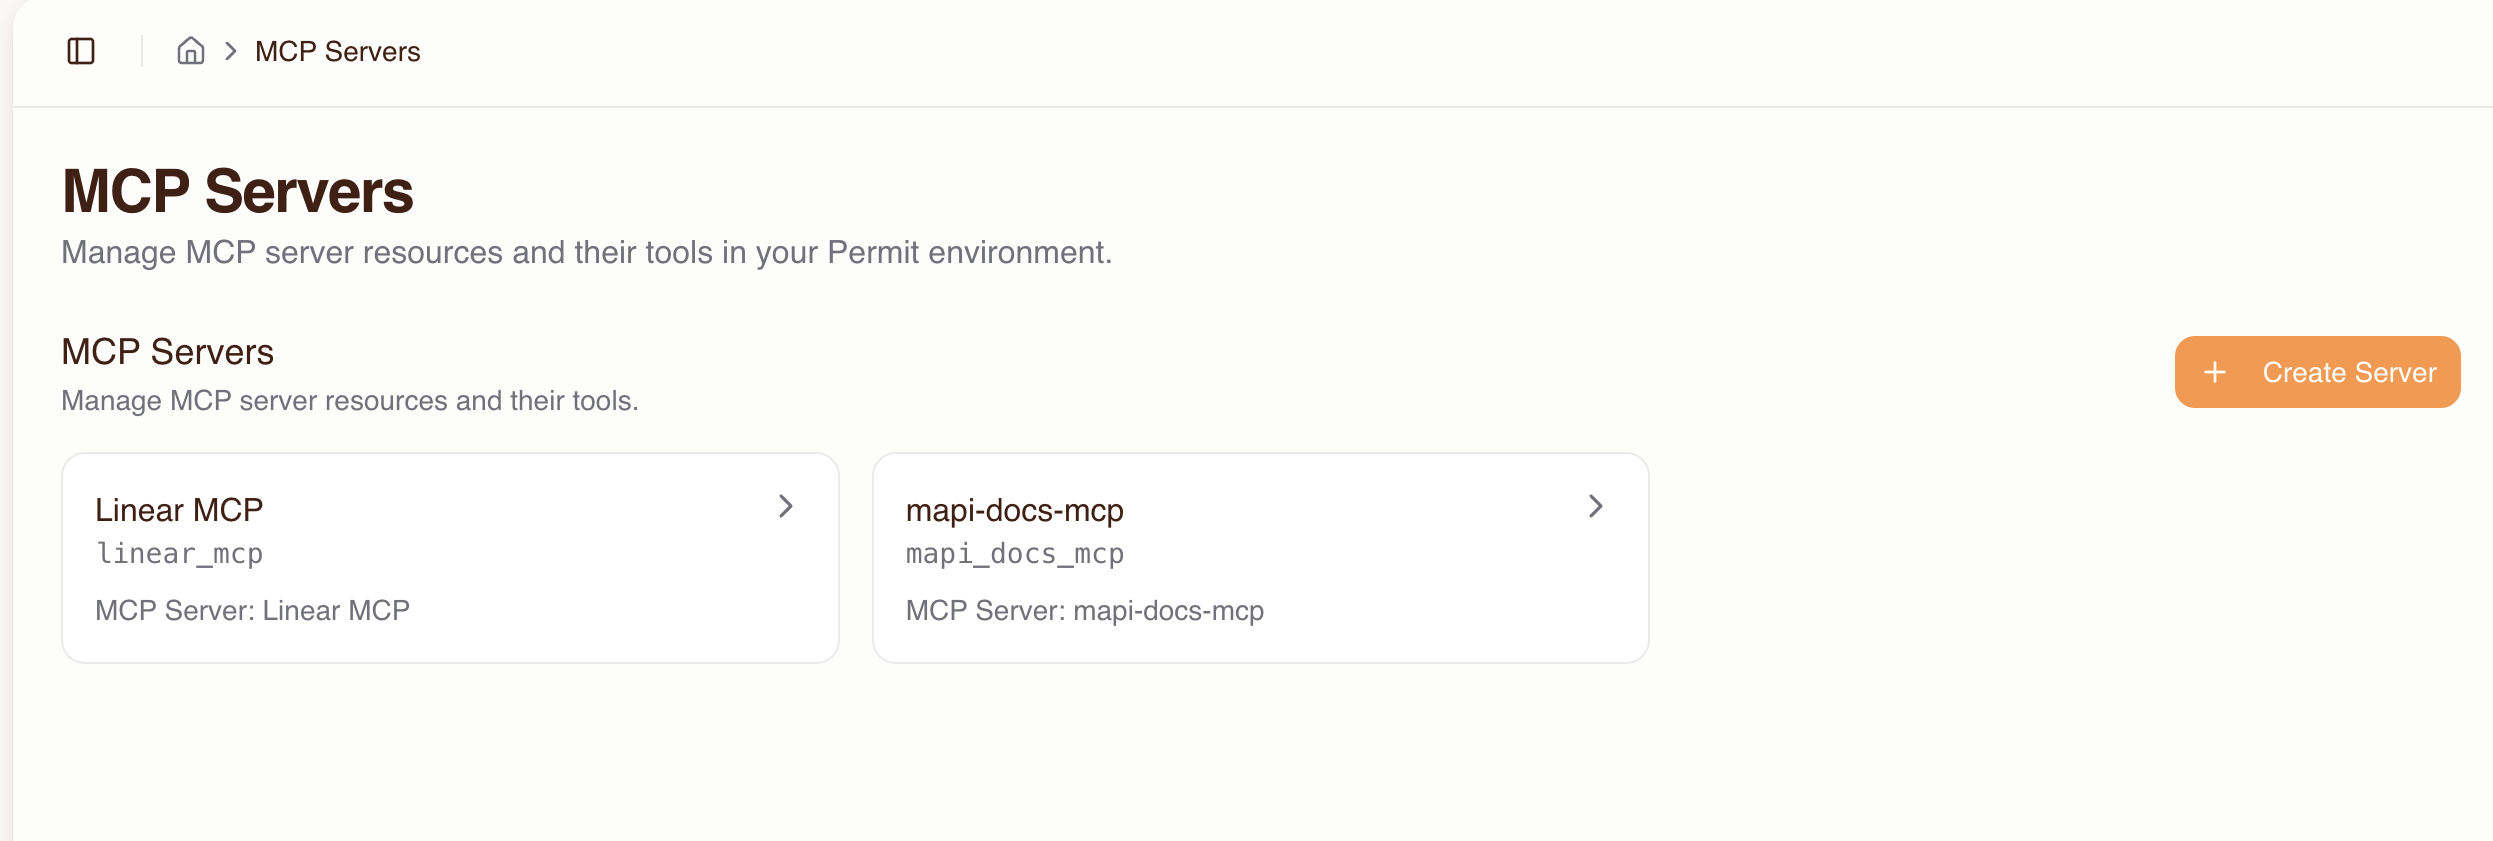
Go to MCP Servers and click Create Server.
-
Enter the upstream MCP server URL, such as
https://mcp.linear.app/mcp, and click Connect.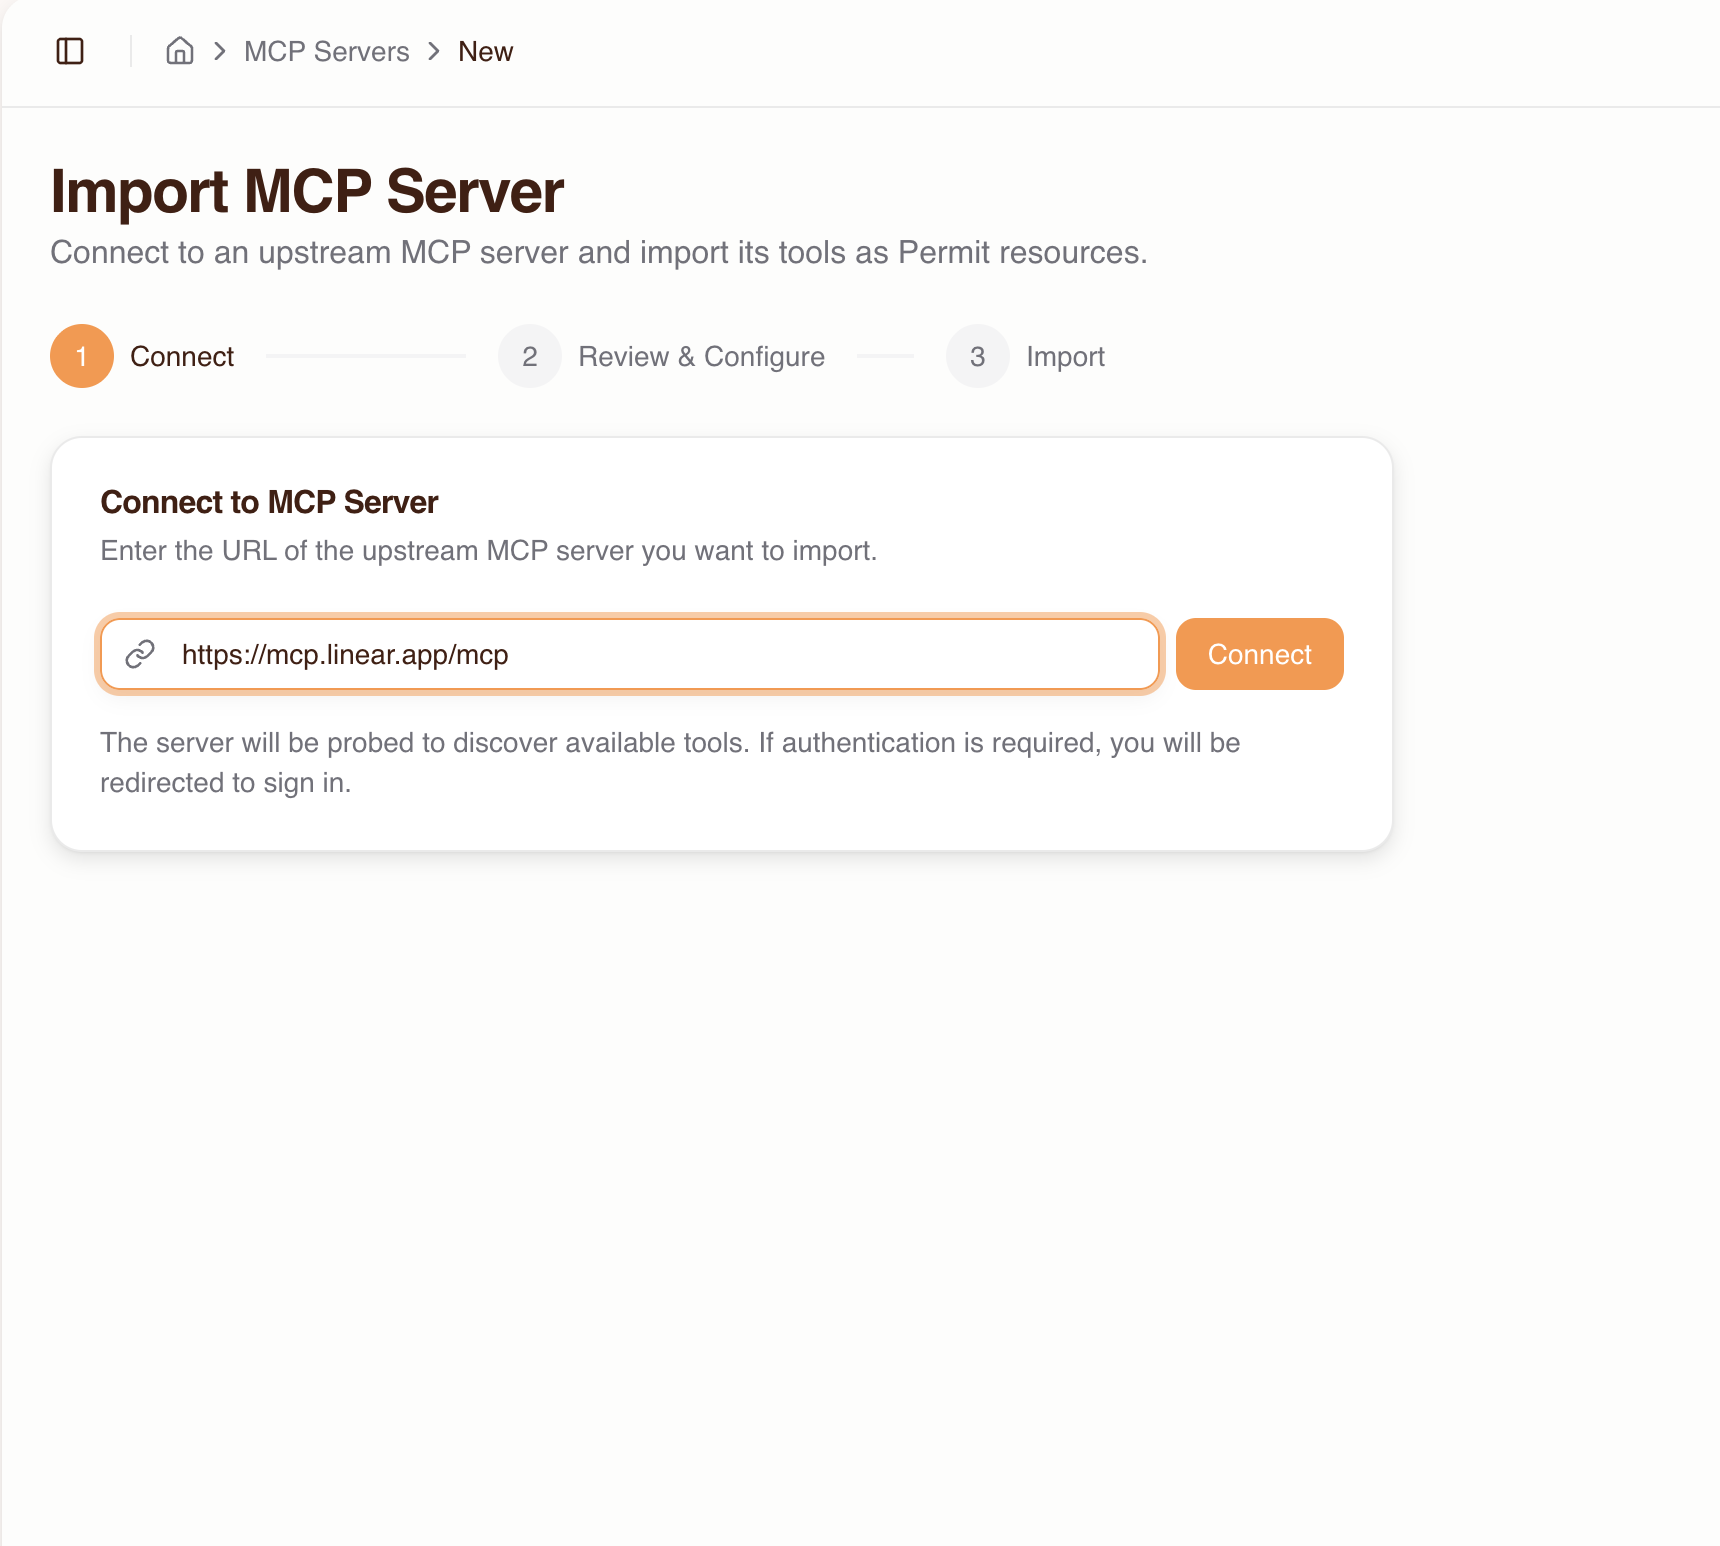
- If the upstream server requires authentication, the platform redirects you to sign in with the upstream provider.
- If the upstream provider doesn't support automatic OAuth client registration, enter the OAuth Client ID and Client Secret manually.
-
Review the discovered tools. The gateway assigns each tool a trust level based on its name (see the trust level reference). You can change the trust level of any tool and turn individual tools on or off.
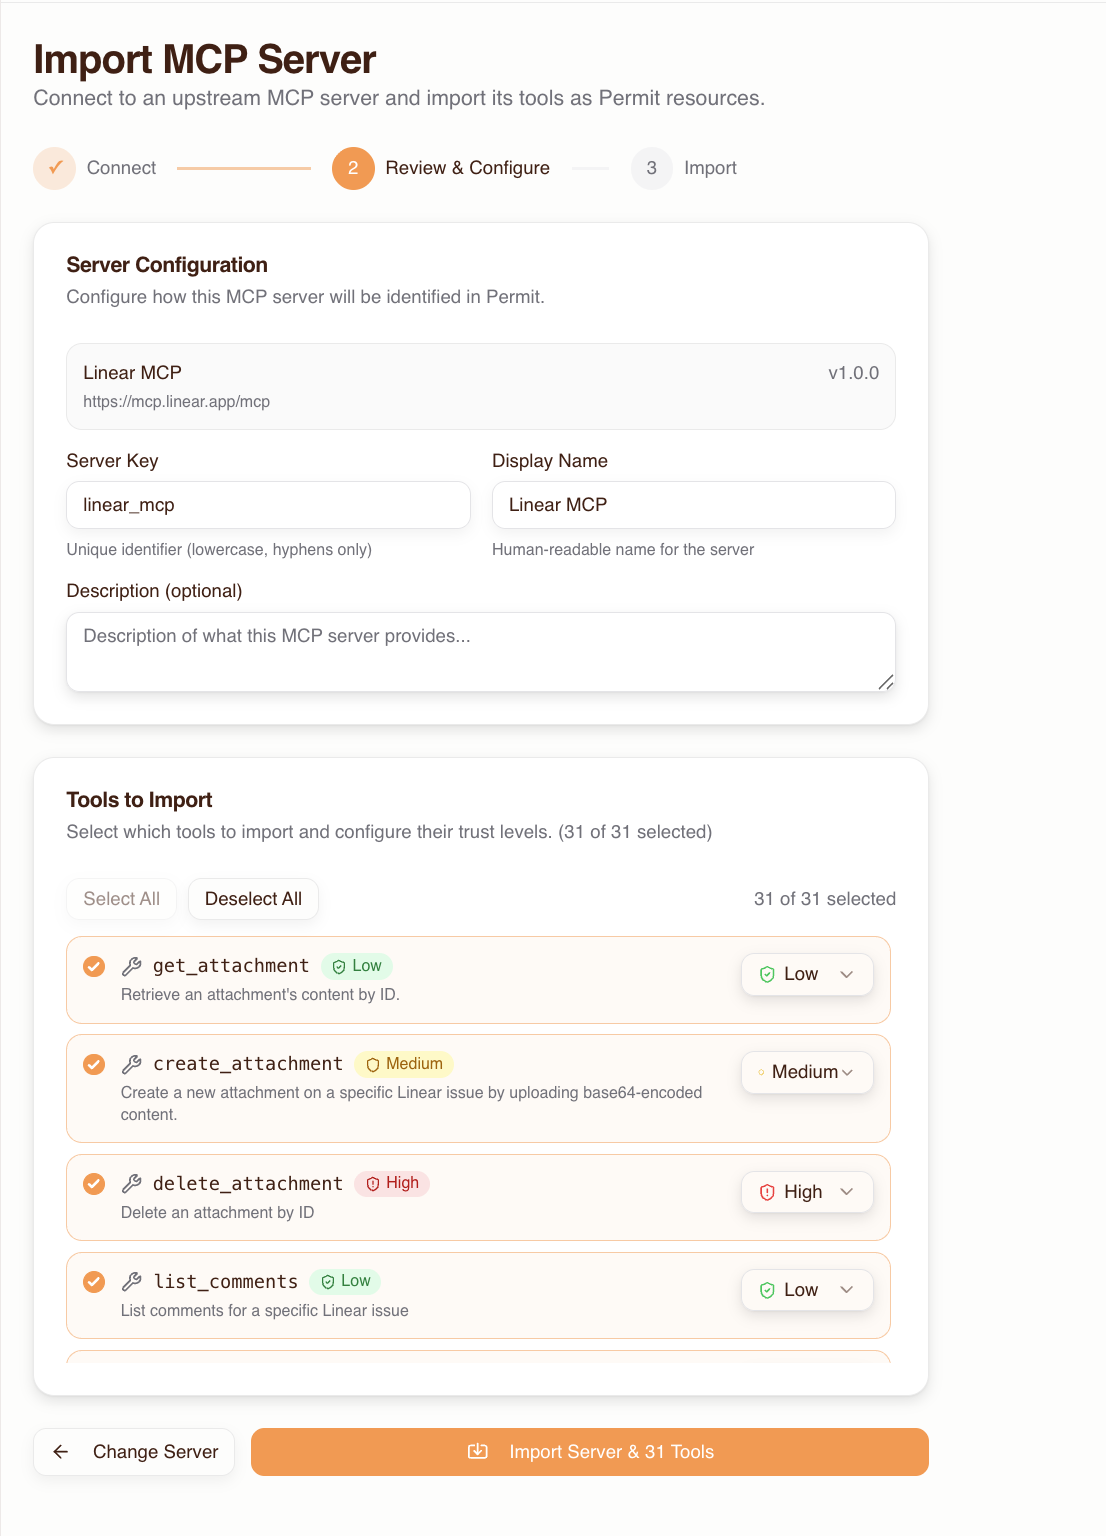
-
Click Import.
Expected result: the MCP server and its tools appear on the MCP Servers page, with each tool at low, medium, or high trust. No user can access the server yet.
To add or remove tools, change trust levels, rename, or delete the server later, open the server detail page. See Platform reference: server detail view.
Turn on Dynamic MCPs in the host settings to let users enter any MCP server URL during consent. See Platform reference: Dynamic MCPs.
4. Grant user access to MCP servers
Users have no permissions on any MCP server until an admin grants access. Grant access before the user starts the consent flow.
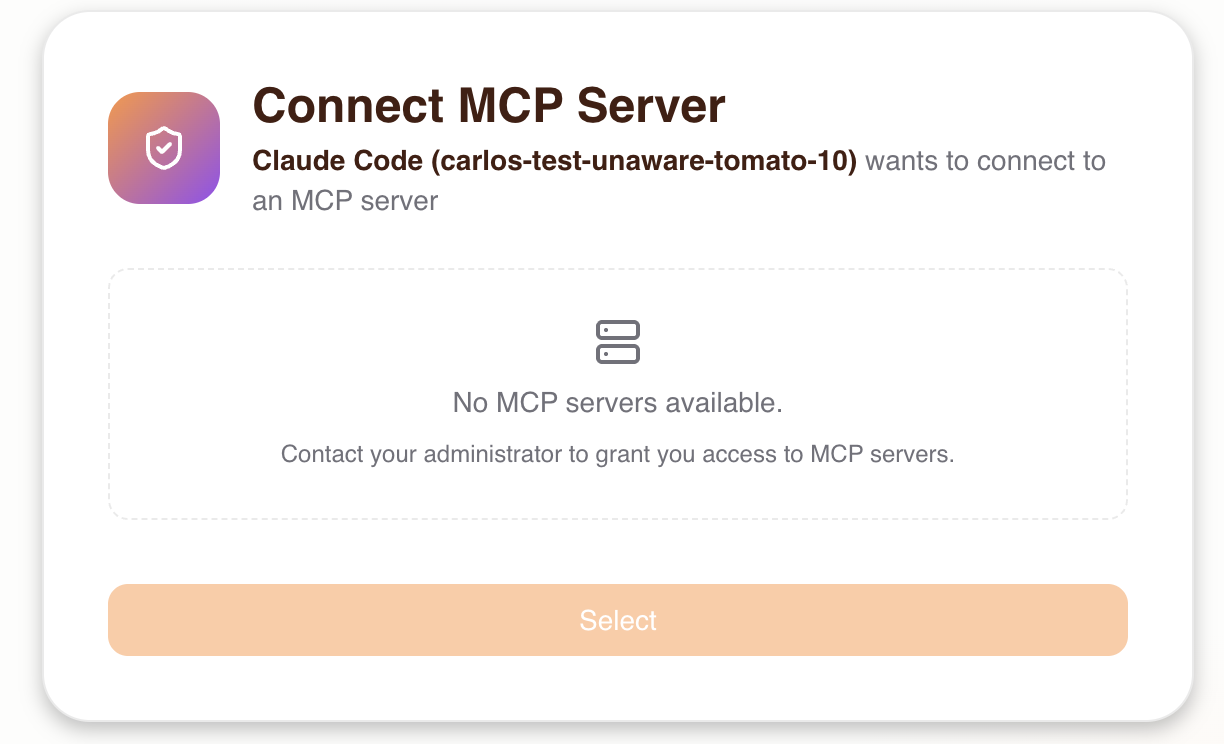
If a user starts the consent flow before you grant access, the consent screen shows an empty server list and the user can't continue. Grant access on the Humans page, then ask the user to reconnect.
- Go to Humans. Users appear on the Humans page after their first sign-in. To grant access before a user signs in, add the user by email.
- Select the user and click Grant Access.
- Choose the MCP servers the user can connect to, and set a max trust level for each server. The max trust level is a ceiling: during consent, the user can grant an agent up to that level and no higher.
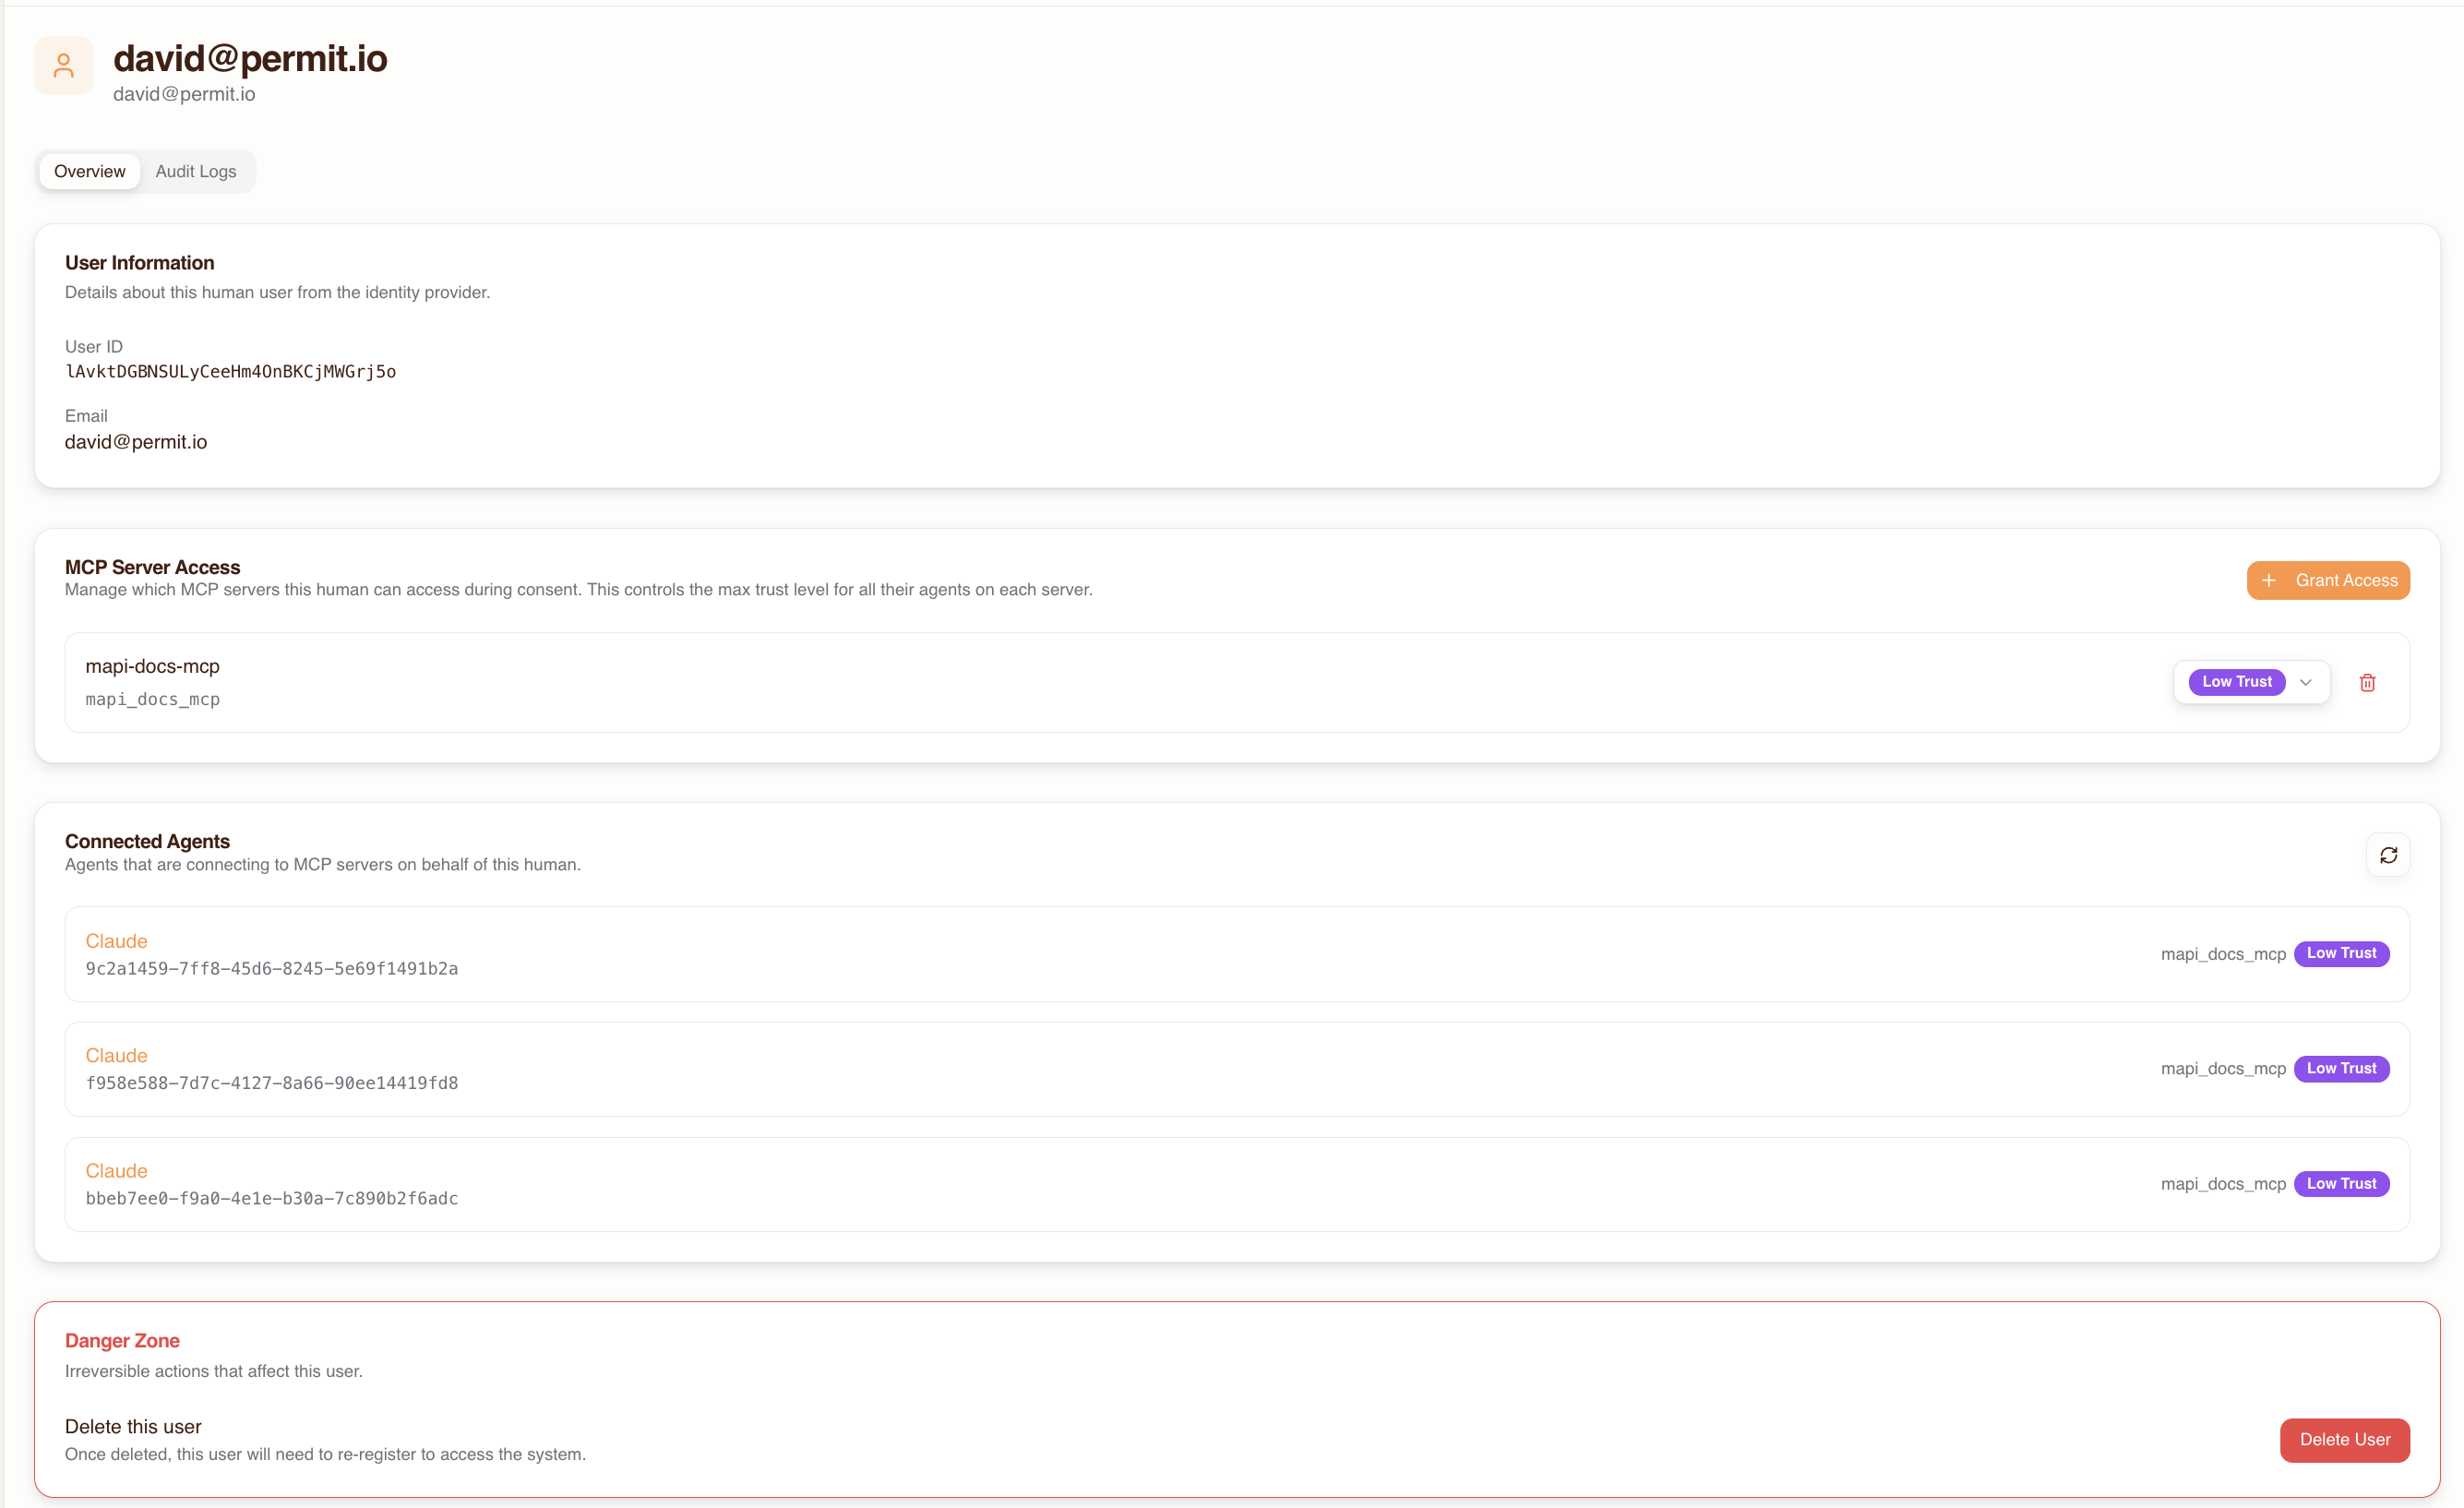
For this guide, grant yourself access to the imported server at medium trust.
Expected result: the user has access to the selected MCP servers. The consent screen lists only those servers.
To change a max trust level, revoke access, or manage agents later, see Managing humans and agents.
5. Connect your MCP client
Give each user the gateway MCP URL so they can add it to their MCP client. The host detail page in app.agent.security has configuration snippets for each client.
The Cursor and Claude Desktop examples use mcp-remote, a community tool that connects stdio-based MCP clients to Streamable HTTP endpoints. mcp-remote handles the OAuth sign-in for the client.
Cursor
Add the gateway to .cursor/mcp.json:
{
  "mcpServers": {
    "permit-mcp-gateway": {
      "command": "npx",
      "args": ["-y", "mcp-remote", "https://acme-brave-coral-37.agent.security/mcp"]
    }
  }
}
VS Code reads MCP servers from .vscode/mcp.json, which uses a top-level servers key instead of mcpServers. See the VS Code MCP server documentation for the file format.
Claude Desktop
Add the gateway to your Claude Desktop config file:
- macOS:
~/Library/Application Support/Claude/claude_desktop_config.json - Windows:
%APPDATA%\Claude\claude_desktop_config.json
{
  "mcpServers": {
    "permit-mcp-gateway": {
      "command": "npx",
      "args": ["-y", "mcp-remote", "https://acme-brave-coral-37.agent.security/mcp"]
    }
  }
}
Claude Code
Run this command to add the gateway to Claude Code:
claude mcp add permit-mcp-gateway --transport http https://acme-brave-coral-37.agent.security/mcp
Pre-select an MCP server in the gateway URL
To send users straight to one MCP server, append the upstream URL as a query parameter:
https://acme-brave-coral-37.agent.security/mcp?upstream_mcp=https://mcp.linear.app/mcp
The consent screen opens with that MCP server selected, and the user goes on to trust level selection. The upstream_mcp parameter doesn't grant access. If the user has no access grant for that server, the gateway ignores the parameter and shows only the servers the user can access.
To route to one server by the server key assigned during import, use a path-based URL:
https://acme-brave-coral-37.agent.security/mcp/linear
With a path-based URL, the consent flow skips server selection. The user still signs in and selects a trust level.
6. Complete the consent flow
The first time a user connects an MCP client, the client opens a browser window for a one-time consent flow. For each screen and what the gateway does behind it, see Consent service.
-
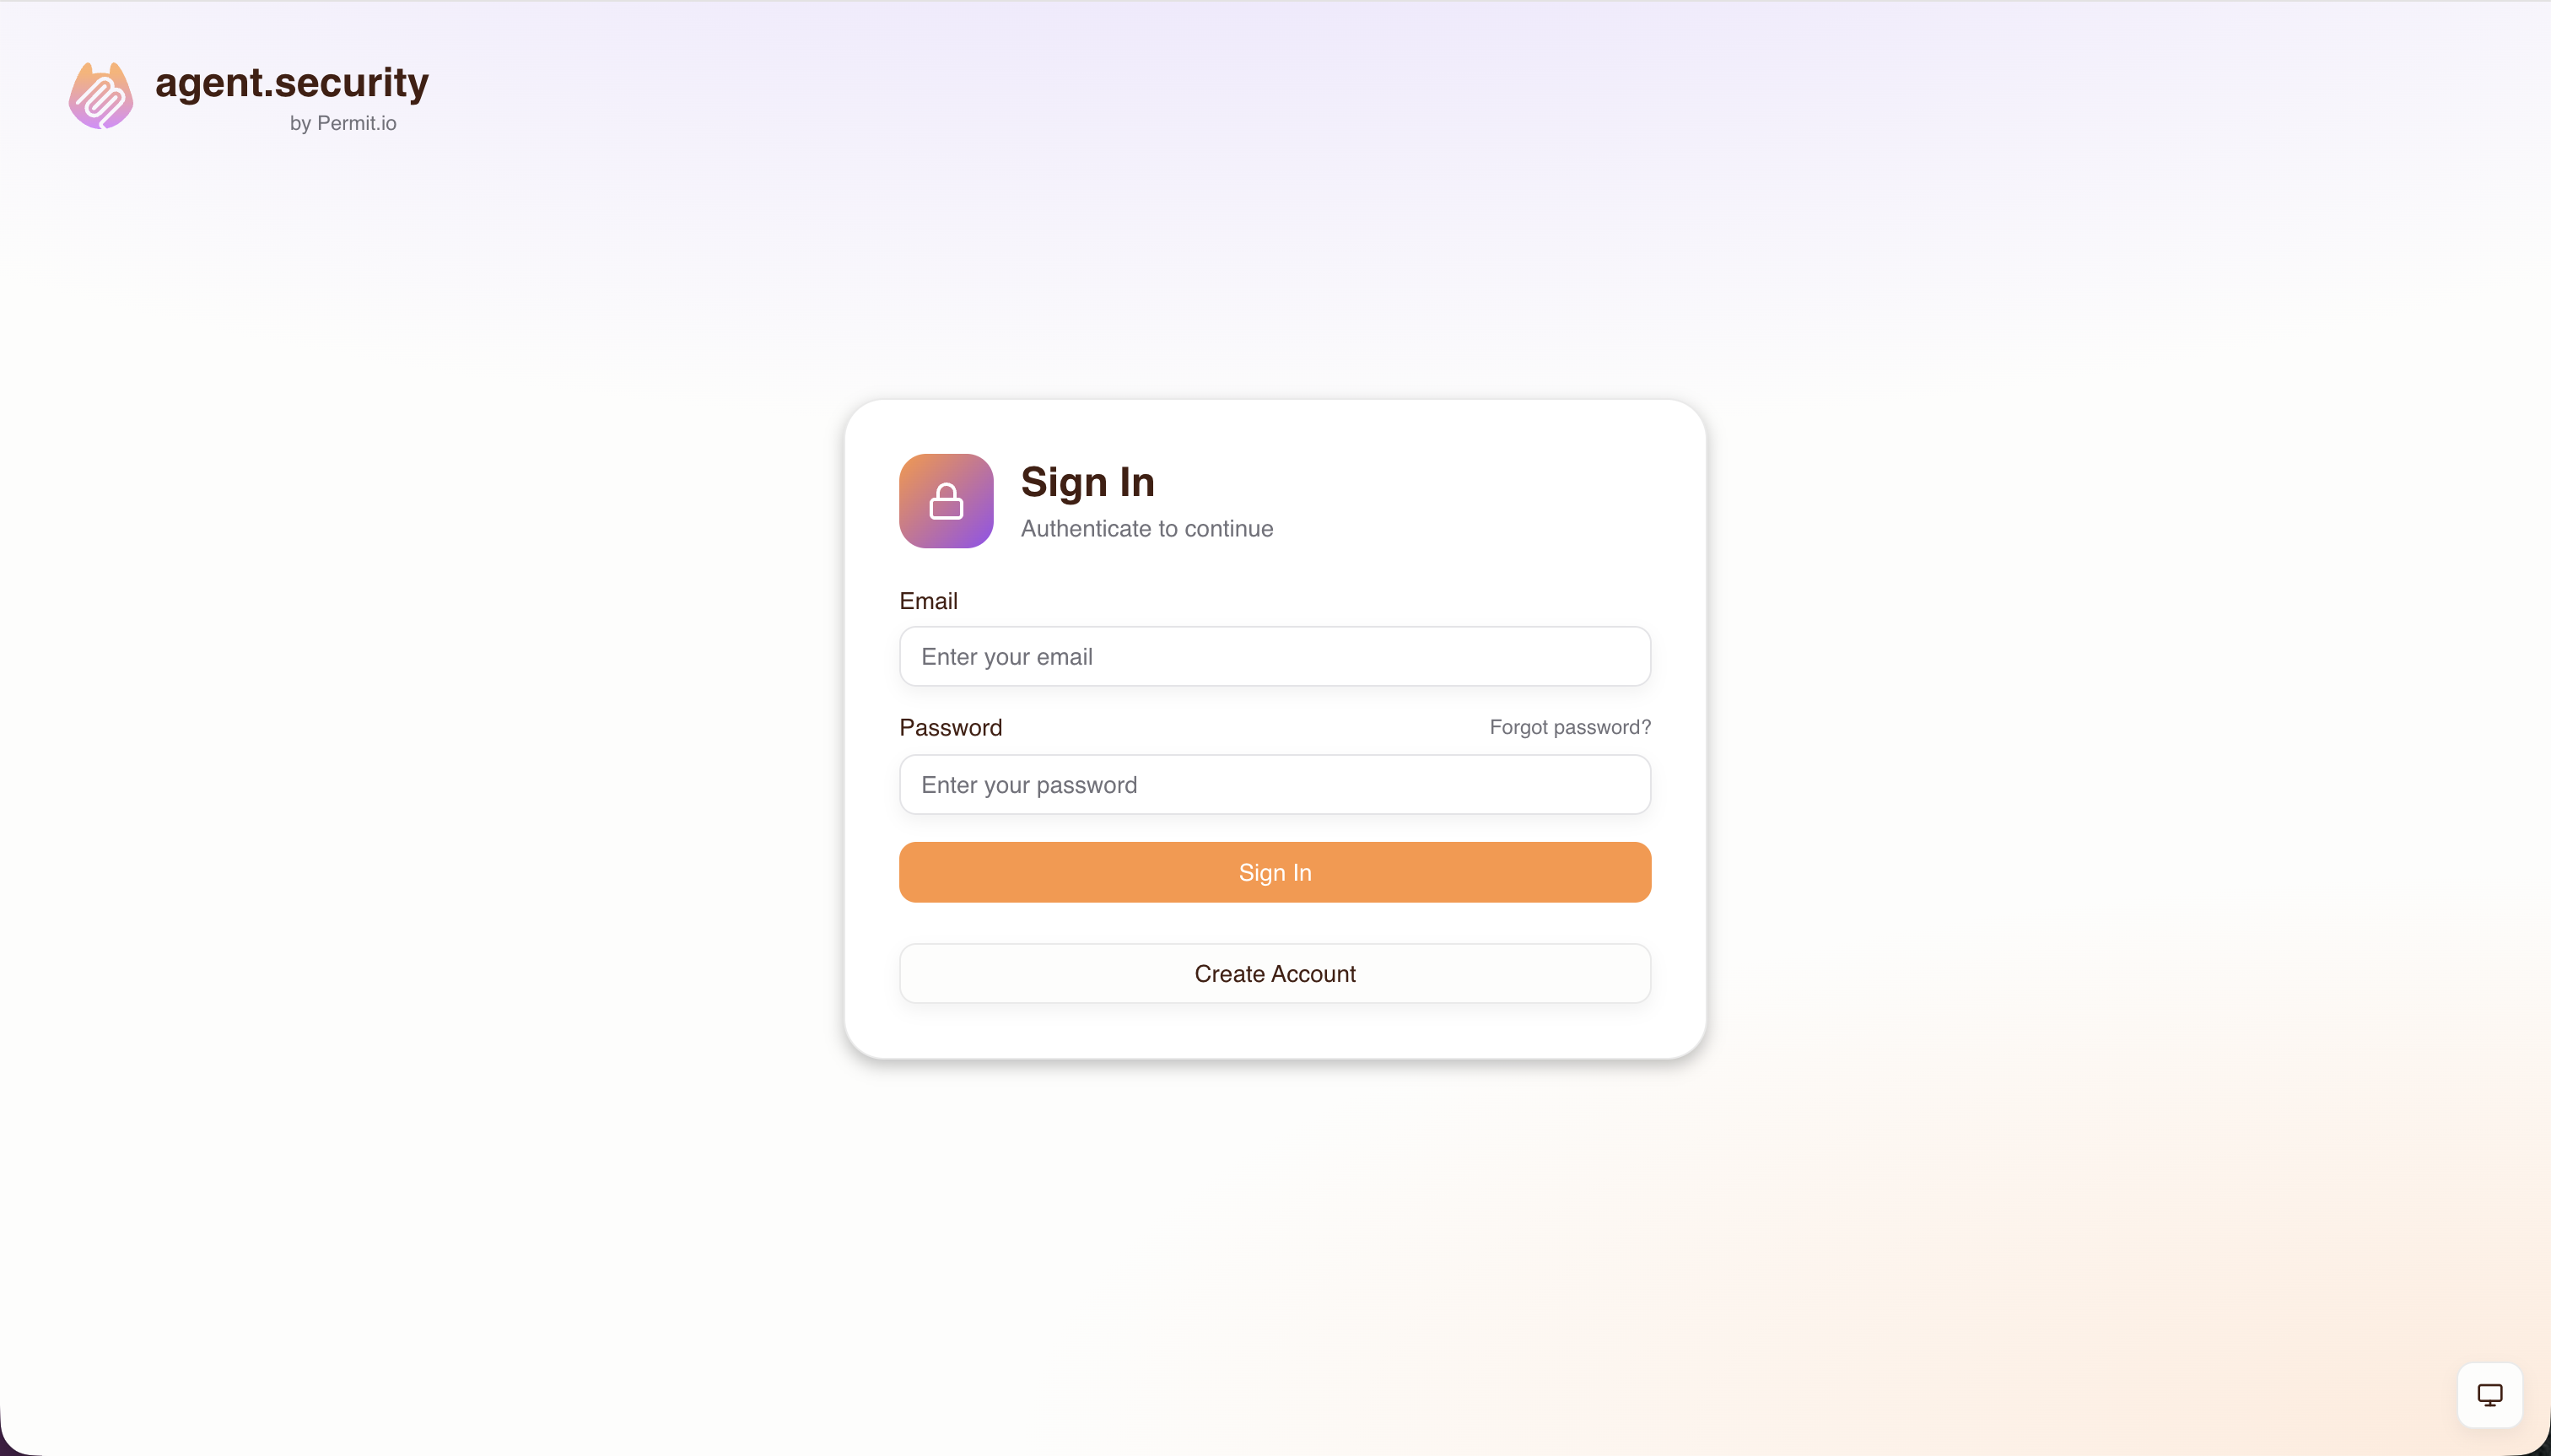
Sign in: create an account or sign in to the host.
-
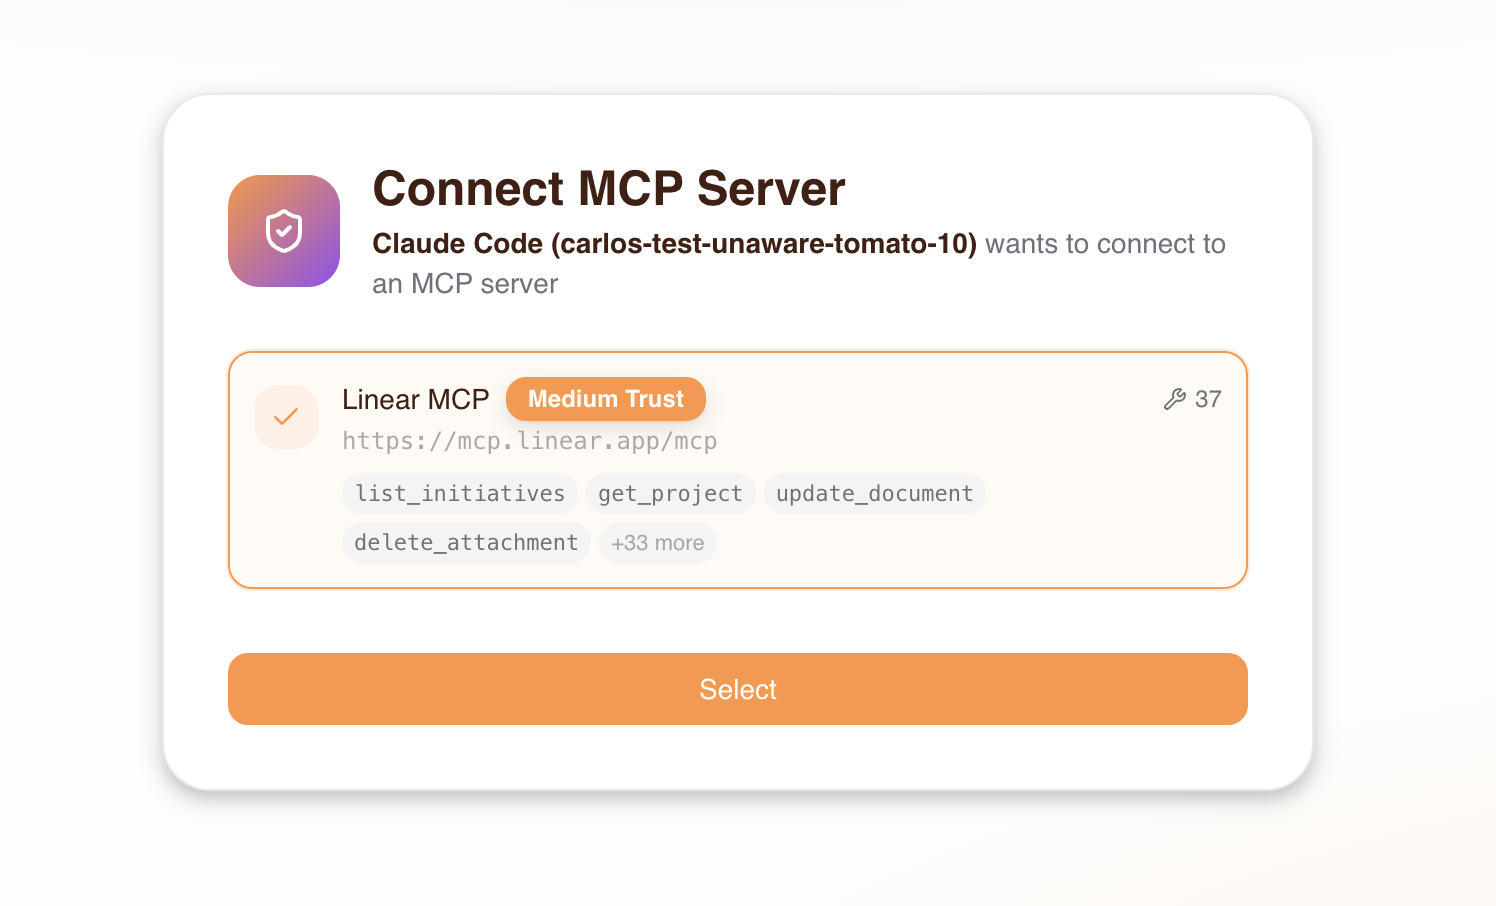
Choose an MCP server: the consent screen lists the MCP servers the admin granted the user access to. Select a server.
If the user has no access grants, the consent screen shows an empty state and the user can't continue:
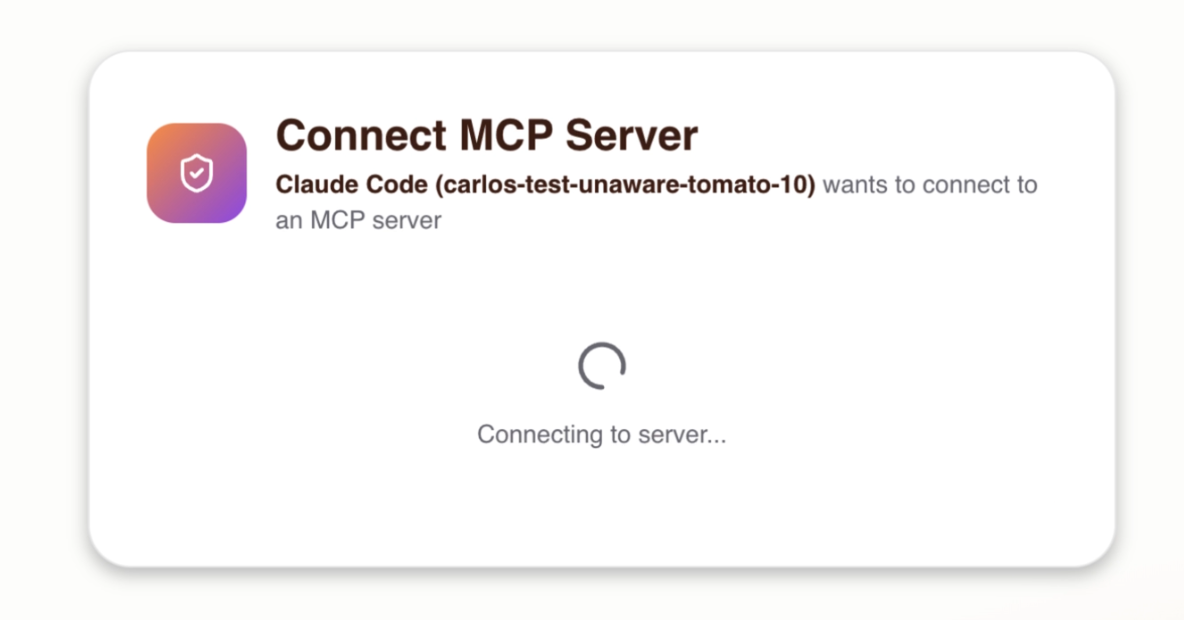
After the user selects a server, the consent screen connects to the server to check that it is reachable.
-
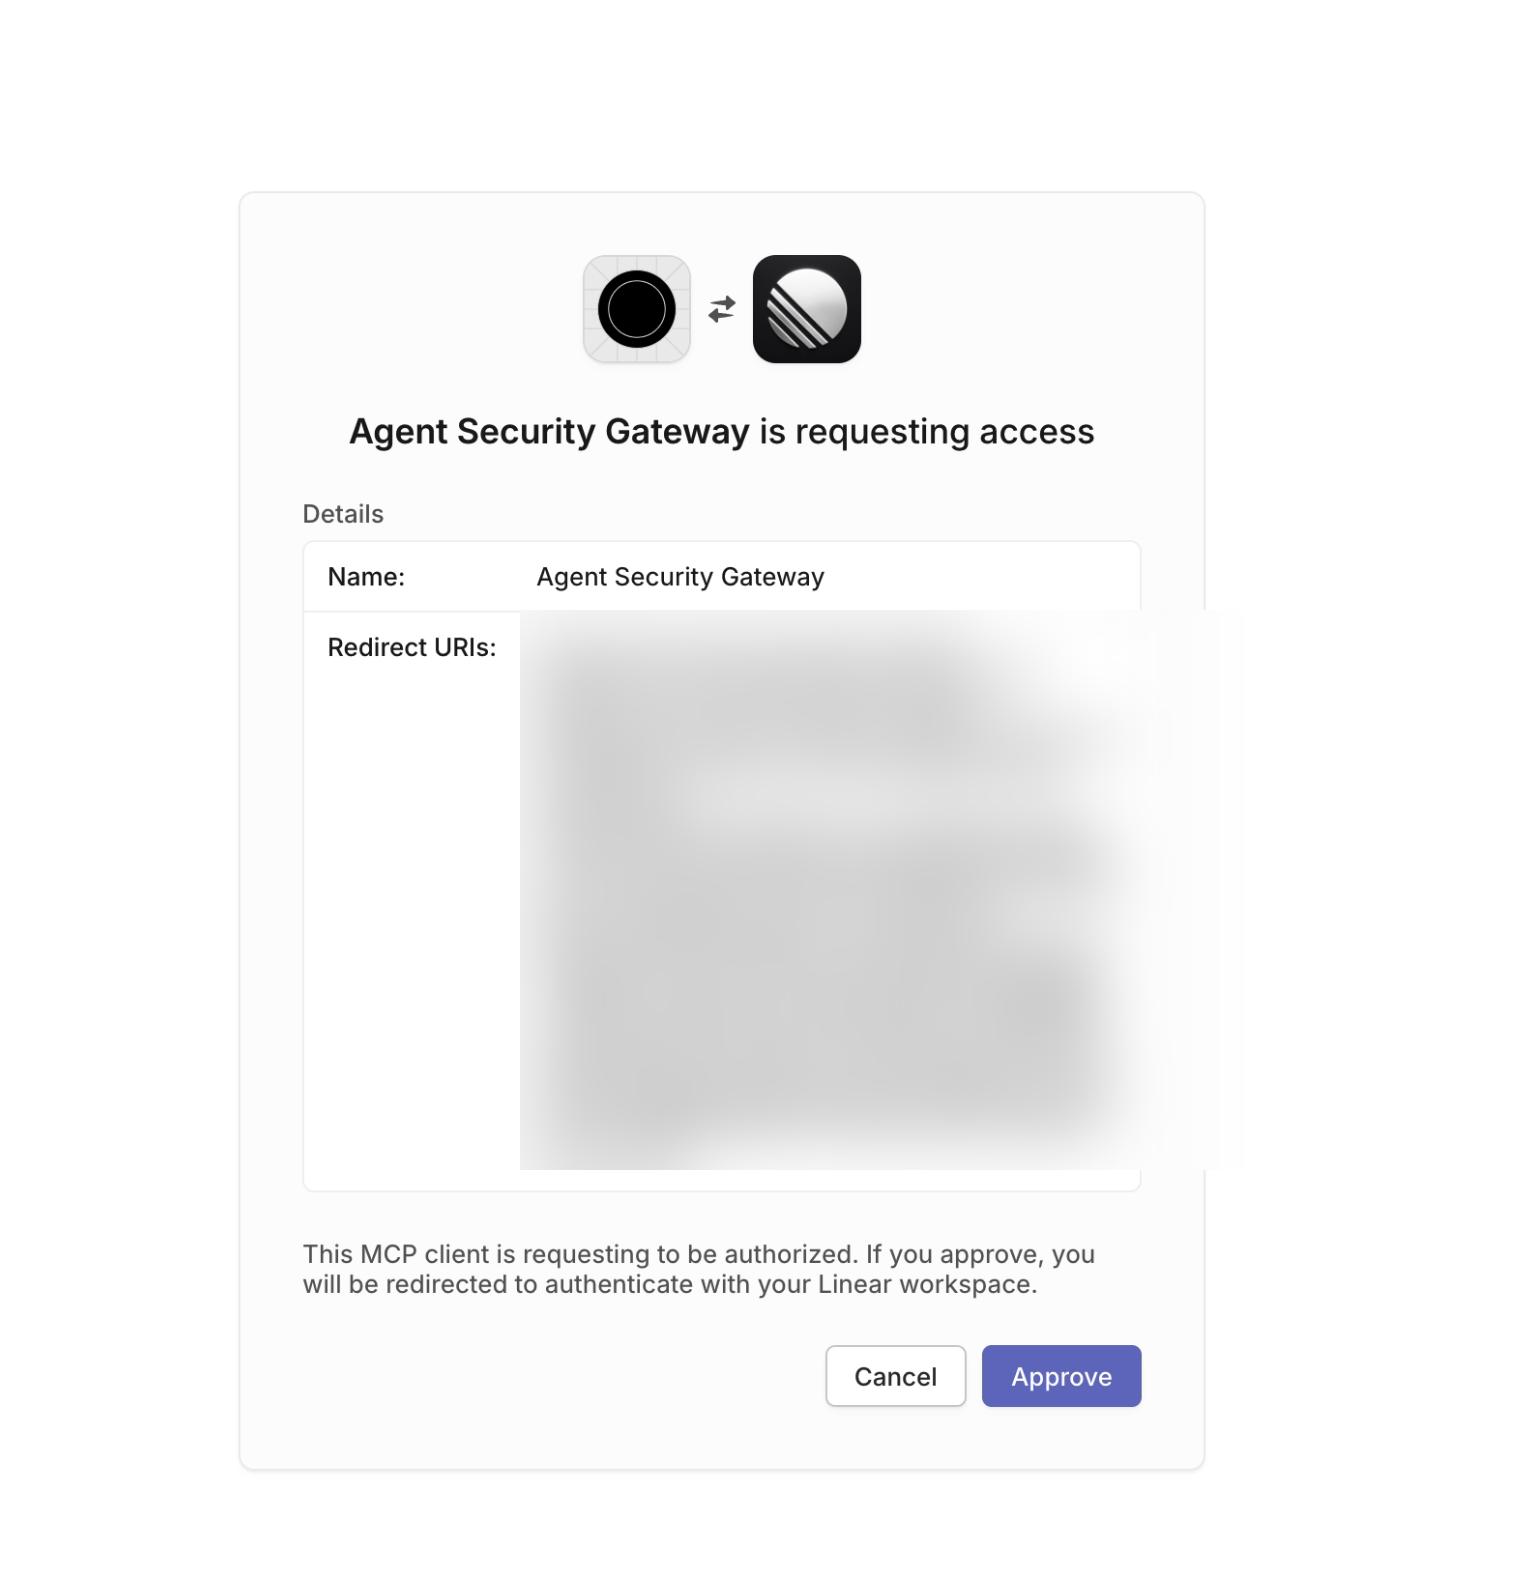
Authenticate with the upstream server: if the MCP server requires OAuth, the browser redirects to the upstream provider, such as GitHub or Linear, to sign in.
-
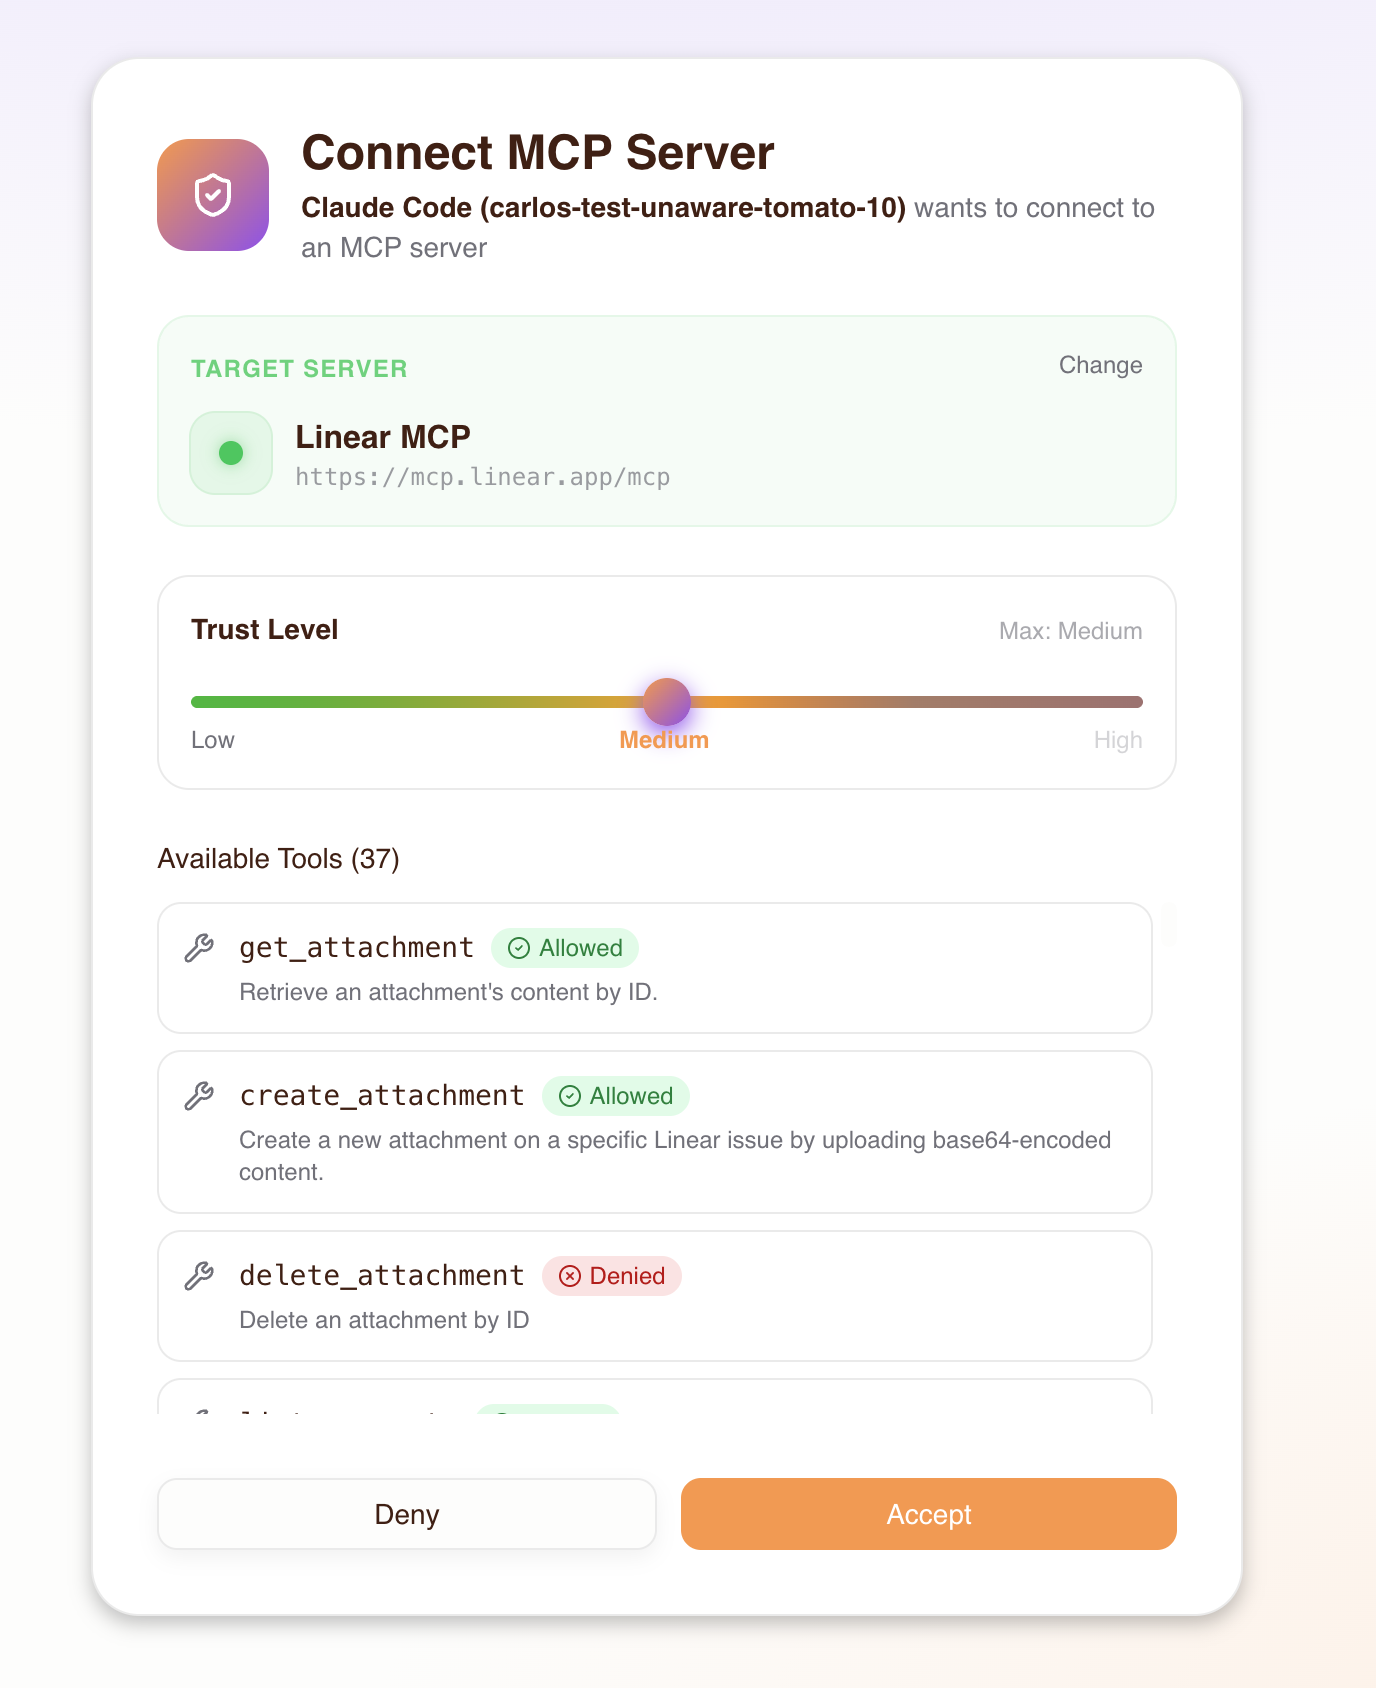
Set a trust level: choose the trust level for the agent, up to the max trust level set in step 4. The screen shows which tools each level allows or denies. For this guide, choose medium.
-
Accept: the gateway saves the permissions to Permit, and the MCP client receives an access token.
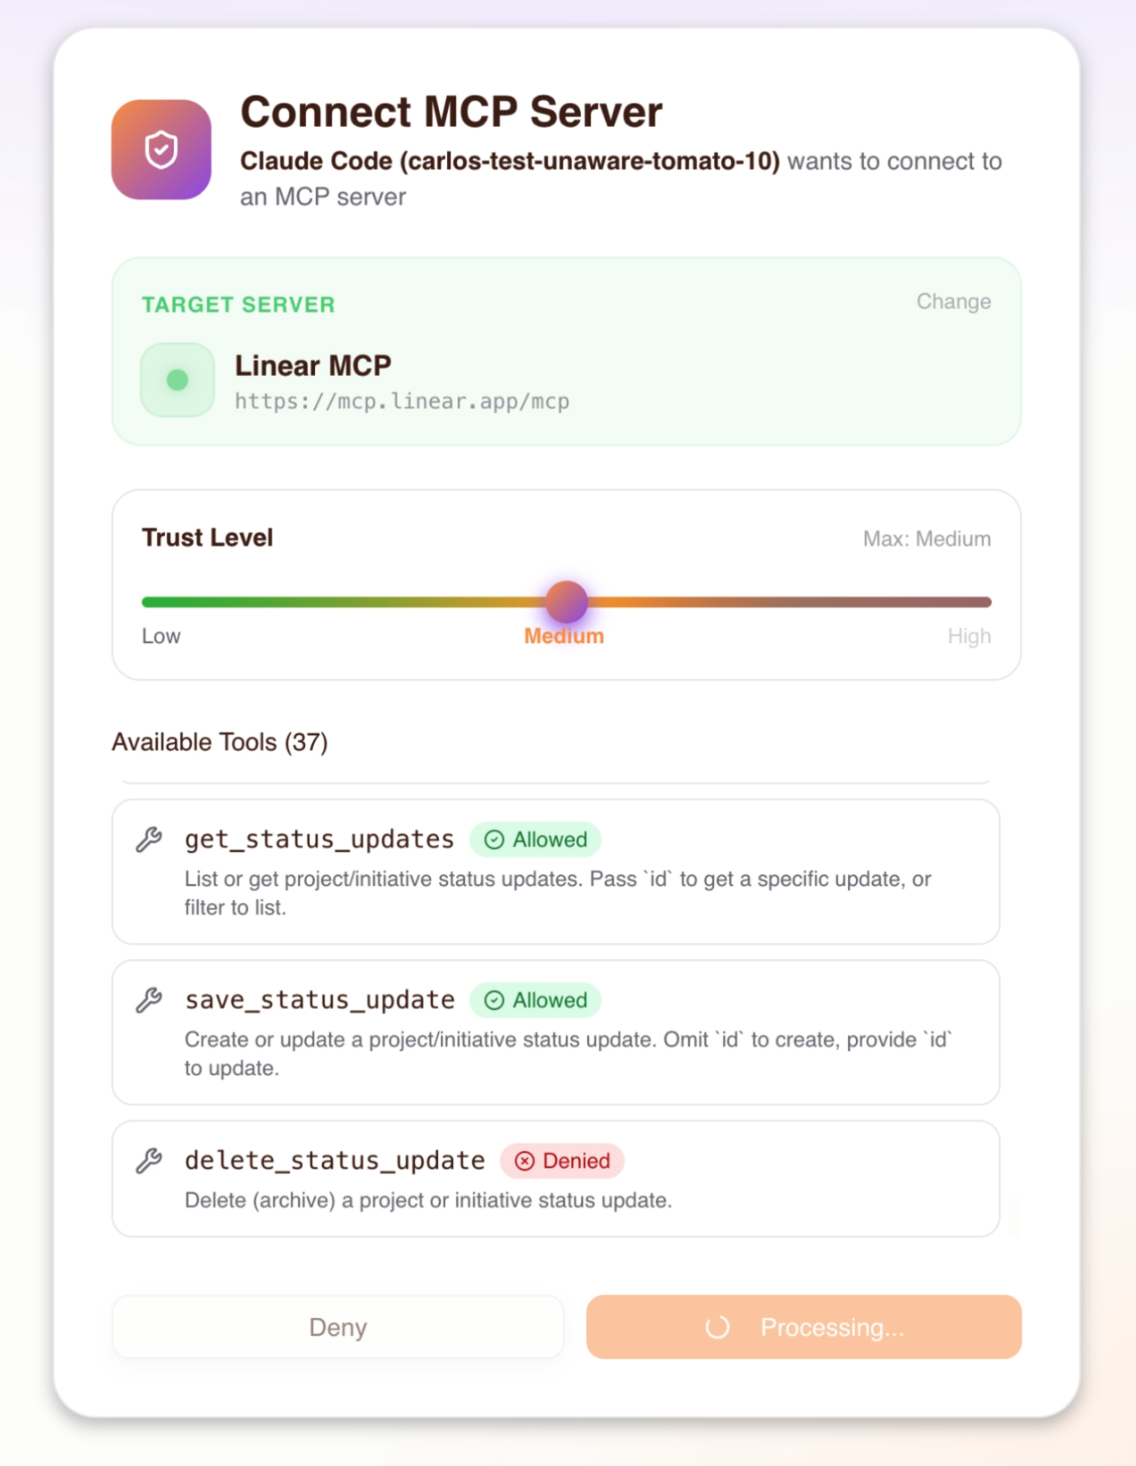
Later connections reuse the session until the session expires or an admin revokes it. If the upstream server issued a refresh token, the gateway refreshes the upstream access token before it expires, so the user doesn't sign in to the upstream provider again.
A gateway session expires 90 days after the agent's last tool call, and each tool call resets that timer. After expiry, the next request gets a session-not-found error, and the consent flow runs again when the user reconnects. The admin's access grants stay in place. See Consent service: session expiry.
7. Test an allowed and a denied tool call
The gateway authorizes each tool call when the MCP client sends it:
- The MCP client sends a
call_toolrequest with a Bearer token. - The gateway verifies the token and identifies the agent.
- The gateway asks Permit whether this agent can call this tool on this MCP server.
- If Permit allows the call, the gateway forwards the call to the upstream MCP server. If Permit denies the call, the client gets a permission denied error.
An agent can call tools at or below the trust level set during consent. An agent with medium trust can call low and medium tools, and can't call high tools.
Test both outcomes with the medium trust level from step 6:
- Ask your agent to perform a read or write action, such as "list my Linear issues" or "create a Linear issue". The call succeeds.
- Ask your agent to perform a destructive action, such as deleting an issue. The agent gets a permission denied error.
The gateway returns all tools in list_tools responses, whatever the agent's trust level. The gateway enforces the trust level when the agent calls a tool, so an agent can see a tool in the list and still be denied when it calls that tool.
8. Check the audit logs
The gateway records each authorization decision, allowed or denied, in two places:
| Location | Where to look |
|---|---|
| Permit MCP Gateway dashboard (app.agent.security) | The detail page for a user on Humans or for an agent on Agents shows each tool call and whether it was allowed or denied. |
| Permit.io dashboard (app.permit.io) | The Audit Log page in the linked environment shows the same decisions with your other Permit policy logs. |
Each log entry includes the agent identity, the tool, the MCP server, and the allow or deny result.
Expected result: open your agent on the Agents page. The activity log shows the allowed call from step 7 and the denied destructive call.
To filter logs and investigate decisions, see Audit logs.
Configure how users sign in
Each host has its own sign-in methods for the consent flow. Email and password sign-in is on by default. To change sign-in methods, open the host's Authentication settings in app.agent.security.
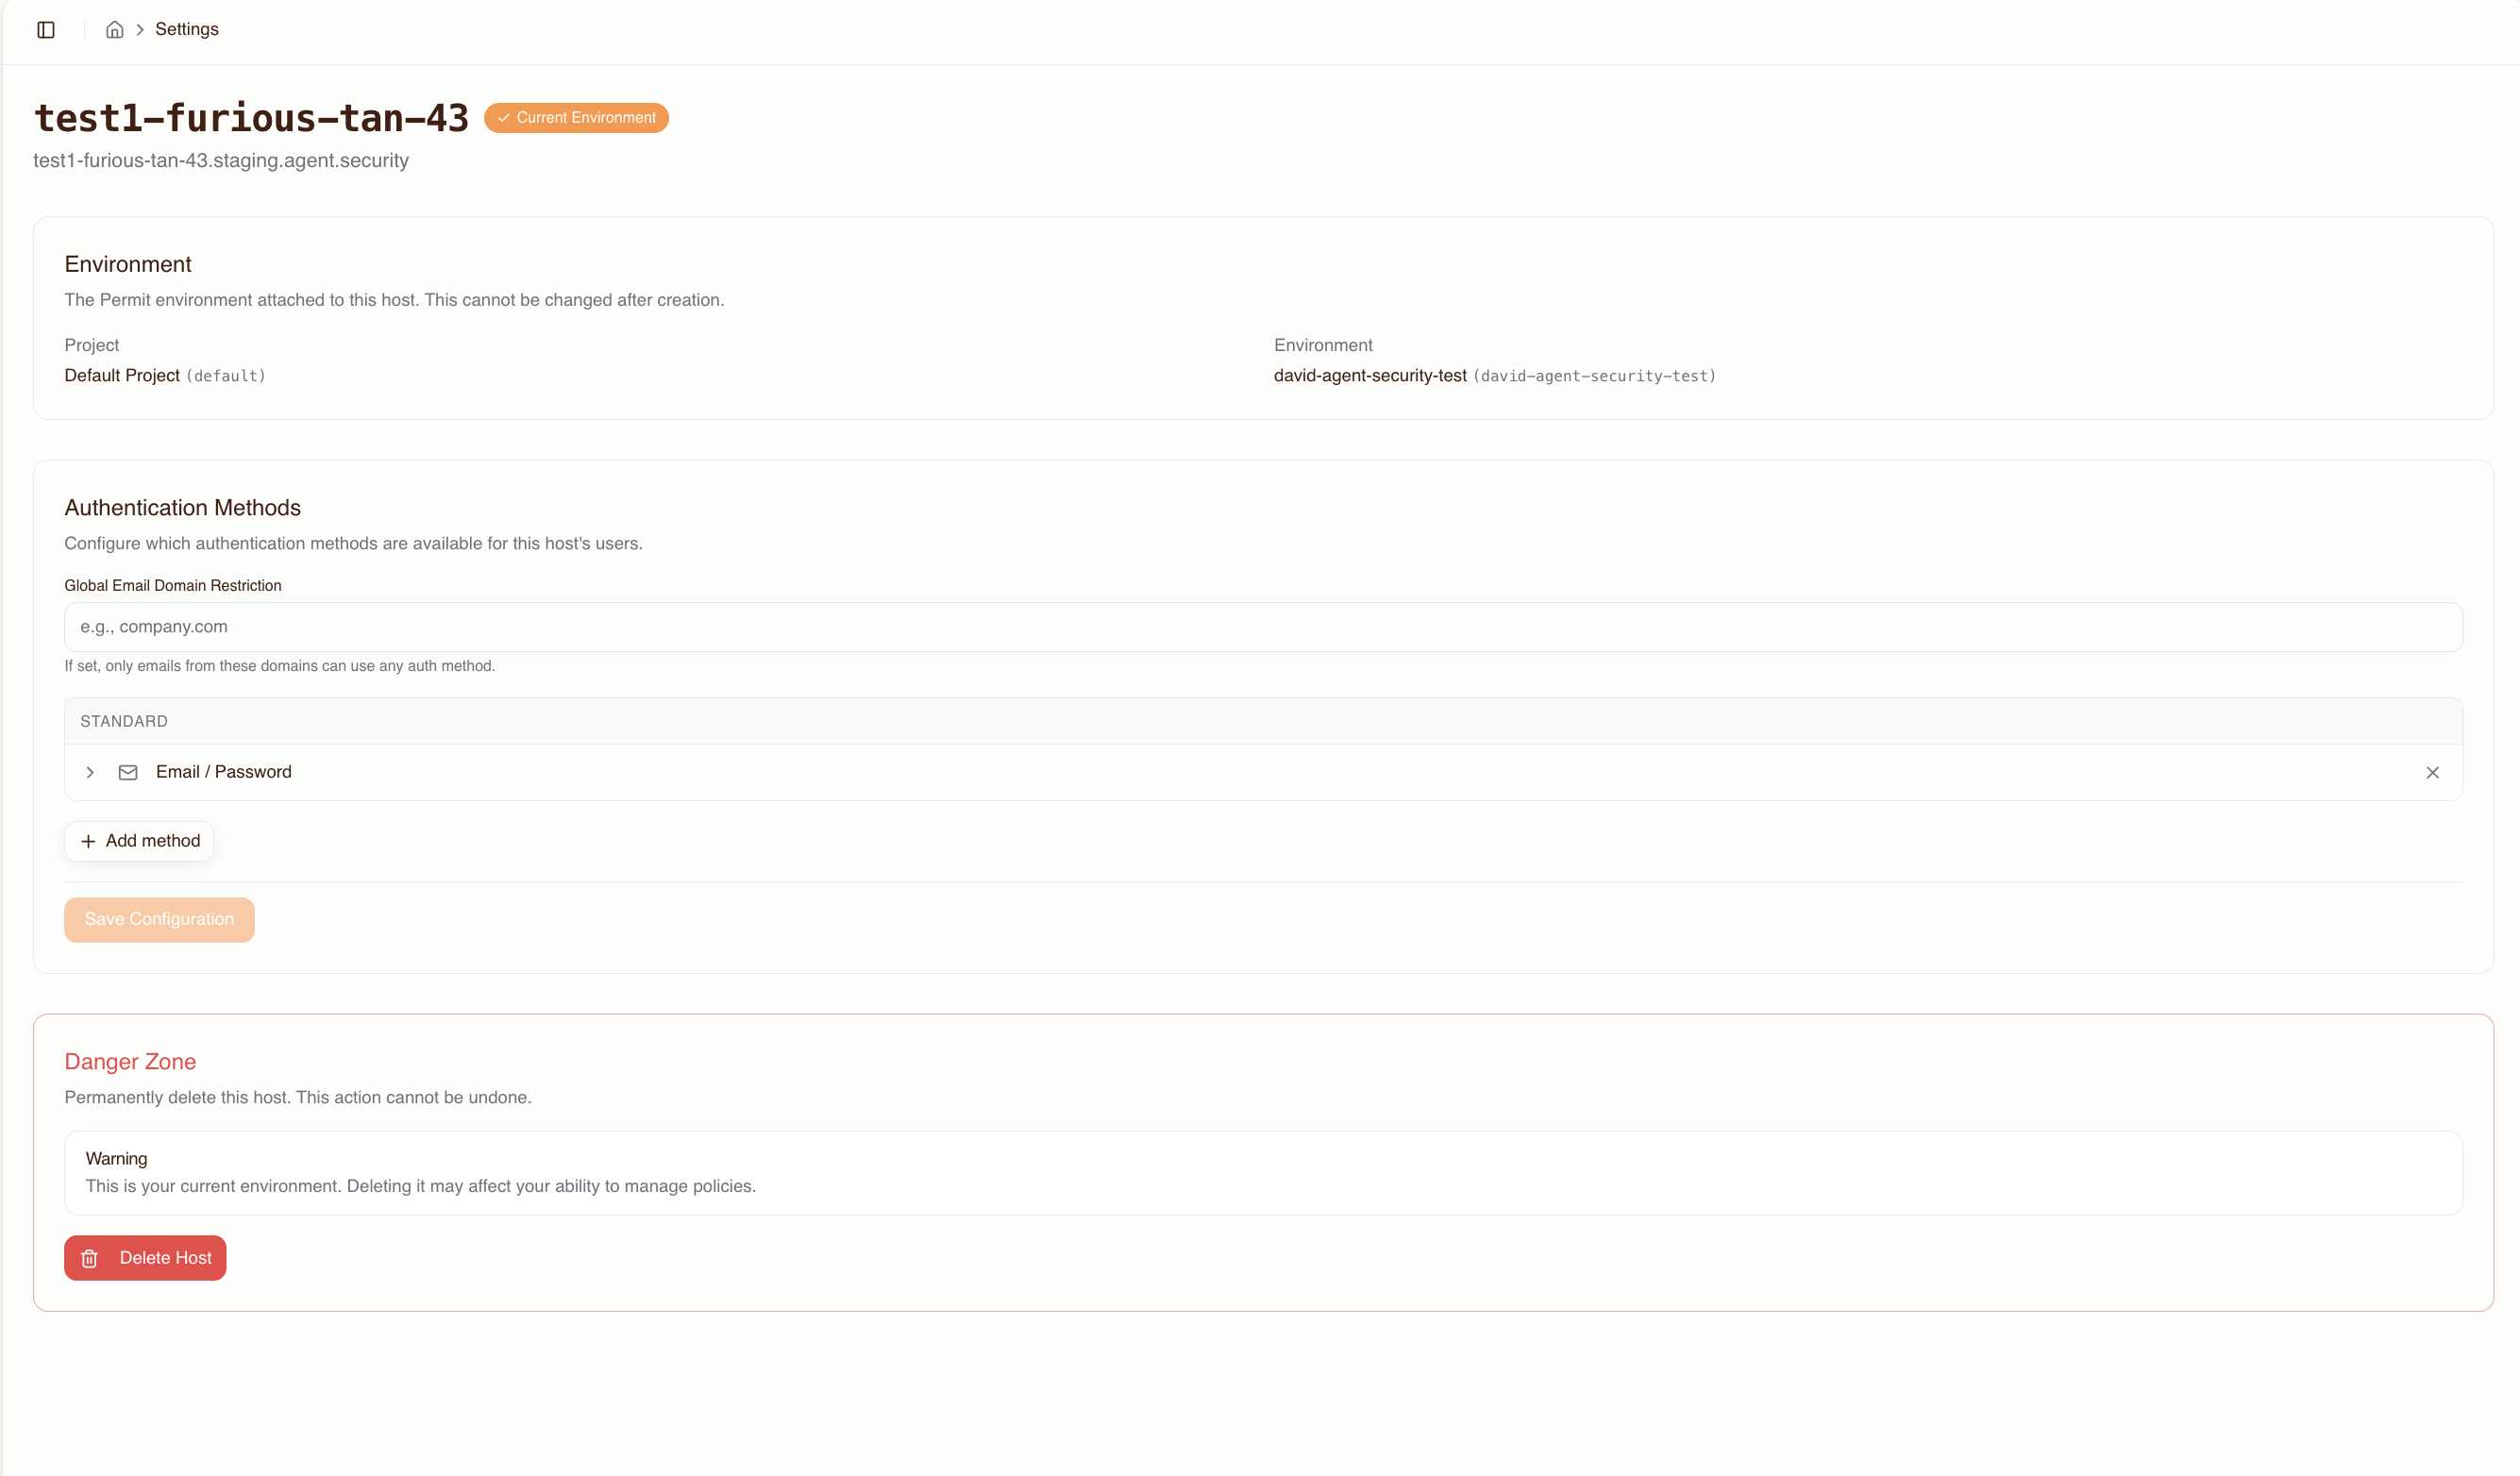
The available methods are email and password, email one-time passcode (OTP), passkeys, Google OAuth, GitHub OAuth, Microsoft OAuth, SAML 2.0 single sign-on (SSO), and OpenID Connect (OIDC) SSO. You can also limit sign-in to specific email domains and send users with matching domains straight to your SSO provider.
A global domain list and a per-method domain list both apply. A user can sign in only if the email domain is on both lists. Adding @partner.com to the Google OAuth list alone doesn't let @partner.com users sign in when the global list contains only @acme.com.
For setup steps, SAML service provider values, and callback URLs, see Authentication methods.
Trust level reference
During import, the gateway assigns each tool a trust level by matching keywords anywhere in the tool name. You can override the level for any tool.
| Trust level | Includes | Naming patterns | Examples |
|---|---|---|---|
| Low | Read-only operations (default) | Default for tools not matching medium or high patterns | get_user, list_issues, search_files |
| Medium | Low + write operations | Tools containing: create, write, update, set, modify, edit, put, post, insert, add, send, execute, run, invoke, submit, push, publish, deploy, apply, patch | create_issue, update_record, send_message |
| High | Low + medium + destructive operations | Tools containing: delete, remove, destroy, drop, purge, erase, truncate, terminate, kill, revoke | delete_repo, remove_member, destroy_environment |
Trust levels are hierarchical: high includes all medium and low permissions, and medium includes all low permissions. A tool that matches no medium or high keyword gets low trust. A tool named bulk_delete_users gets high trust because its name contains delete.
Troubleshooting
If an MCP client has the same MCP server configured through Permit MCP Gateway and as a direct connection, the agent can use the direct connection and skip the gateway. Tool calls on the direct connection aren't authorized or logged. Remove or disable direct connections for every server you import into the gateway.
| Symptom | Likely cause | Fix |
|---|---|---|
| Agent performs actions that should be denied, such as deleting a resource at medium trust | The same MCP server is configured both through the gateway and directly in the MCP client, and the agent uses the direct connection. | Remove the direct MCP server entry from the client configuration so only the gateway URL remains. For example, if you imported Linear into the gateway, remove any separate mcp.linear.app entry from .cursor/mcp.json or the Claude Desktop config. |
| MCP client shows "host not found" | The gateway URL is wrong, or the host doesn't exist. | Check the URL in the Hosts section of the Dashboard. |
| No MCP servers in the consent screen | The admin hasn't granted the user access to any server. | Grant access on the Humans page. |
| "Permission denied" on a tool call | The agent's trust level is lower than the tool's trust level. | To choose a higher trust level, disconnect the MCP server in the client and reconnect, which runs the consent flow again. An admin can also change the agent's trust level on the Agents page. |
| OAuth redirect fails during consent | The upstream MCP server requires manual OAuth credentials. | Re-import the server and enter the Client ID and Client Secret when prompted. |
| OAuth redirect fails with "invalid client" or a discovery error | The upstream OAuth credentials are wrong, or the provider changed its Proof Key for Code Exchange (PKCE) or discovery URL. | Check the Client ID and Client Secret on the server detail page in MCP Servers. If the discovery URL changed, delete the server and import it again with the new URL (see step 3). |
| Tools missing after import | The tools are turned off. | Open the server detail page and turn on the missing tools. |
| User can't complete the consent flow | The browser blocks pop-ups from the MCP client. | Allow pop-ups for the agent.security domain. |
| Re-consent doesn't offer a higher trust level | The user's max trust level is too low. | An admin raises the user's max trust level on the Humans page (see step 4), then the user re-consents. |
| "Session not found - complete consent flow first" | The gateway session expired after 90 days without a tool call, or an admin revoked access. | Disconnect the MCP server in the client and reconnect. The consent flow runs again. |
Server from upstream_mcp doesn't appear in consent | The user has no access grant for that server, so the gateway ignores the parameter. | Grant access on the Humans page (see step 4), then have the user reconnect. |
| Can't find audit logs | Only one of the two log locations was checked. | Check the Humans and Agents detail pages in app.agent.security and Audit Log in the linked environment in app.permit.io. See check the audit logs. |
Next steps
- Host setup guide: plan staging and production hosts and roll the gateway out to teams.
- Managing humans and agents: change trust levels and revoke access.
- Authentication methods: set up SSO and OAuth sign-in for the consent flow.
- How Permit MCP Gateway works with Permit.io: see how hosts, tools, and trust levels map to Permit environments, resources, and roles.