Building an RBAC Policy
Build a role-based access control (RBAC) policy in the Permit.io dashboard, assign a role to a user, and confirm the permission with a check. This tutorial is for developers building their first policy in Permit.
The tutorial builds this policy:
An administrator in a company can perform all actions on documents. A customer can only read documents.
Prerequisites
- A Permit.io account with a project and an environment. See the Quickstart.
- To run the check at the end: your environment API key (Get your API key) and a Permit SDK connected to a policy decision point (PDP). See Check permissions with permit.check().
For the definitions of roles, resources, and actions, see RBAC components.
1. Create the admin and customer roles
Create two top-level roles, Admin and Customer. A top-level role applies to a user across a whole tenant.
- In the Permit dashboard, open Policy and select the Roles tab.
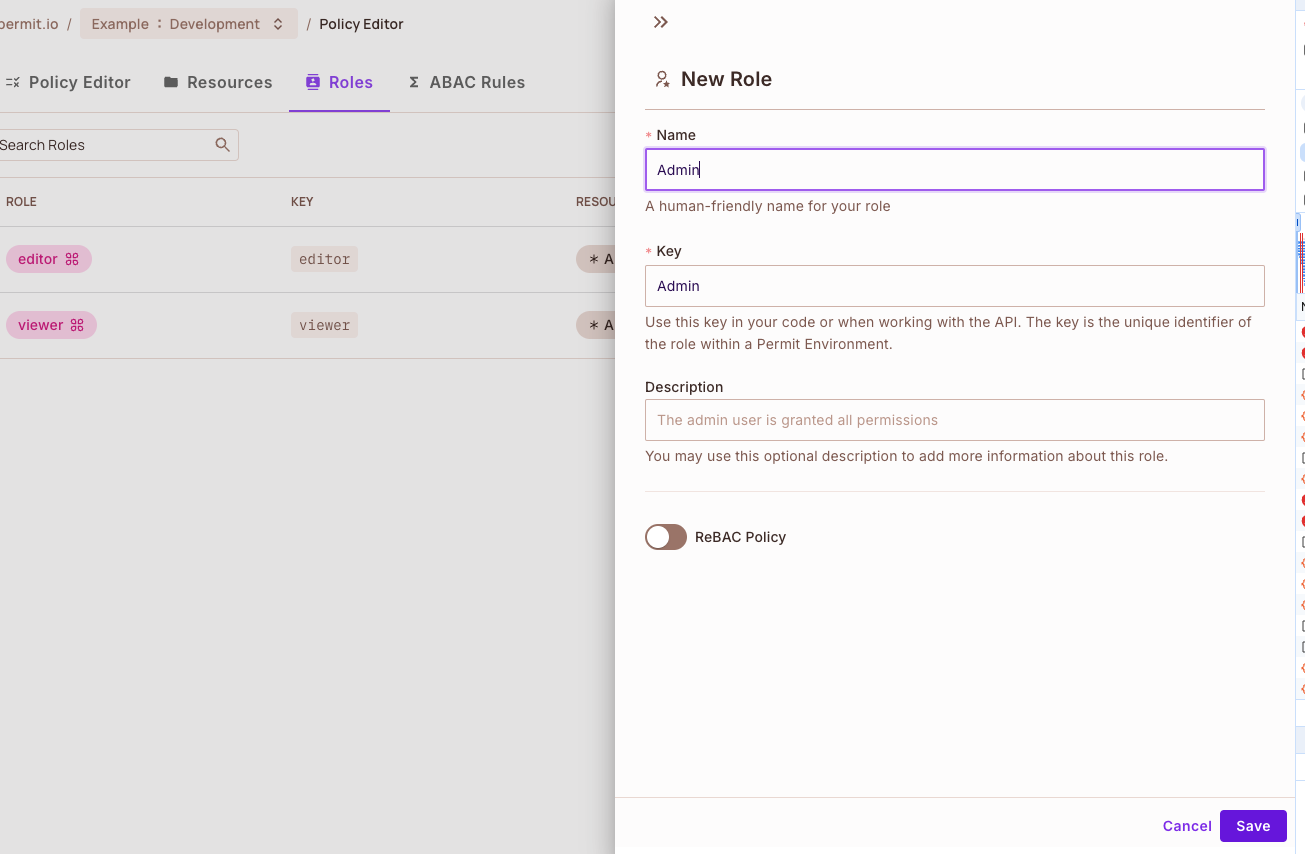
- Create a role. The New Role panel opens.
- Enter
Adminin Name. Permit fills Key from the name. The key is the identifier you use inpermit.check()and in the API. - Click Save.
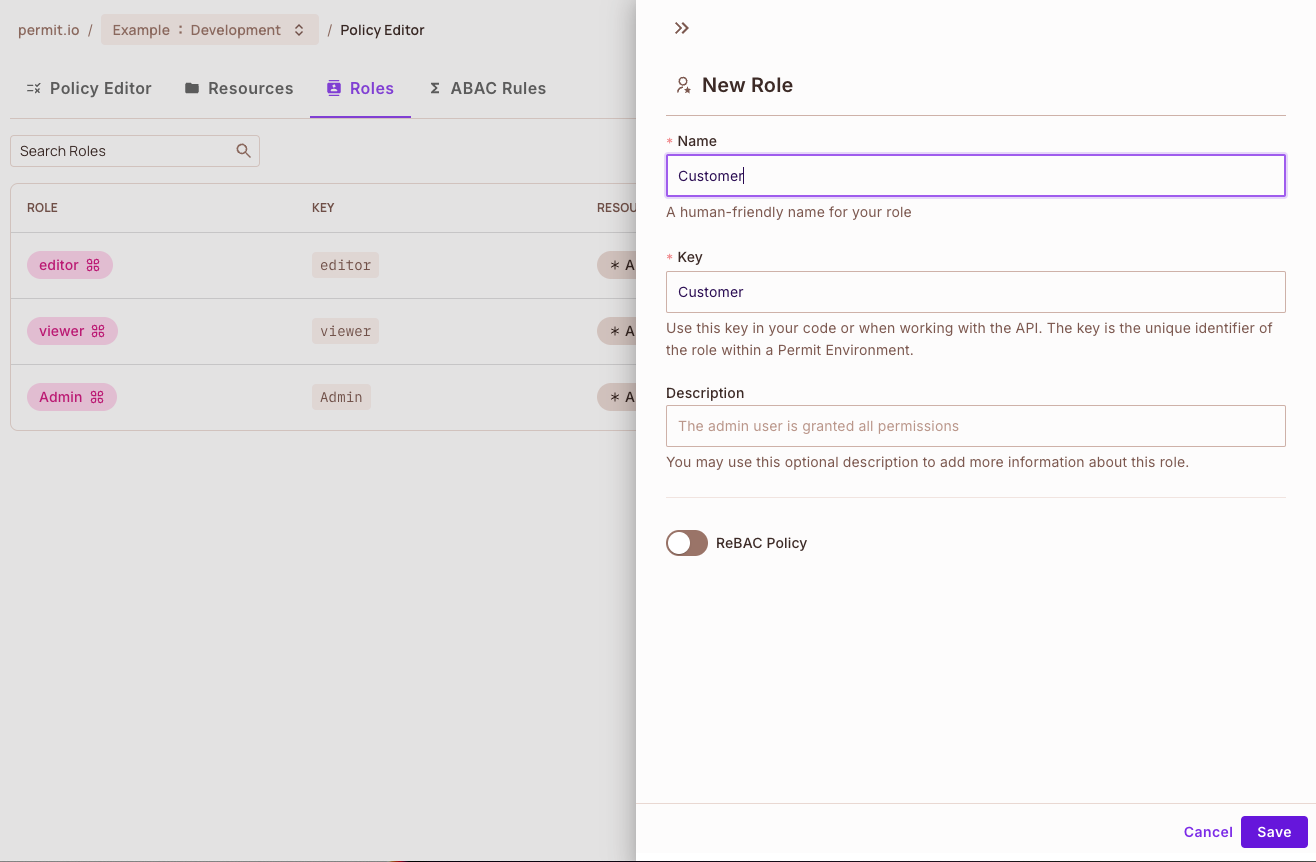
- Repeat steps 2 to 4 for a role named
Customer.
The Roles tab then lists both roles with their keys in the KEY column. You create each role in the New Role panel:
2. Create the document resource
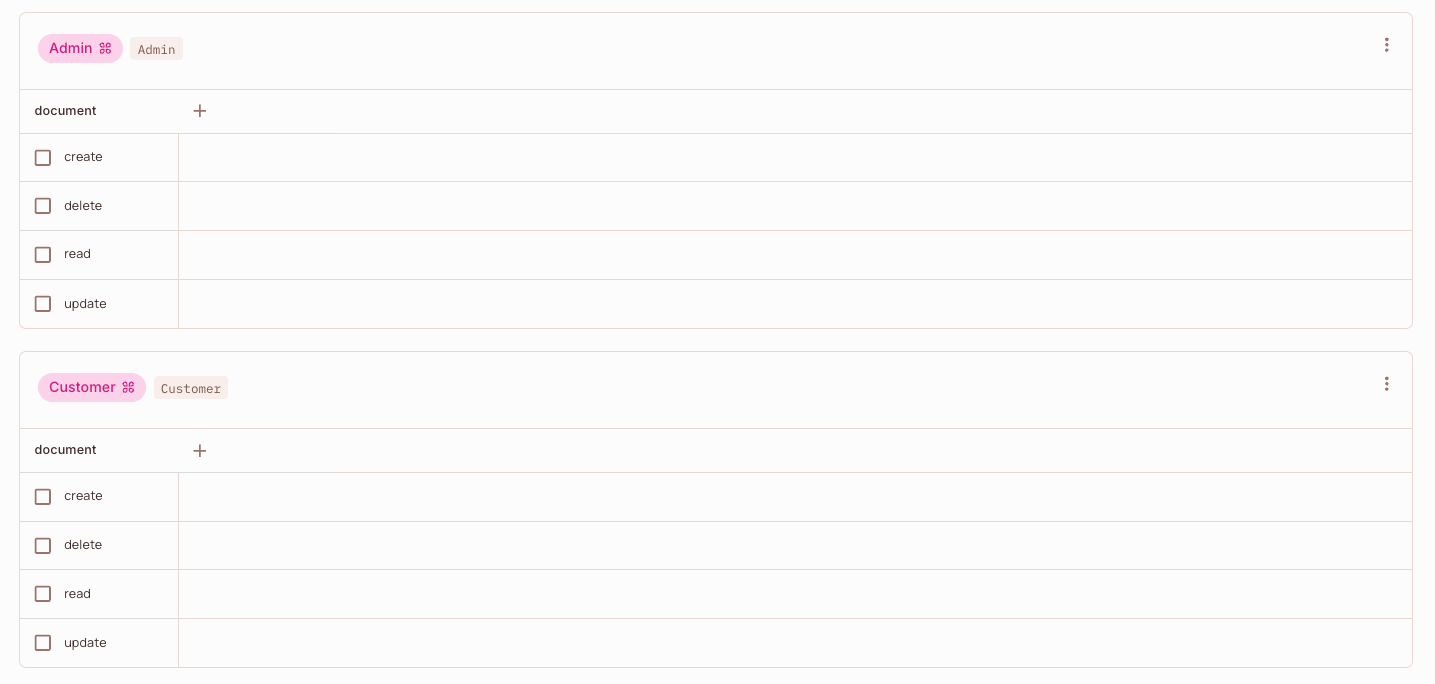
Every resource you create is available to every role in the environment. Until you create a resource, the Policy Editor has no permissions to show.
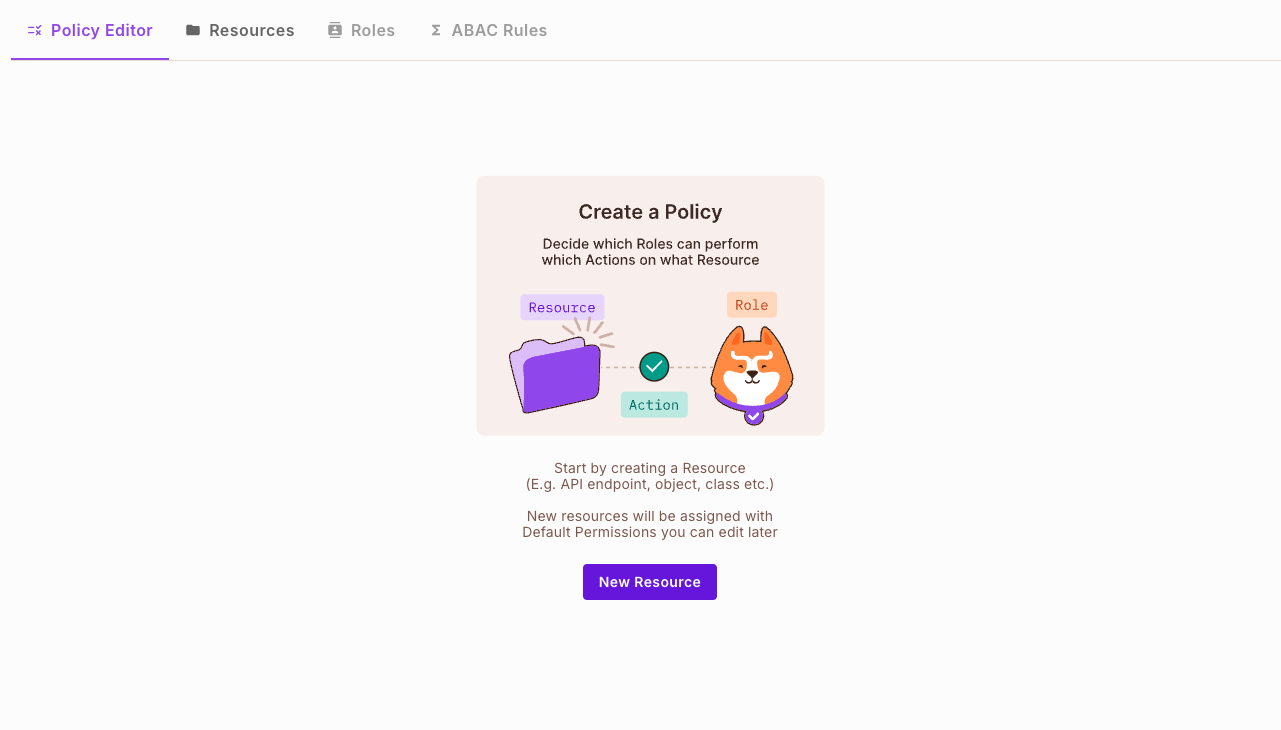
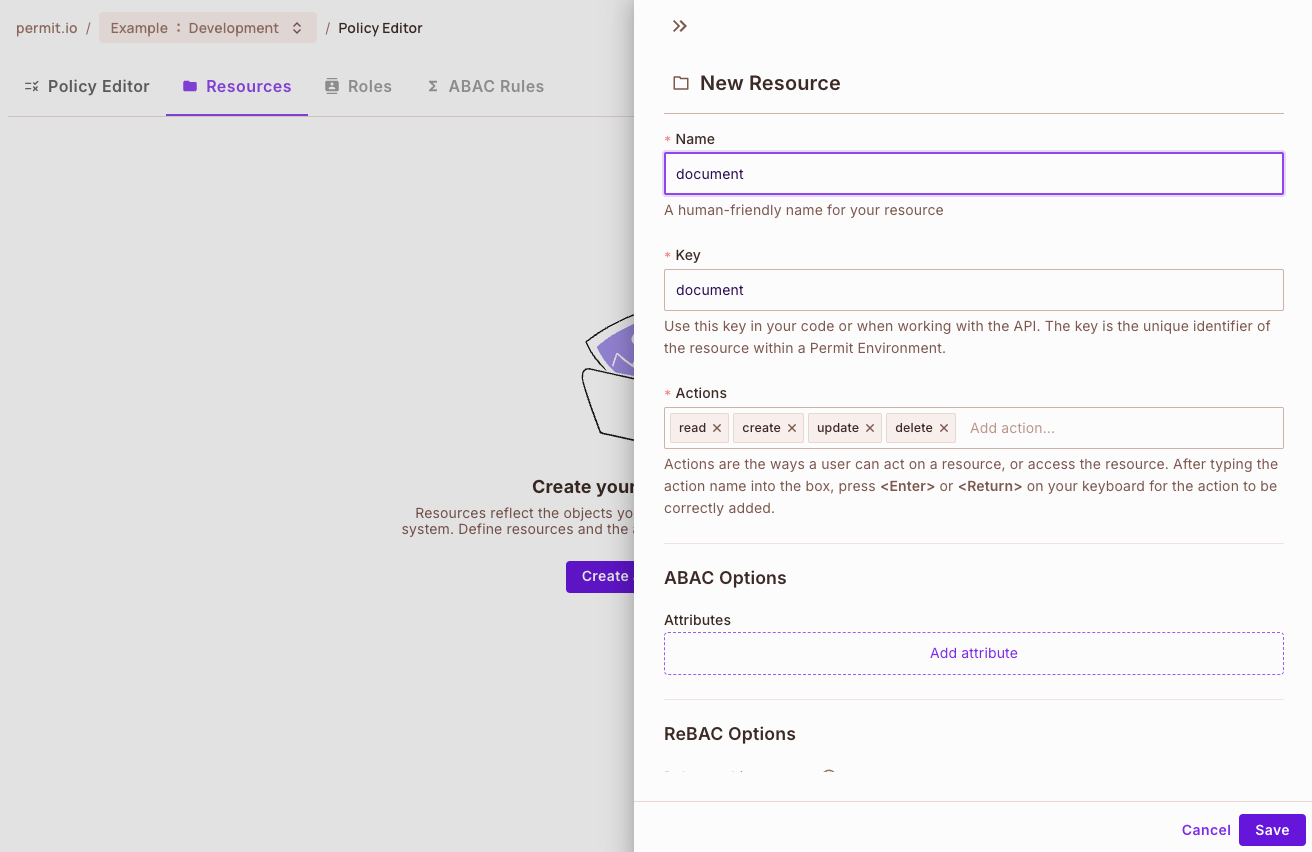
- Select the Resources tab and create a resource. The New Resource panel opens.
- Enter
documentin Name. Permit fills Key from the name. - In Actions, type
read,create,update, anddelete, and press Enter after each action. An action that you type without pressing Enter is not added. - Click Save.
After you save the resource, the Policy Editor lists the document actions under each role:
3. Grant permissions to the roles
- Select the Policy Editor tab.
- Under the
Adminrole, selectcreate,delete,read, andupdatefordocument. - Under the
Customerrole, selectreadfordocument. - Click Save Changes in the bar that counts your unsaved changes.
The example policy is complete: the Admin role can perform all four actions on document, and the Customer role can only read.
4. Create a user and assign the Admin role
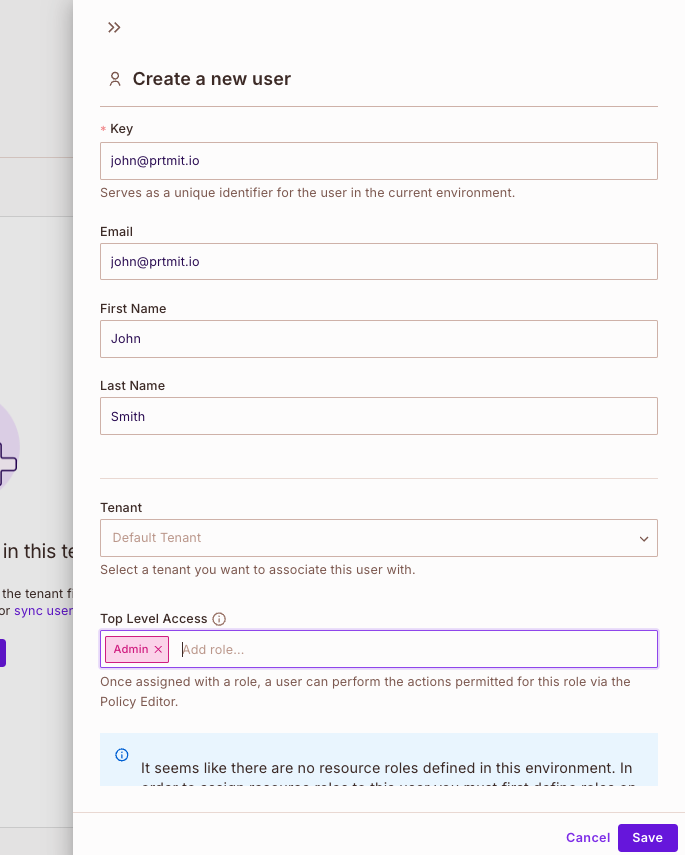
Add the user in the Directory screen
- Select Directory in the dashboard navigation.
- Click Add user.
- Enter a key, such as
john@permit.io. You use the key to identify the user inpermit.check(). - Optionally, enter an email, first name, and last name.
- Select a tenant, such as Default Tenant.
- Under Top Level Access, add the
Adminrole. - Click Save.
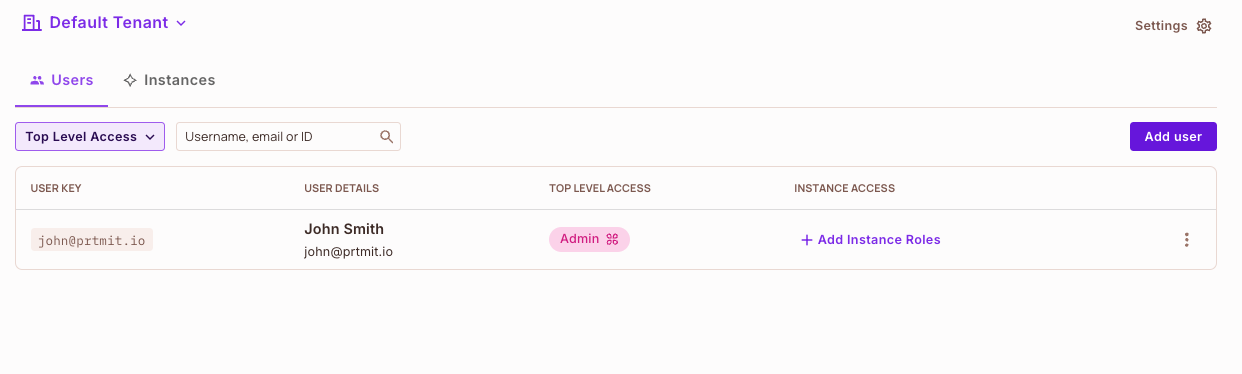
The Directory screen lists the user with the Admin role in the Top Level Access column:
5. Check the permission
From your application, call permit.check() with the user key, an action, and the resource key. Replace <YOUR_API_KEY> with your environment API key:
import { Permit } from "permitio";

const permit = new Permit({
  token: "<YOUR_API_KEY>",
  pdp: "https://cloudpdp.api.permit.io",
});

const permitted = await permit.check("john@permit.io", "delete", "document");

console.log(permitted);
The script prints true, because the Admin role can delete documents:
true
When the resource argument carries no tenant, the Node.js SDK sends the check for the tenant default, which is the key of Default Tenant. The example sends the check to the Cloud PDP, which evaluates RBAC policies, so this tutorial needs no local PDP. An attribute-based access control (ABAC) policy needs an Edge PDP. See Cloud PDP capabilities.
Change the arguments to check the other cases:
| User | Action | Resource | Result |
|---|---|---|---|
john@permit.io, with the Admin role | delete | document | true |
A user with the Customer role | read | document | true |
A user with the Customer role | delete | document | false |
| A user with no role in the tenant | read | document | false |
For the other SDKs, the check options, and how to pass a tenant, see Check permissions with permit.check(). When a check returns false and you expected true, see Fix a no_permission denial.
Multi-tenancy RBAC in Permit
Top-level roles and their permissions are defined per environment and shared by every tenant in the environment. Role assignments are per tenant: you can assign a user the Admin role in one tenant and the Customer role in another. The user then has admin permissions only in the first tenant.
To learn more, see Multi-tenant authorization.
Role attributes
Role attributes are metadata on roles, such as a tier or a region. Use them to tag roles and filter roles through the API, for example to separate the roles that belong to each tenant. To define role attributes, see Define role attributes. To filter roles by attribute, see List tenant roles filtered by role attributes.
Next steps
- Building your first ABAC policy: grant permissions based on user and resource attributes.
- Building ReBAC policies: grant permissions based on relationships between resource instances.
- Sync users: create users and assign roles from your code.
- Mix and Match Policies: combine RBAC, ABAC, and ReBAC in one policy.