Create a ReBAC Policy
Build a relationship-based access control (ReBAC) policy in the Permit.io dashboard, then test it with a permission check. This walkthrough is for developers who have built a role-based access control (RBAC) policy and need permissions that follow relationships between objects. You model dashboards that contain widgets, so a role on a dashboard gives a role on every widget in it.
Prerequisites
- A Permit.io account with a project and environment (Configure your first RBAC policy)
- The ReBAC concepts of resource roles, relations, and role derivations (ReBAC overview, Policy basics)
- To run the test check: an initialized Permit SDK connected to a policy decision point (PDP) (Use the Permit API and SDK)
Define the policy schema
The example is a dashboarding system with two resource types. Dashboard is the parent. Widget is the child. Each resource has its own roles: Owner, Viewer, and Analyst on dashboards, and Owner, Viewer, and Editor on widgets. A role on a dashboard gives a matching role on every widget in that dashboard.
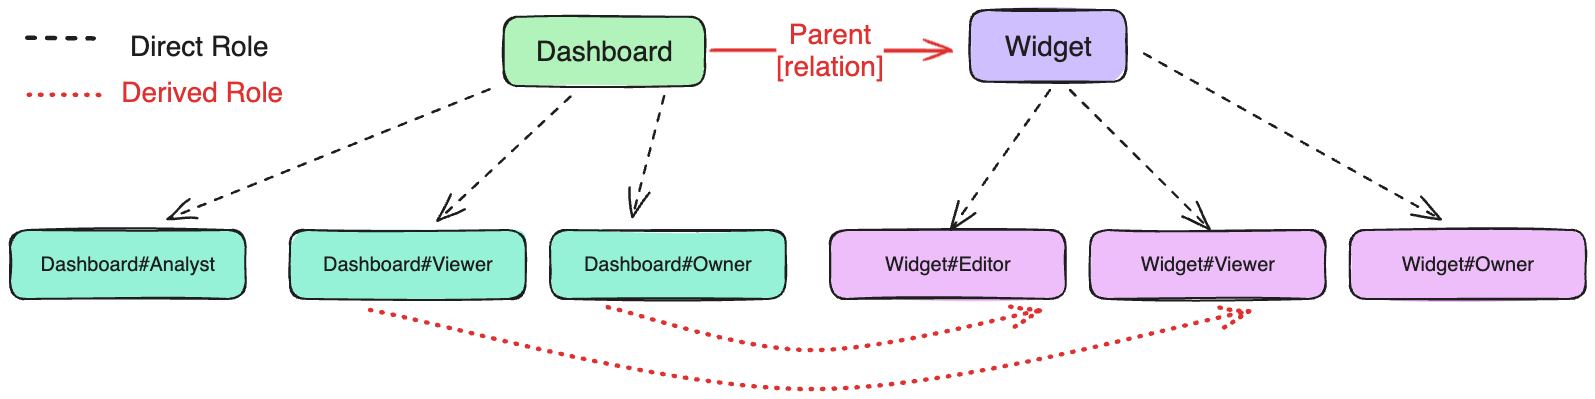
The schema has four parts: resources with their roles, the relation between the resources, role derivations, and permissions.
1. Create the resources and their roles
In the Permit dashboard, open Policy, select the Resources tab, and click Add Resource.
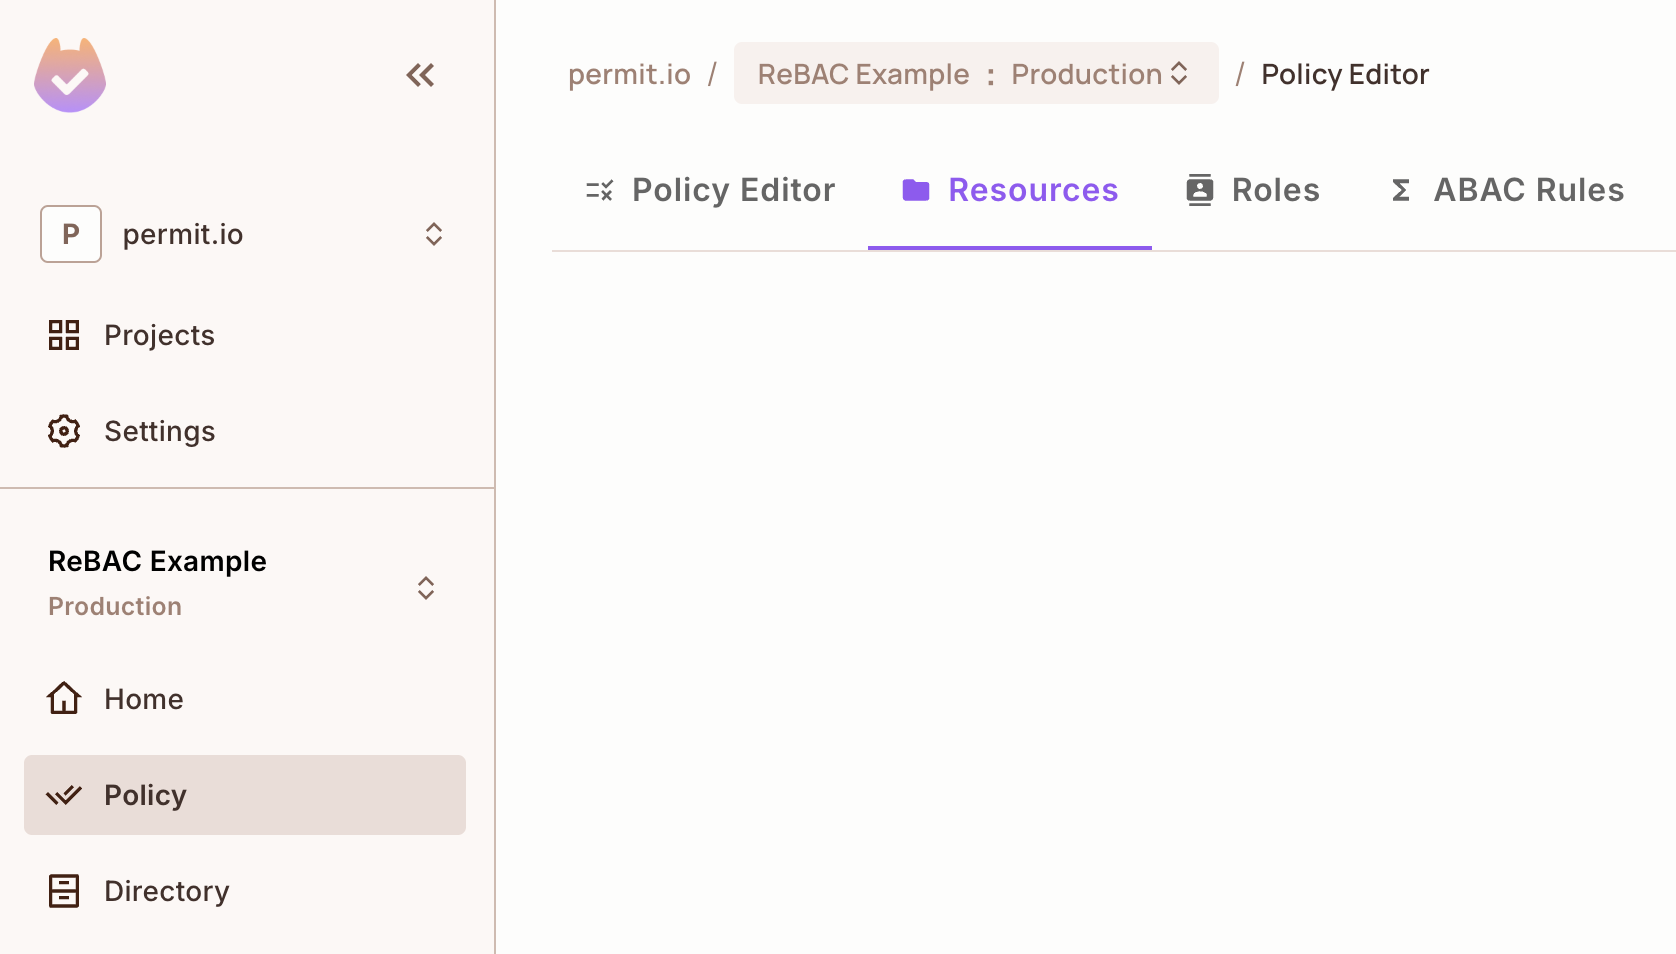
Create the Dashboard resource
Enter these details, then click Save:
| Field | Value |
|---|---|
| Name | Dashboard |
| Actions | view, remove-widget, add-widget, edit, delete, create |
| Roles on this resource | Owner, Viewer, Analyst |
Create the Widget resource
Click Add Resource again, enter these details, then click Save:
| Field | Value |
|---|---|
| Name | Widget |
| Actions | view, edit, delete, create |
| Roles on this resource | Owner, Viewer, Editor |
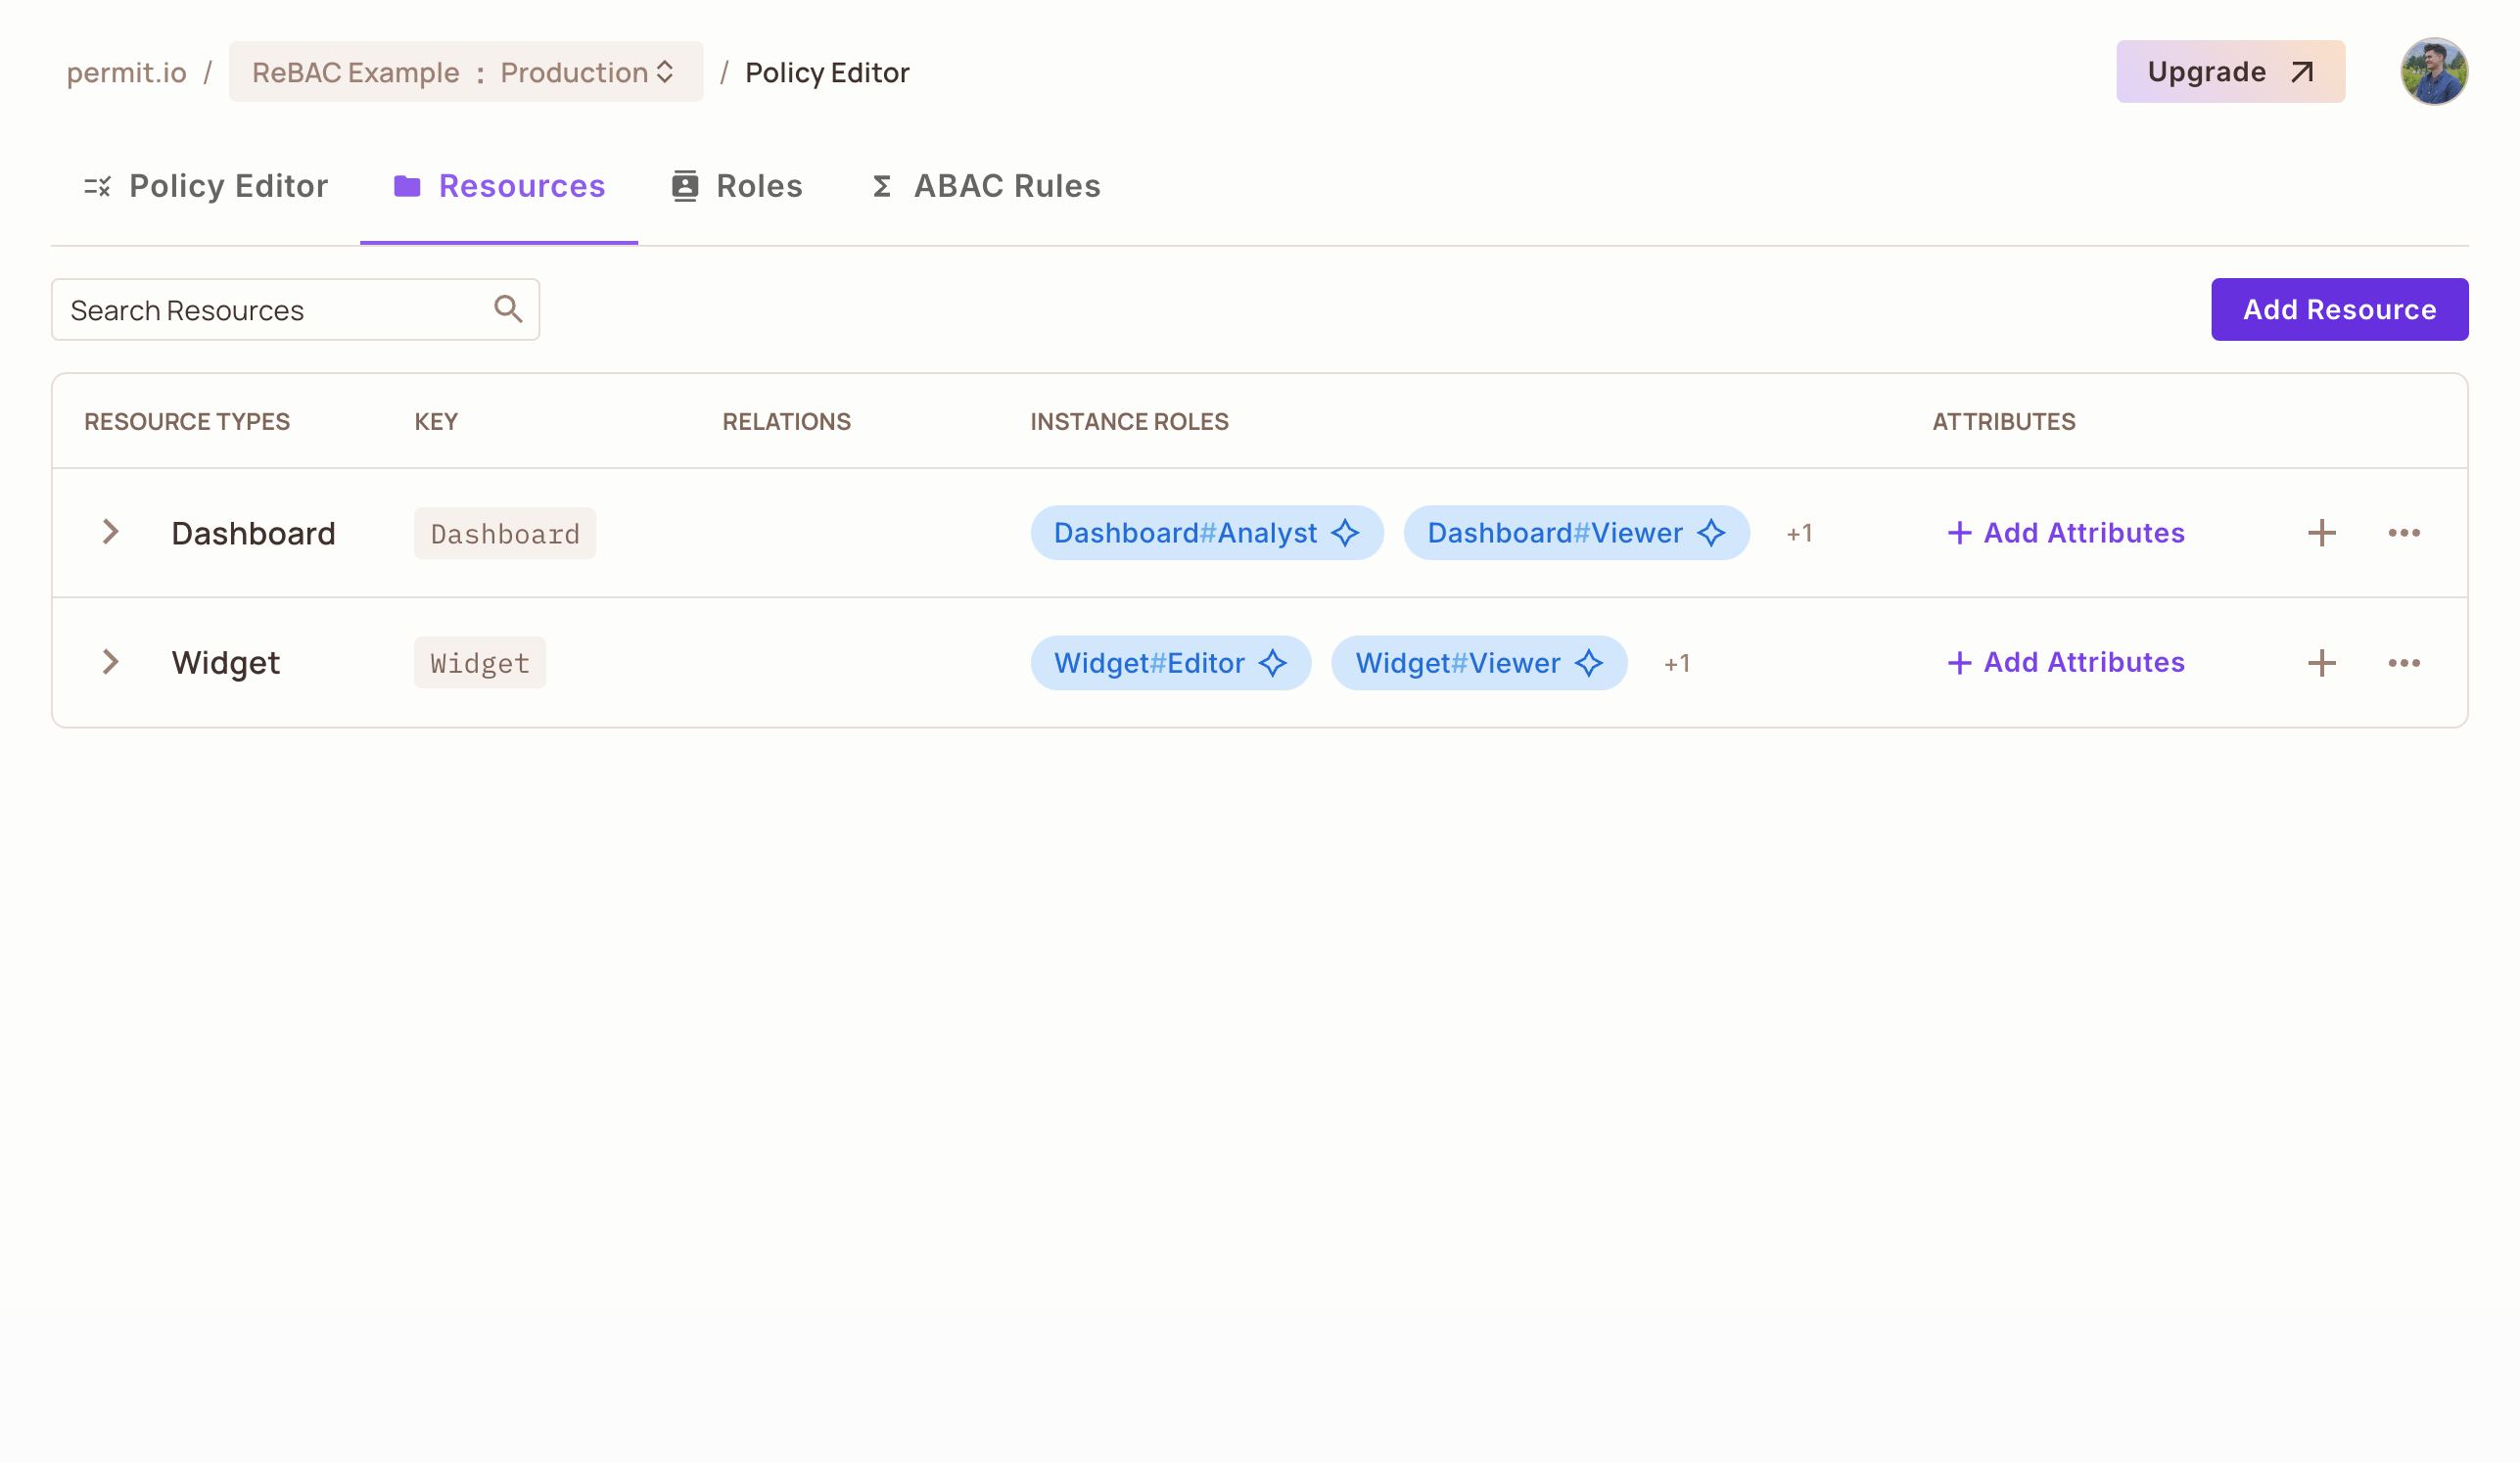
Check the resources list
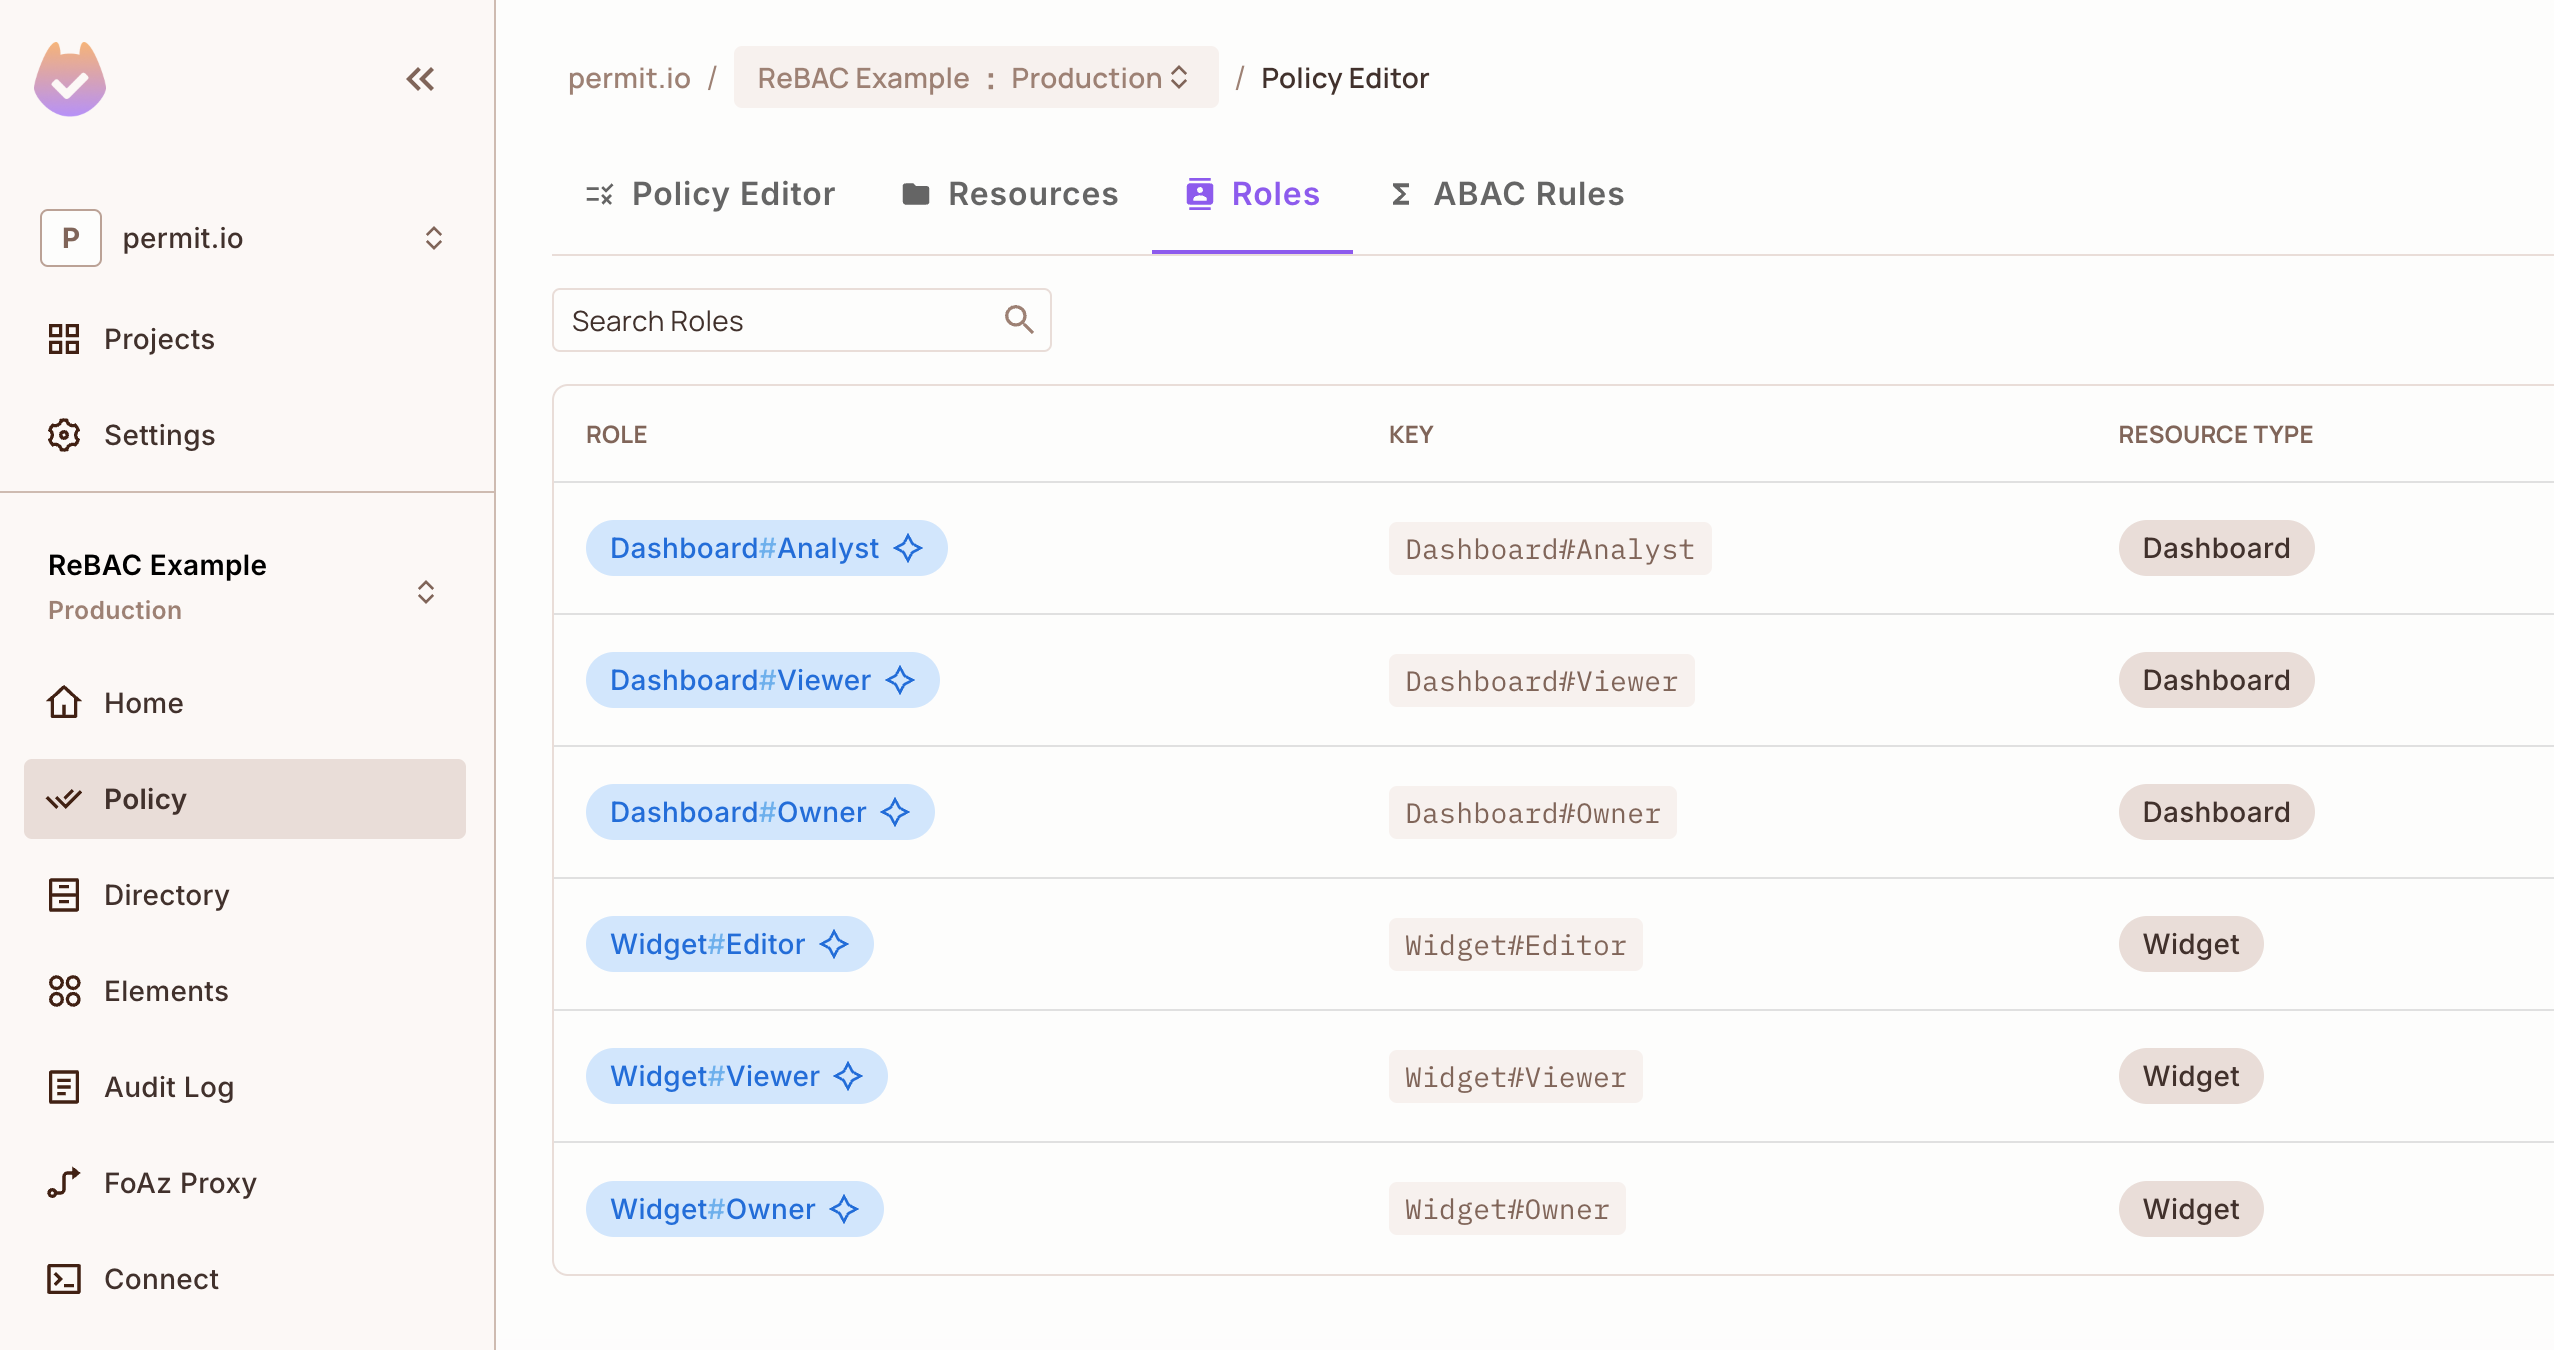
The Resources tab lists both resources, with their keys and instance roles, such as Dashboard#Analyst and Widget#Editor.
2. Define the relation between the resources
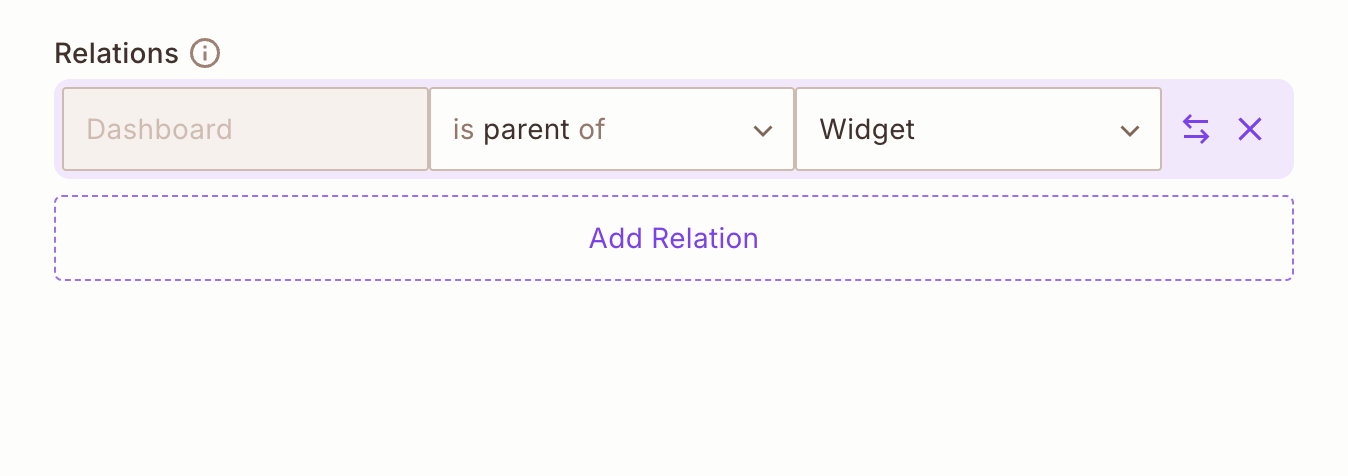
A relation connects two resource types. Here, Dashboard is the parent of Widget.
Open the resource editor
In the Resources tab, click the three-dot menu of the Dashboard resource and select Edit.
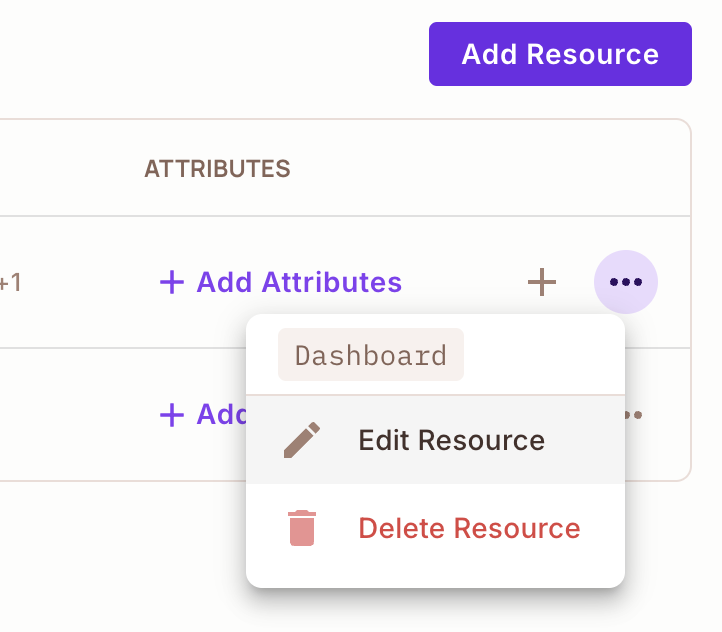
Add the parent relation
In the Relations section, click Add Relation and set Dashboard is parent of Widget.
Save the relation
Click Save. Dashboard is the parent of Widget. You can derive widget roles from dashboard roles.
3. Define role derivations
A role derivation gives a user a role on one resource instance because of the user's role on a related instance.
Open the Roles tab
In Policy, select the Roles tab. The tab lists every resource role, such as Dashboard#Owner and Widget#Editor.
Add the derivations
Add these two derivations to the Widget resource roles. For the dashboard steps that create a derivation, see Define role derivations.
| Derived role | Derived from | Meaning |
|---|---|---|
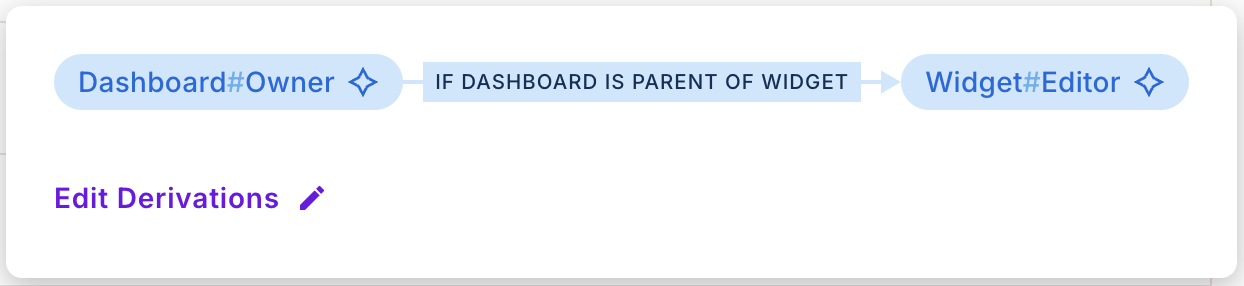
Widget#Editor | Dashboard#Owner, where Dashboard is parent of Widget | A user who is Owner of a Dashboard instance becomes Editor of every Widget instance under that dashboard. |
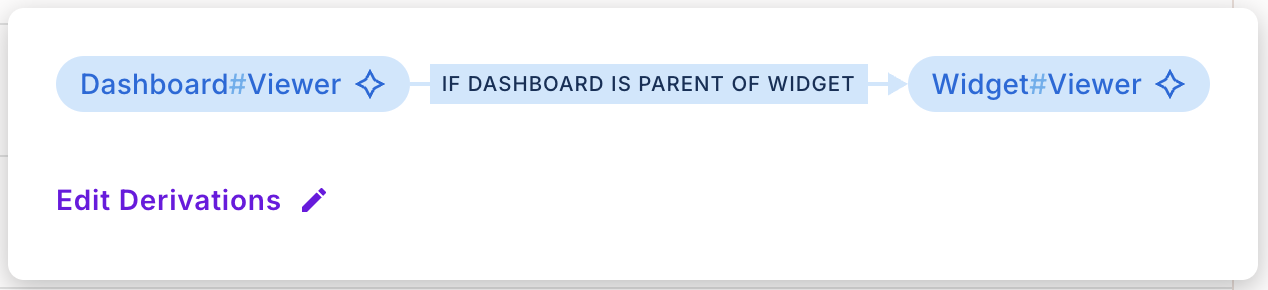
Widget#Viewer | Dashboard#Viewer, where Dashboard is parent of Widget | A user who is Viewer of a Dashboard instance becomes Viewer of every Widget instance under that dashboard. |
The first video adds the Dashboard#Owner to Widget#Editor derivation:
The second video adds the Dashboard#Viewer to Widget#Viewer derivation:
Save the role derivations
Save the changes. Each derivation shows as a rule, for example Dashboard#Owner to Widget#Editor if Dashboard is parent of Widget.
4. Configure permissions
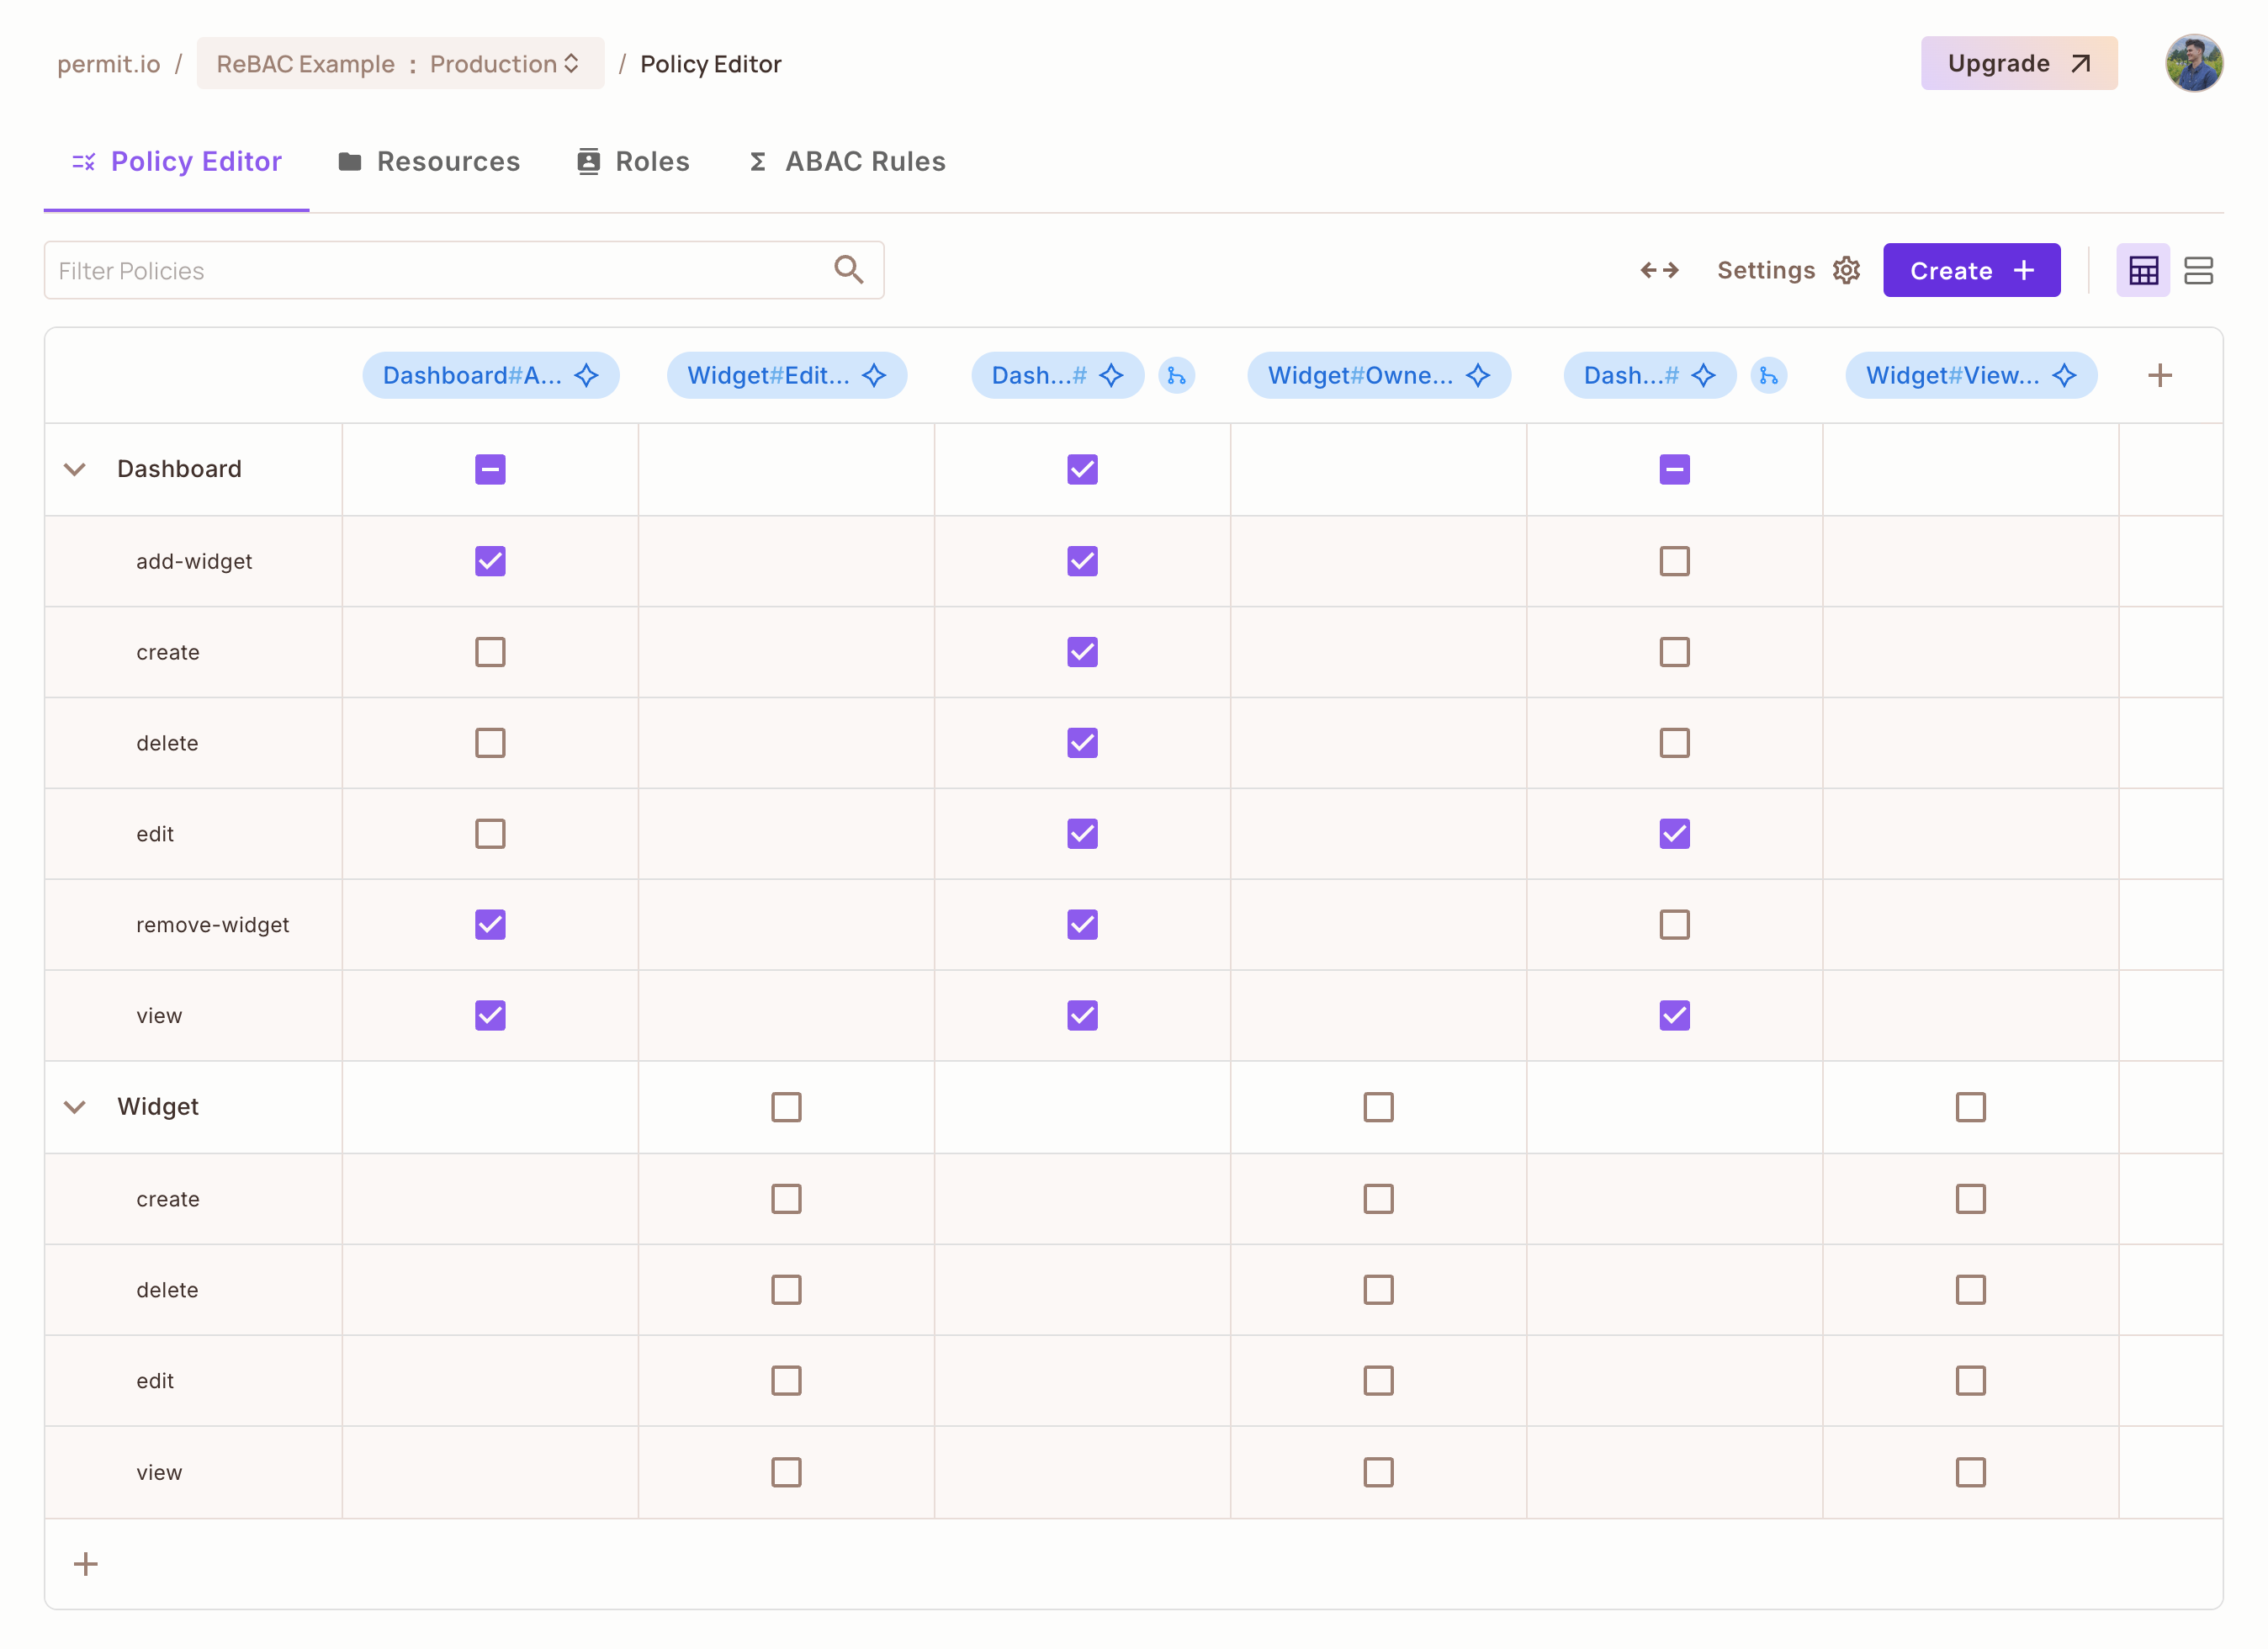
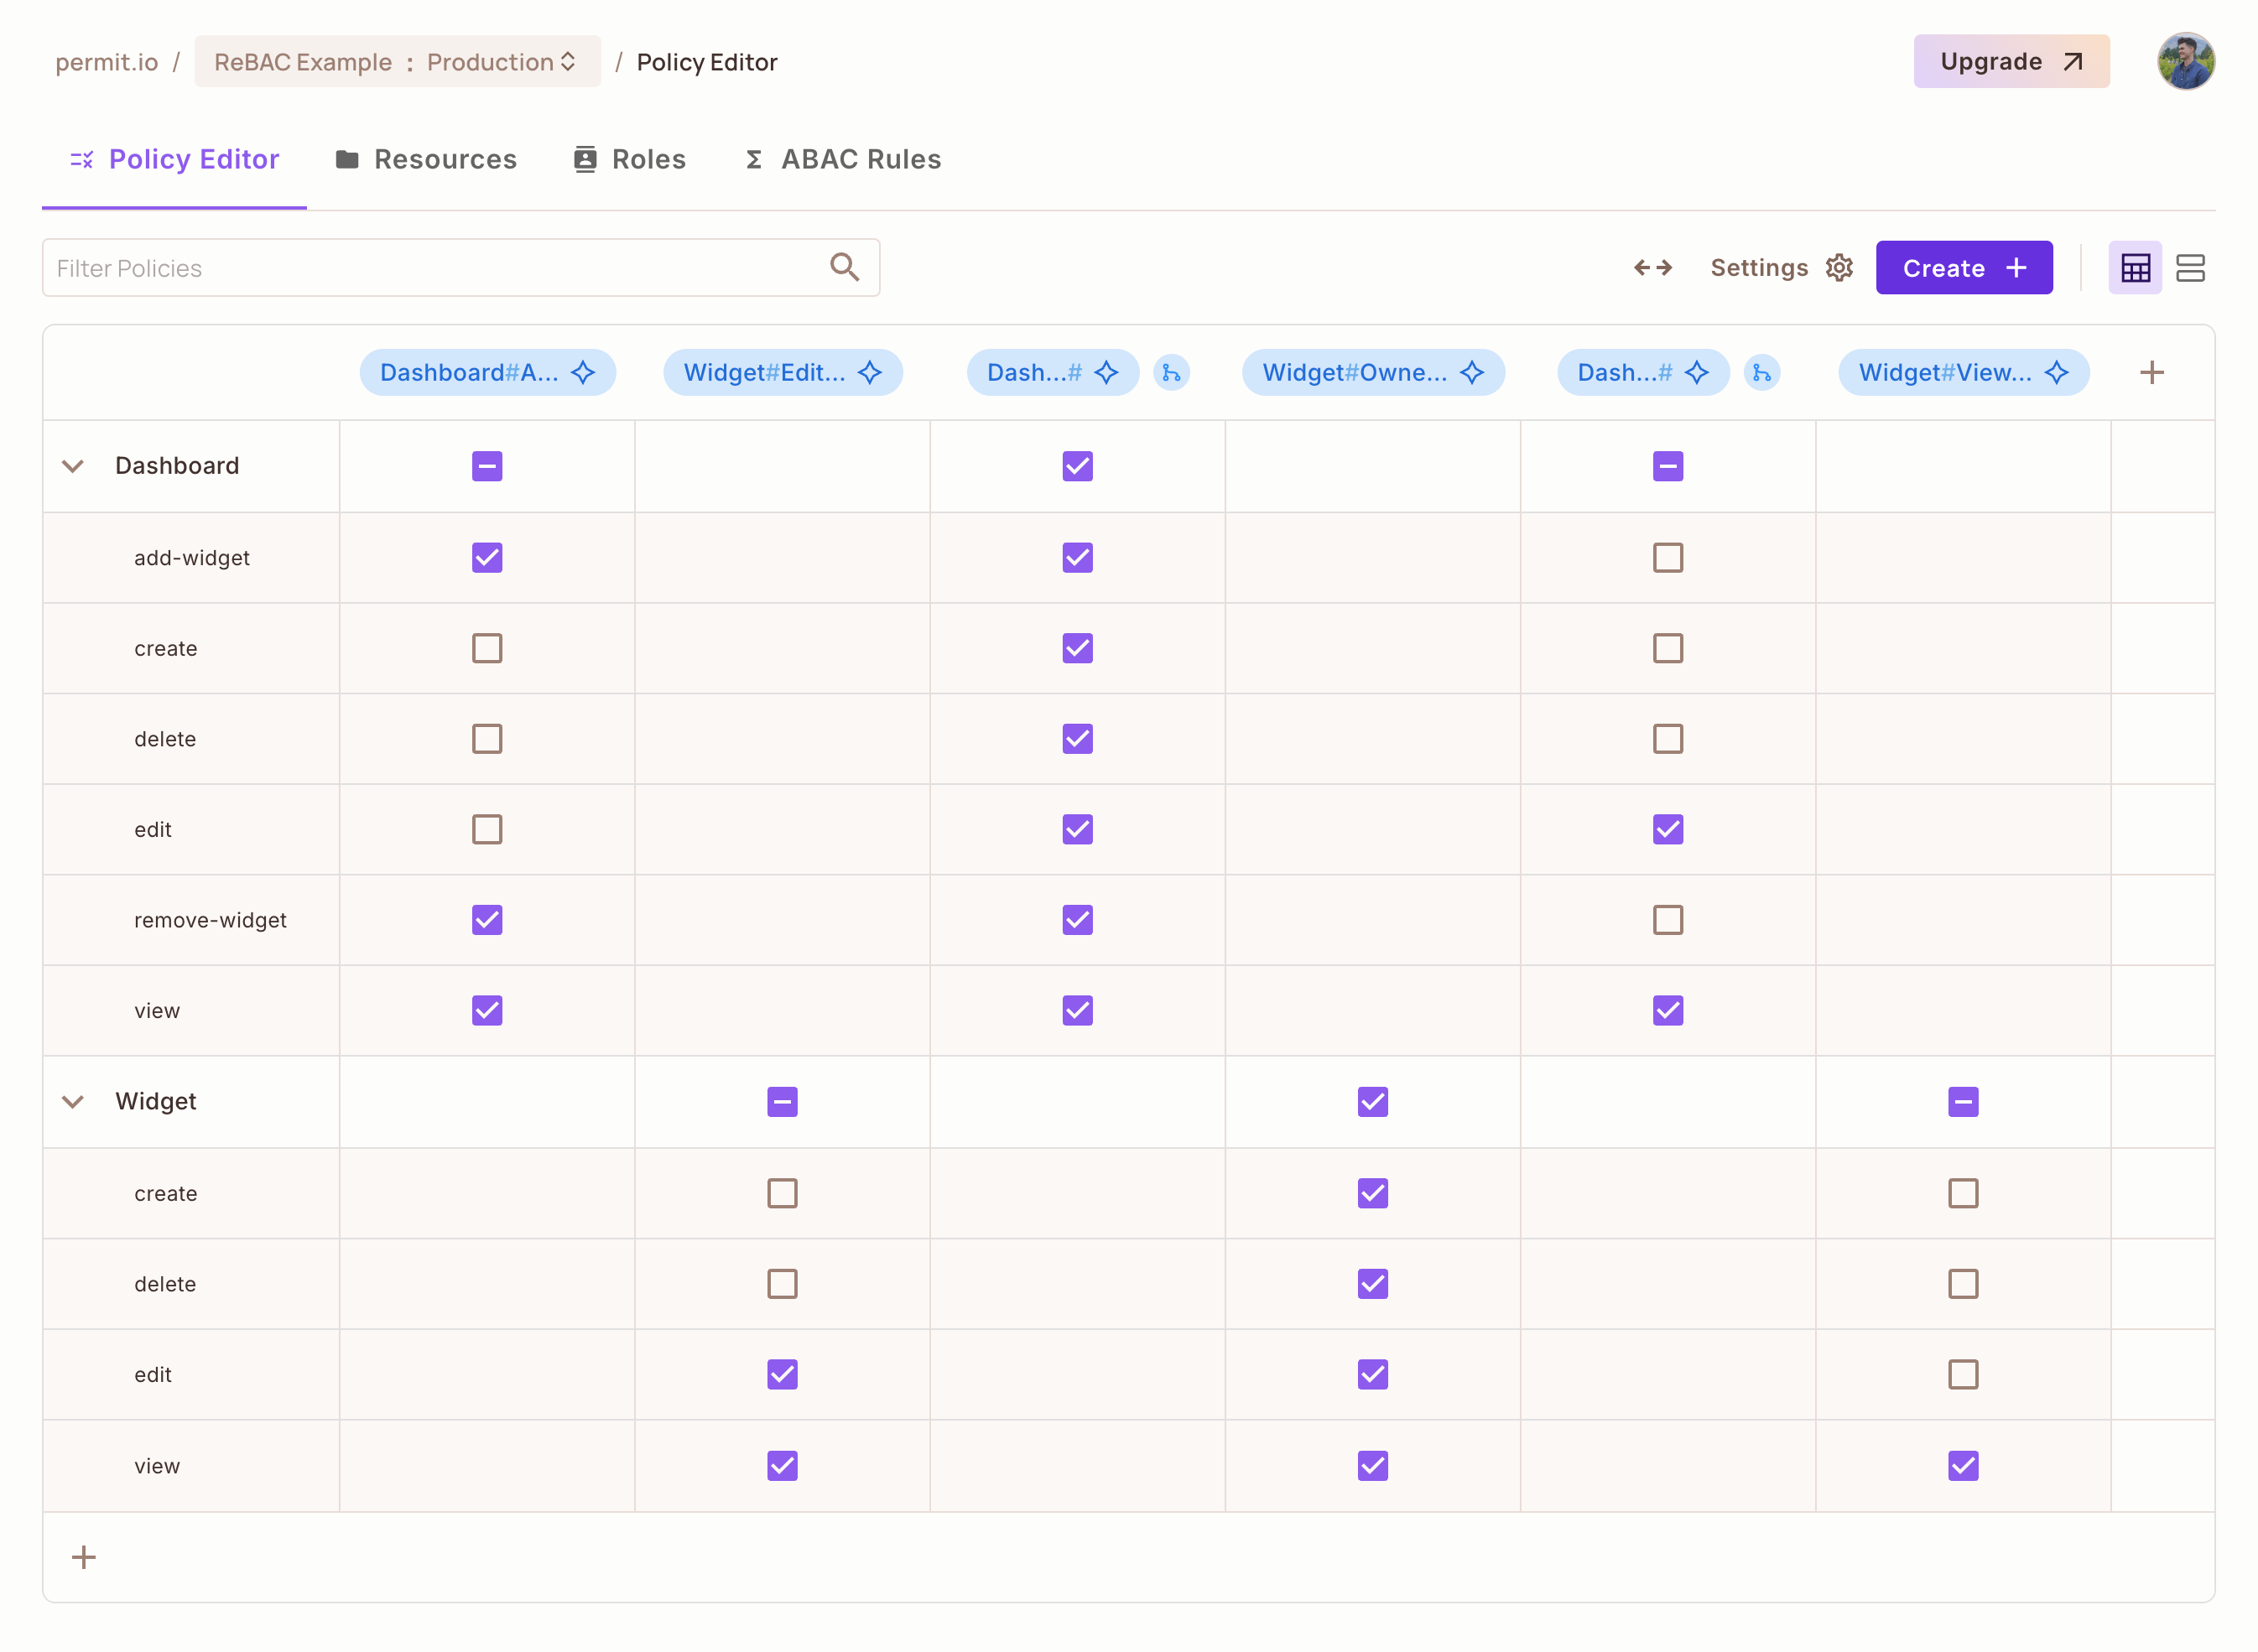
In Policy > Policy Editor, check the actions each resource role can perform, then click Save Changes.
Dashboard permissions
| Role | Actions |
|---|---|
| Owner | view, create, edit, delete, add-widget, remove-widget |
| Viewer | view |
| Analyst | view, add-widget, remove-widget |
Add the policy data
The schema is complete. Next, add the data the policy evaluates: users, resource instances, a relationship between the instances, and role assignments.
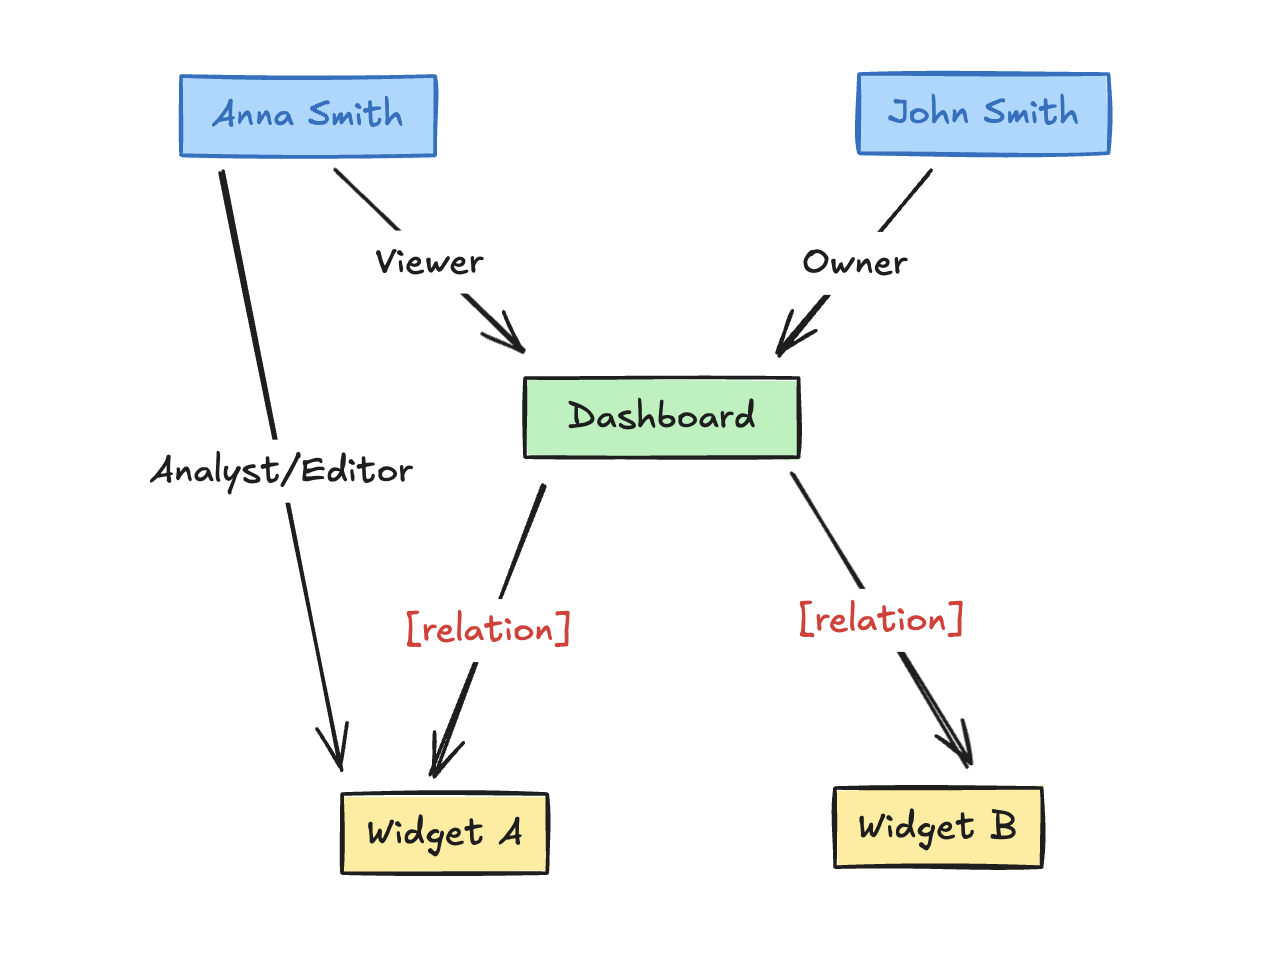
The following diagram shows the two ways a user reaches a widget under this schema. A user can hold a role directly on a widget, or hold a role on the dashboard, in which case the relation and the role derivations carry that role to every widget under the dashboard. The diagram uses example instance names, not the ones you create below.
5. Add data and test the policy
Create users
In Directory, click Add user and create two users. Don't give them top-level roles. You assign each user an instance role in the Assign instance roles step below, so that only the instance roles and the derivations decide the checks.
| User | Key | |
|---|---|---|
| John Smith | johnsmith | john@smith.com |
| Anna Smith | annasmith | anna@smith.com |
Create resource instances and their relationship
Create a Widget instance, data_consumption, under a Dashboard instance, data.
- In Directory, open the Instances tab and click Add Instance.
- In Resource Type, select
Dashboard. - In Instance Key, enter
data. - In Tenant, select Default Tenant.
- Under Relationships, click Add Relationship and set
Dashboarddatais parent ofWidgetdata_consumption. - Click Save.
The Instances tab lists Widget data_consumption and Dashboard data, each with one relationship. Permit creates the data_consumption Widget instance from the relationship.
Assign instance roles
Give each user one instance role. John Smith gets a role directly on the widget. Anna Smith gets a role on the dashboard, so the role derivation from step 3 is what gives her access to the widget.
- In Directory, open the Users tab, click the three-dot menu of John Smith, and select Edit.
- Under Instance Access, click Add Instance Access.
- Select
Widget, enter the instancedata_consumption, and select the roleOwner. - Click Save.
- Repeat steps 1 to 4 for Anna Smith, this time selecting
Dashboard, the instancedata, and the roleOwner.
John Smith's row shows Widget:data_consumption#Owner under Instance Access, and Anna Smith's row shows Dashboard:data#Owner.
Test the policy with a permission check
Call permit.check() with a user key, an action, and the widget instance. The resource object holds the resource type, the instance key, and the tenant. Run these three checks:
const widget = { type: "Widget", key: "data_consumption", tenant: "default" };

// John is Owner of the widget itself
const johnEdit = await permit.check("johnsmith", "edit", widget);
console.log("johnsmith edit:", johnEdit);

// Anna is Owner of the parent dashboard, so the derivation gives her Widget#Editor
const annaEdit = await permit.check("annasmith", "edit", widget);
console.log("annasmith edit:", annaEdit);

// Neither Widget#Owner nor Widget#Editor grants delete to a derived role
const annaDelete = await permit.check("annasmith", "delete", widget);
console.log("annasmith delete:", annaDelete);
The example prints:
johnsmith edit: true
annasmith edit: true
annasmith delete: false
Each decision comes from a different path through the policy:
| Check | Result | Why |
|---|---|---|
johnsmith edit on Widget:data_consumption | true | John holds Widget#Owner on the instance, and Widget Owner has edit. |
annasmith edit on Widget:data_consumption | true | Anna holds Dashboard#Owner on data. Dashboard is parent of Widget, so the derivation from step 3 gives her Widget#Editor, which has edit. |
annasmith delete on Widget:data_consumption | false | The derivation gives Anna Widget#Editor only, and Widget Editor has view and edit, not delete. |
The second check is the one that proves the role derivation works. If it returns false, confirm that the Dashboard#Owner to Widget#Editor derivation is saved in step 3, that the data dashboard is the parent of the data_consumption widget in step 5, and that both instances are in the default tenant.
Each decision also appears on the Audit Log screen of the Permit dashboard.
What's next?
Next: sync ReBAC data from your application.