SuperTokens and Permit Example
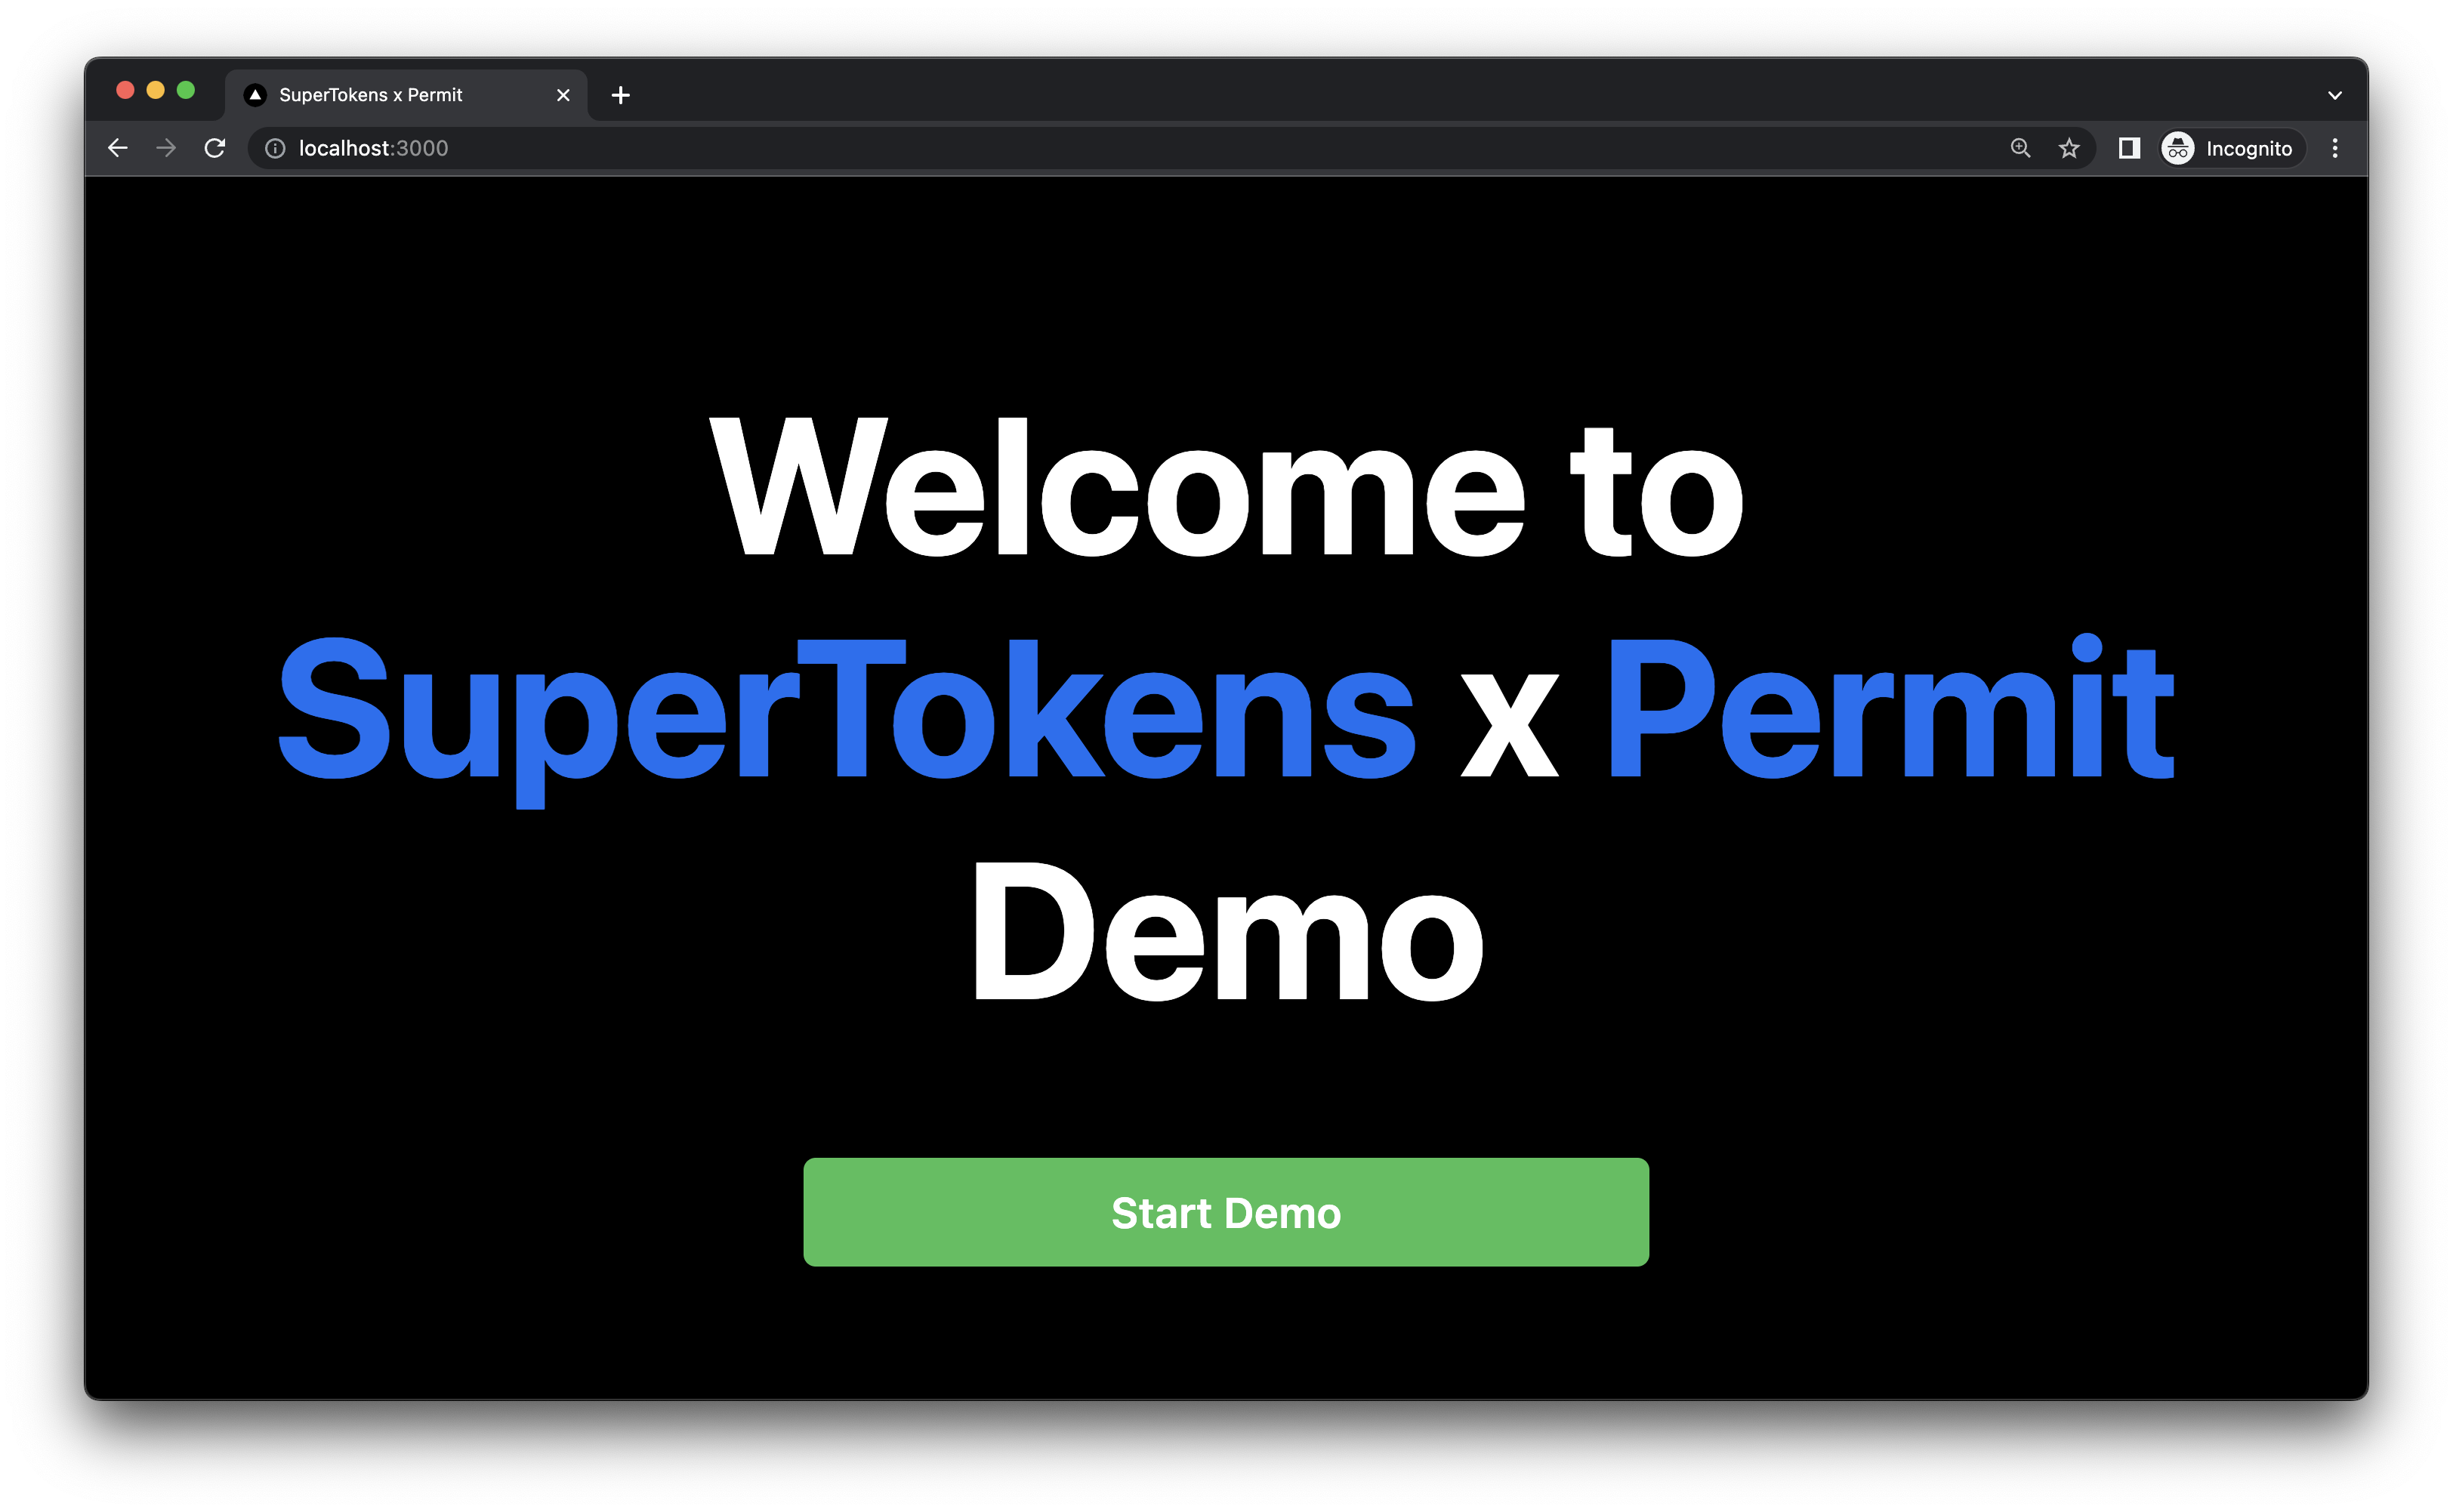
Run the Permit.io and SuperTokens example app to see how a Next.js application syncs SuperTokens users into Permit at sign-up and checks their permissions. This page is for developers who use SuperTokens and want a working reference before they write their own handoff code.
For the integration steps to follow in your own application, see Connect your authentication.
The example lives in filipermit/permit-x-supertokens, a personal repository rather than one under the permitio organization, and its package.json pins permitio to ^0.0.5, Next.js to 12.2.5, and supertokens-node to ^11.1.0. On those versions npm install can fail against newer Node.js releases, and the Permit calls in the app use an API shape the current SDK no longer exposes. Read the app as a reference for the pattern. For code you ship, use the current calls in Adapt the example to your application.
What the example app does
The example app is a Next.js app with these parts:
| File | What it does |
|---|---|
config/backendConfig.js | Configures SuperTokens email and password sign-up and third-party sign-in. After a new user signs up, the code syncs the user to Permit with the SuperTokens user ID as the user key. It assigns the Friend role to @supertokens.com and @permit.io email addresses and the Stranger role to every other address, in a tenant with the key SuperTokens. |
pages/api/auth/permit.js | Verifies the SuperTokens session, then calls permit.check() with the session's user ID, the requested action, and the resource type in the SuperTokens tenant. Returns HTTP 200 when Permit allows the action and HTTP 403 when Permit denies it. |
pages/demo.js | Checks the view-personal-info and view-gpg-key actions on the card resource and shows or hides content based on the result. |
The app connects to the SuperTokens demo core at https://try.supertokens.com and to a policy decision point (PDP) at http://localhost:7766.
Prerequisites
- A Permit.io account. Complete the Quickstart if you don't have one.
- Your environment API key. See Get your API key.
- Node.js and npm, to run the app.
- Docker, to run the PDP.
1. Create the policy the example app expects
In the Permit dashboard, in the environment that matches your API key:
- Create a tenant with the key
SuperTokens. - Create a resource with the key
cardand the actionsview-personal-infoandview-gpg-key. - Create the roles
FriendandStranger. Role keys are case-sensitive, so use the capitalized keys the app sends. - In the Policy Editor, allow both
view-personal-infoandview-gpg-keyforFriend, and onlyview-personal-infoforStranger. With those permissions, aFriendsees the expanded card and the GPG key button, and aStrangersees the expanded card without the GPG key button.
2. Run the example app
-
Clone the permit-x-supertokens repository and open the repository folder.
-
Set your Permit environment API key in the
PERMIT_IO_KEYenvironment variable, for example in a.env.localfile in the repository root. The app reads the key fromprocess.env.PERMIT_IO_KEY. -
Install the project dependencies:
npm installIf the install fails on a peer dependency, run
npm install --legacy-peer-deps. The pinned versions predate npm's stricter peer dependency resolution. -
Start the app:
npm run devThe app runs at
http://localhost:3000. -
In a separate terminal, run the PDP. Replace
<YOUR_PERMIT_API_KEY>with your environment API key:docker run -p 7766:7000 --env PDP_DEBUG=True --env PDP_API_KEY=<YOUR_PERMIT_API_KEY> permitio/pdp-v2:latestThe command maps port 7000 in the container to port 7766 on your machine, where the app sends its permission checks.
3. Verify the integration
-
Open
http://localhost:3000and click Start Demo. The app sends the browser tohttp://localhost:3000/auth/, where the SuperTokens sign-in and sign-up form appears. Sign up with an email address you haven't used before. The example app syncs the user to Permit during sign-up, not on later sign-ins. -
In the Permit dashboard, open Directory and select the
SuperTokenstenant. The user appears with the SuperTokens user ID as its key. The role isFriendfor an address that ends in@permit.ioor@supertokens.com, andStrangerfor every other address. -
Open
http://localhost:3000/demoand click Learn more on the profile card. The card expands when the user's role allowsview-personal-infooncard, and a Copy GPG Key button appears in the expanded card when the role also allowsview-gpg-key. Whenview-personal-infois denied, the page shows a red notification instead:403: You are Unauthorized to do this! -
Read the terminal that runs the app.
pages/api/auth/permit.jslogs one line per check. For a user with theStrangerrole and the permissions from 1. Create the policy the example app expects, the two checks log:<user ID> is PERMITTED to view-personal-info on card.<user ID> is NOT PERMITTED to view-gpg-key on card
If step 2 shows no user, check that PERMIT_IO_KEY belongs to the same environment where you created the SuperTokens tenant, and that the PDP container from step 5 of 2. Run the example app is still running.
Adapt the example to your application
The example uses an early version of the Permit Node.js SDK (permitio 0.0.5). The permit.write() wrapper and the roles field inside syncUser() are not part of the current SDK. When you copy the pattern into your application:
- Sync the user with
permit.api.syncUser(), as shown in Sync users. - Assign the role in a separate call with
permit.api.users.assignRole(), as shown in Assign a role to a user with the Node.js SDK. - Run the PDP image and options from Deploy the PDP to production.
Next steps
- How authentication connects to Permit.io: the handoff point and the user key.
- Sync users: sync users with the current SDKs.
- Check permissions: enforce your policy in the backend.
- Webinar walkthrough of the SuperTokens example app: a recorded tour of the app and its Permit calls.