User Management
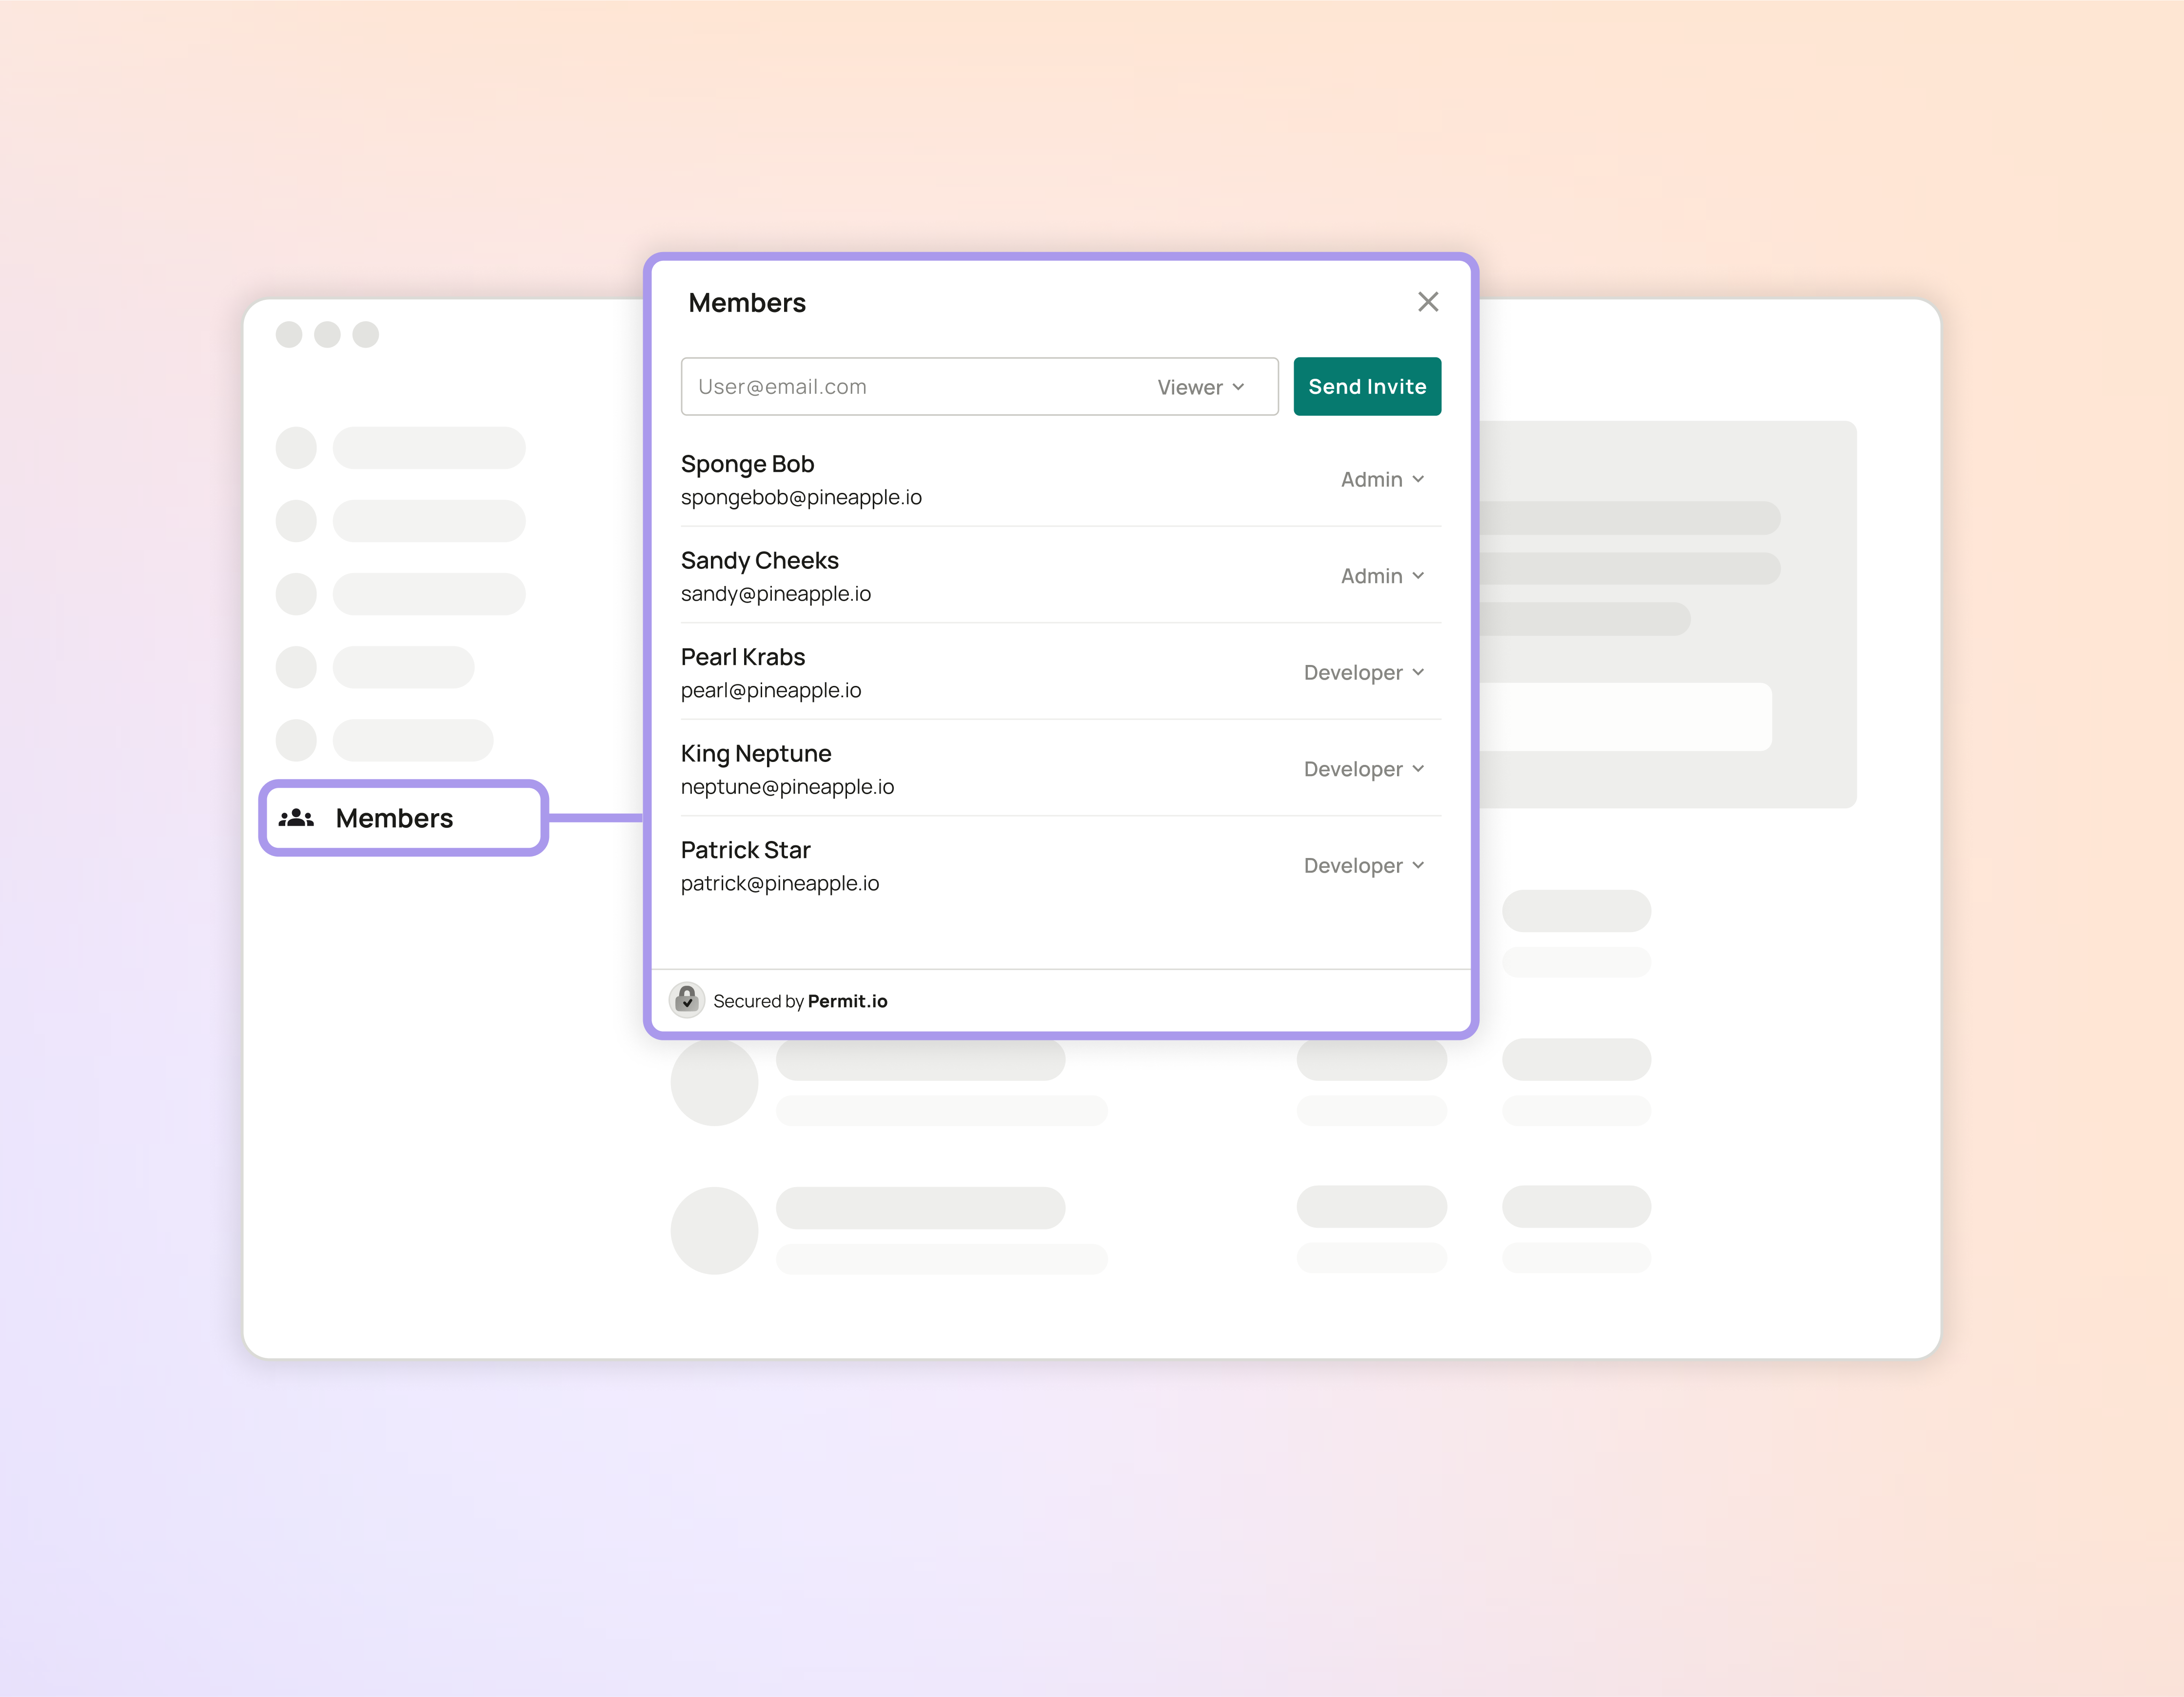
Create a User Management element, set what each role can do in it, and embed it in your application. This page is for developers who add Permit Elements, the embeddable UI components, to an application so its admins can invite users and assign roles without leaving the product.
Prerequisites
- A Permit.io account with roles defined in your policy. See Configure your first RBAC policy.
- Your users synced to Permit, each with a role in the tenant the element shows. See Sync users.
- A login method for the element: a JSON Web Key Set (JWKS) configured for the environment, or a backend login route. See Log users in to Permit Elements.
- A frontend project that installs packages with npm.
What end users do in the element
What a user sees and can do depends on the permission level of the user's role. See Permission levels.
- Invite a user by email with a role, using Send Invite
- Change the roles of existing users
- See invited users who wait for approval
- Review access requests from a connected Access Request element
Choose a permission model
The element form asks for a permission model. Pick the model before you create the element: the model decides which roles you can put in the element's permission levels.
RBAC: environment roles
With role-based access control (RBAC), the element manages the roles users hold across a tenant. You drag your environment roles into the element's permission levels. The level a role is in sets what users with that role can do in the element, for example whether they can assign roles to others.
ReBAC: resource roles
With relationship-based access control (ReBAC), the element manages roles on individual resource instances. You select the resource the element manages, and then drag the resource roles defined for that resource into the permission levels. Users of the element assign roles on specific instances of that resource, such as one document or one project.
1. Create the element
- Open the Elements screen in the Permit dashboard.
- Under User Management, click Create Element.
- Enter a Name for the element.
- Select RBAC or ReBAC as the Permission Model. With ReBAC, also select the resource the element manages.
- Click Save. Permit creates the element and opens the element's page.
For the same steps with screenshots of each field, see Create the element.
2. Assign your roles to permission levels
Every role starts in Hidden Roles, and a user whose role stays there can't use the element: the element loads, its data requests return HTTP 403, and the user sees an error instead of the user list. Set the levels in the same form, before or after you save. To return to the form, open the element in the Elements screen.
- Under Role permission levels, drag each role from Hidden Roles to the level that role should have. Level 1 (Workspace Owner) can assign any role that holds a level and add or remove users, Level 2 (Manager) can do the same with the roles in levels 2 to 4, and Level 3 (Viewer) can only view the element. No level can assign a role that is still in Hidden Roles. For all five levels, see Permission levels.
- Set Default role to assign when adding new users to the role a new user gets when an element user adds them.
- Click Save.
3. Customize the element
In the same form, set how the element looks and which notifications it sends:
| Setting | Effect |
|---|---|
| Colors | The background color and the primary color of the element. |
| Title | The heading your end users see, or no heading. |
| Add User field | Shows or hides the invite field. Hiding the field changes the display only, and doesn't change what users can do. |
| User details | Shows the user's email, full name, or both. |
| Email Notification | Sends an invitation email through your SMTP provider. See Email Configuration and Templates. |
| Webhook Notification | Sends a POST request to your endpoint when an end user acts in the element. See Configure your webhook. |
4. Preview the element
The End User Preview on the right of the element form shows the element for a selected permission level and tenant. Use it to confirm your permission levels before you embed the element. See Preview an element.
With the ReBAC model, the preview also switches between instances of the selected resource, so you can see the roles on each instance.
5. Add the iframe to your application
- On the element's page, click Generate Code.
- In the Element Embed Code dialog, click Copy Code.
- Paste the iframe into the page of your application where the element appears, and replace the placeholders in
src.
<iframe
	title="Permit Element Name"
	src="https://embed.permit.io/<ELEMENT_NAME>?envId=<SOME_UNIQUE_ID>&darkMode=false&tenantKey=<TENANT_KEY>"
	width="100%"
	height="100%"
	style="border: none;"
></iframe>
| Placeholder | Value |
|---|---|
<ELEMENT_NAME> | The name of the element you created. |
<SOME_UNIQUE_ID> | The ID of your environment. |
<TENANT_KEY> | The key of the tenant whose users the element shows. |
The element shows the tenant that permit.elements.login() logs the user in to, so set <TENANT_KEY> to that same tenant key. If the signed-in user has no role in that tenant, the login fails with USER_NOT_FOUND and the element doesn't load. See Login errors.
6. Log users in to the element
Install the @permitio/permit-js package, and call permit.elements.login() after your identity provider signs the user in and before the iframe renders:
npm install @permitio/permit-js
For the frontendOnly method, which needs no backend route, see Embed Permit Elements. For the cookie, bearer token, header, and private browsing methods, see Log users in to Permit Elements.
Verify the element loads
-
Sign in to your application as a user whose role is in Level 1, Level 2, or Level 3.
-
Open the page that holds the iframe. The element lists the users of the tenant you logged the user in to, with each user's role.
-
Confirm that what the element shows matches the signed-in user's permission level:
The signed-in user's level What the element shows Level 1: Workspace Owner The user list, with controls to invite a user and to change any user's role. Level 2: Manager The user list, with controls to invite a user and to change roles, limited to the roles in levels 2 to 4. Level 3: Viewer The user list, with no controls to invite a user or change a role. Only a role in Hidden Roles No user list. The element's data requests return HTTP 403 and the element shows an error. Hiding the Add User field in the element's configuration removes the invite control for every level.
-
Sign in as a Level 1 user and change another user's role in the element. The Directory screen of the Permit dashboard shows the new role assignment for that user.
If the element shows an error instead of the user list, see Troubleshoot Permit Elements.
Pending user invitations
With Email Notification or Webhook Notification turned on, an invite follows one of two flows, and the webhook type field names which one:
Webhook type | Flow |
|---|---|
create_user | Permit creates the user as soon as the invite is sent. |
invite_user | Permit creates a pending invite with a user_invite_id, and the element lists the invited person as pending. The user exists in Permit only after your backend approves the invite with that ID. |
With the invite_user flow, your backend can verify the invited person before the account exists. To approve an invite, call the Permit SDK as described in Approve the invited user with an SDK. For both flows and their payloads, see User invite flows.
Next steps
- Embed the Access Request element so users can ask for a role they don't have.
- Set up email invitations for the invites this element sends.
- Configure webhooks to handle user and invite events in your backend.
- Troubleshoot Permit Elements when the element fails to load.