Access Request
Embed the Access Request element so users who lack a role can request it from inside your application. This page is for developers who add Permit Elements, the embeddable UI components, to an application. Reviewers approve or deny the requests in a connected User Management element.
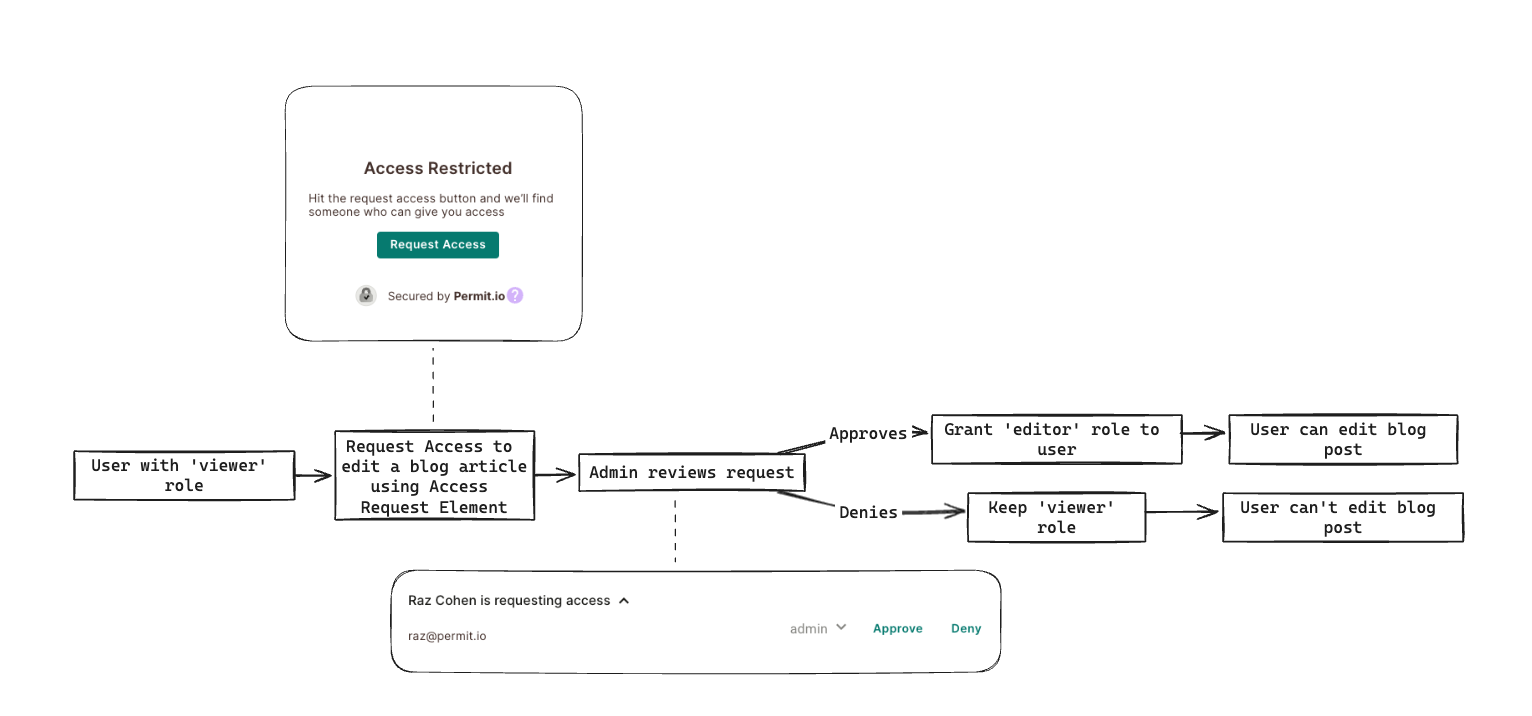
How access requests work
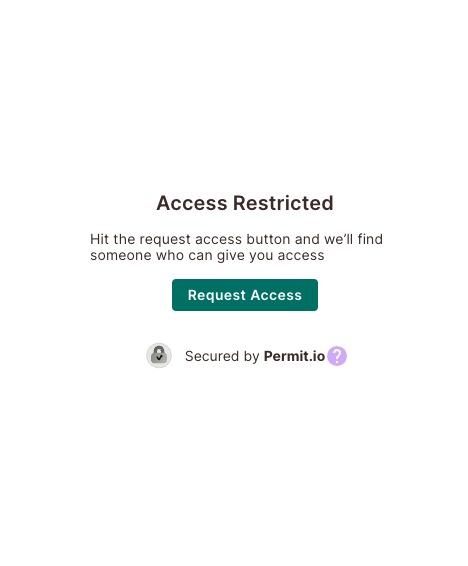
- A user without the access they need opens the Access Request element in your application and clicks Request Access.
- Permit sends the request to the User Management element that the Access Request element is connected to.
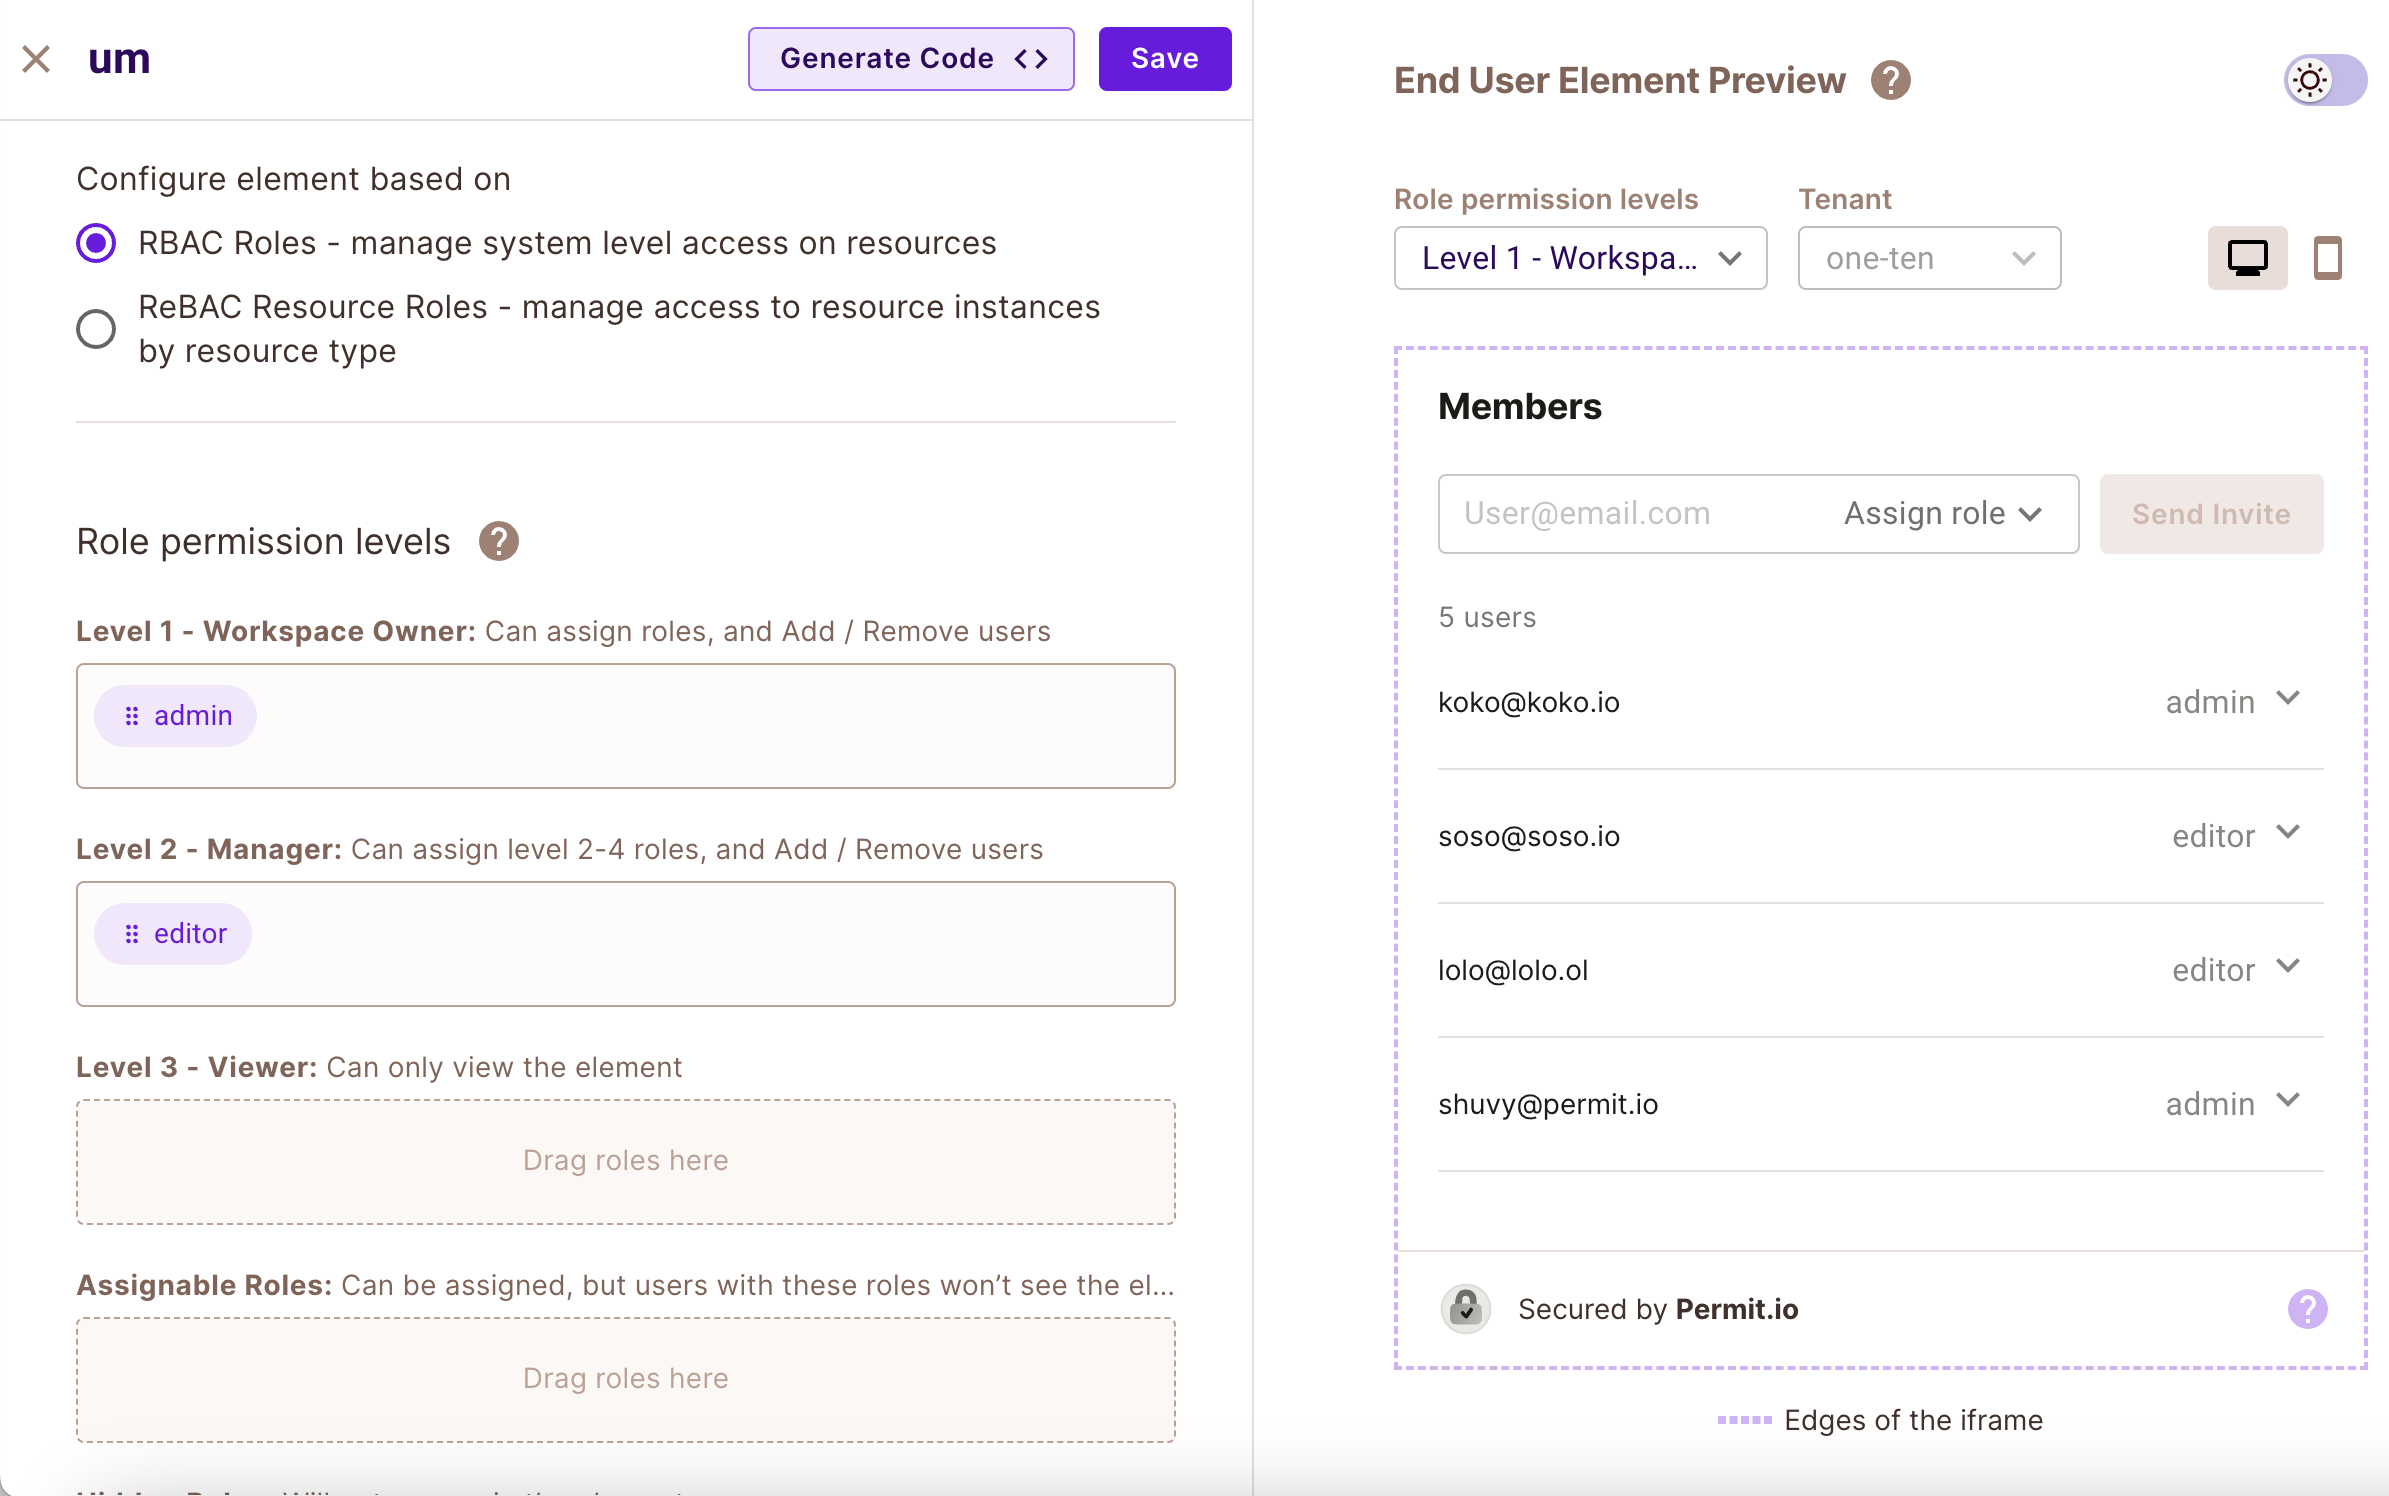
- A user whose role is at Level 1 (Workspace Owner) in that User Management element approves or denies the request. See Permission levels.
- If the reviewer approves, Permit assigns the requested role to the user.
For example, in a blog application, a user with the viewer role can't write articles, and a user with the editor role can. A viewer who wants to write requests access through the Access Request element. An admin reviews the request and approves it, and the user gets the editor role.
Prerequisites
-
Roles for your policy, created on the Roles page of the Permit dashboard.
-
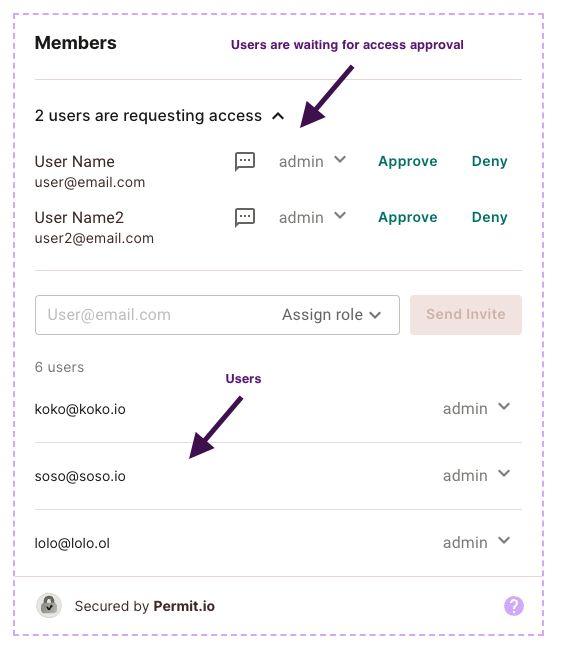
A User Management element with your reviewer roles at Level 1. Reviewers see pending access requests in this element.
-
JWKS or a backend login route set up for element login. See Embed Permit Elements.
Create and connect the element
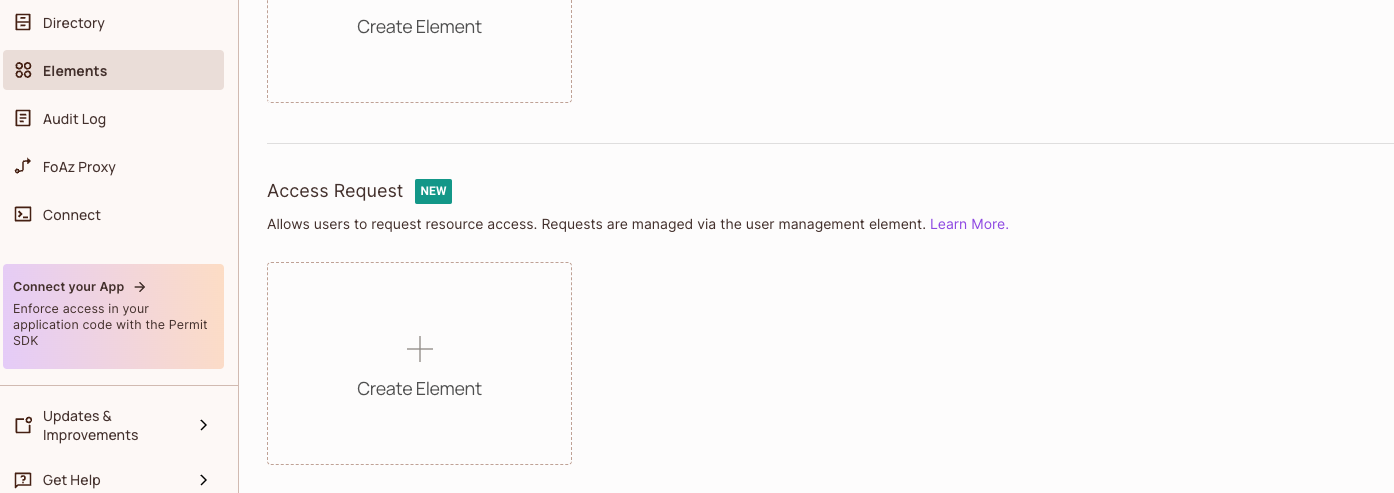
1. Create the Access Request element
In the Elements screen, under Access Request, click Create Element.
2. Select the User Management element
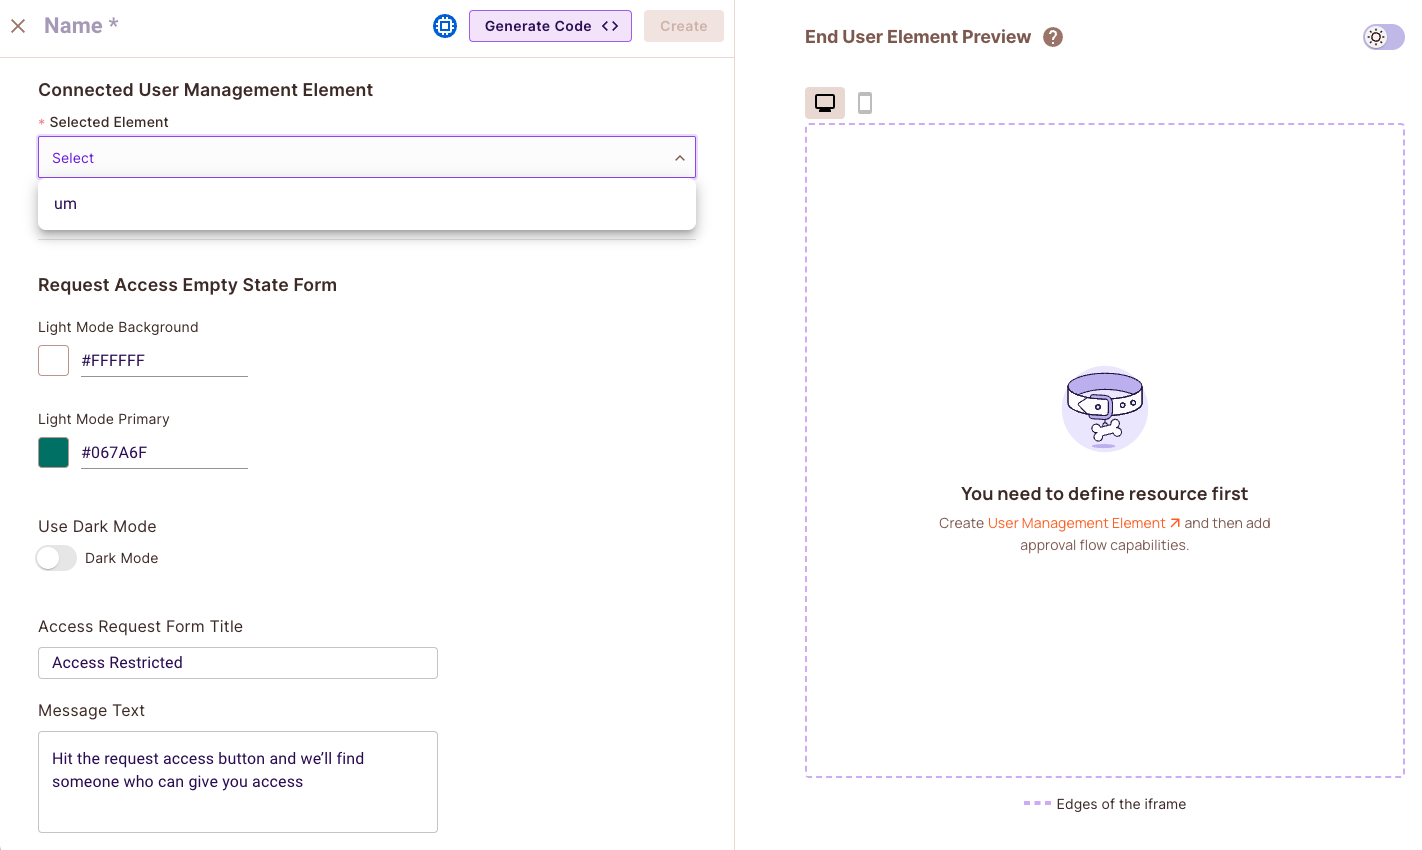
Select the User Management element that receives the requests from this Access Request element.
3. Name the element
Enter a name for the element, and click Create.
4. Open the User Management element
Go back to the Elements screen, and open the User Management element you selected in step 2.
5. Connect the Access Request element
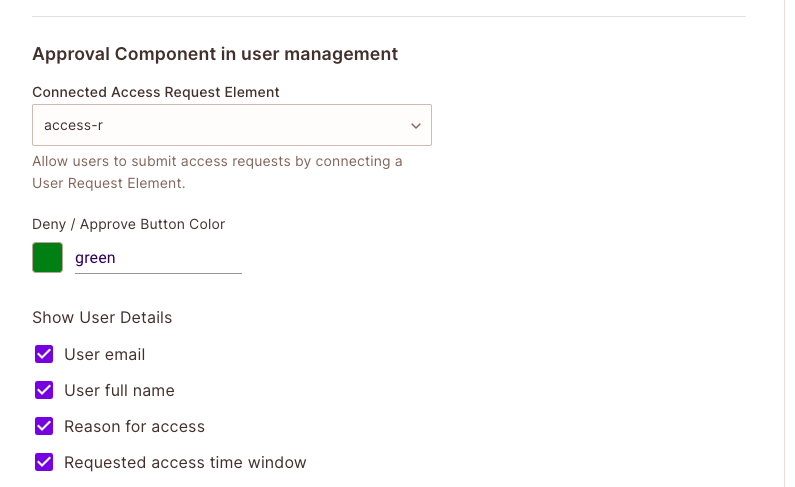
Under Approval Component in user management, select the Access Request element you created, and save the User Management element.
The Access Request element is connected to the User Management element.
Customize the element
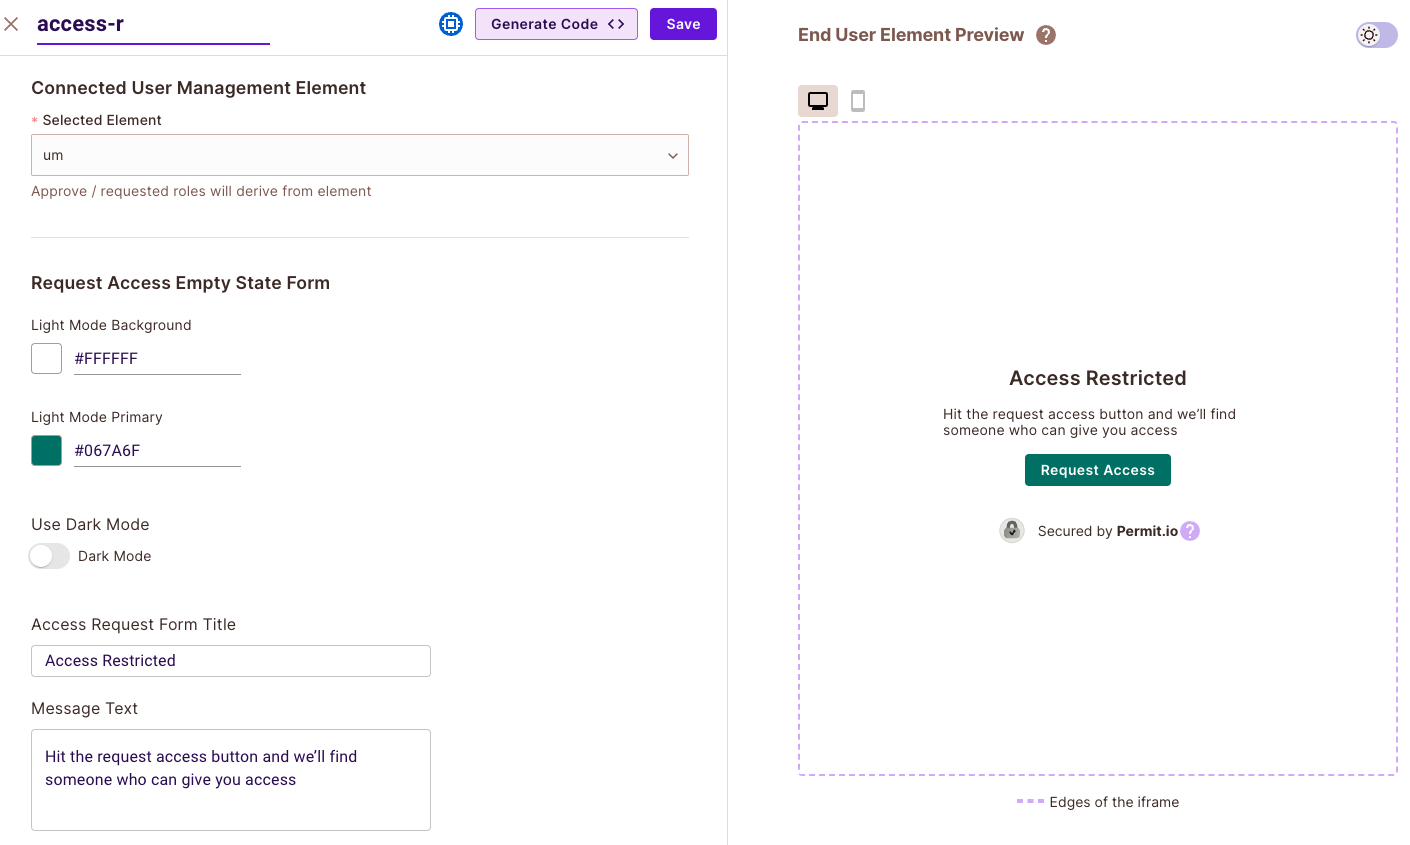
In the Access Request element form, you can change:
- The background color and the button color
- The title, the message, and the button text
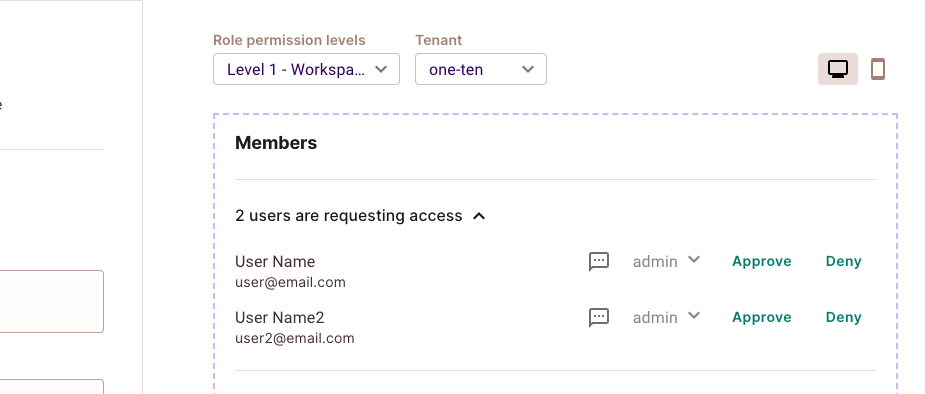
In the User Management element form, you can change the approval button color, and choose which request details the element displays.
The User Management element lists the users whose requests wait for approval.
Add the iframe to your application
-
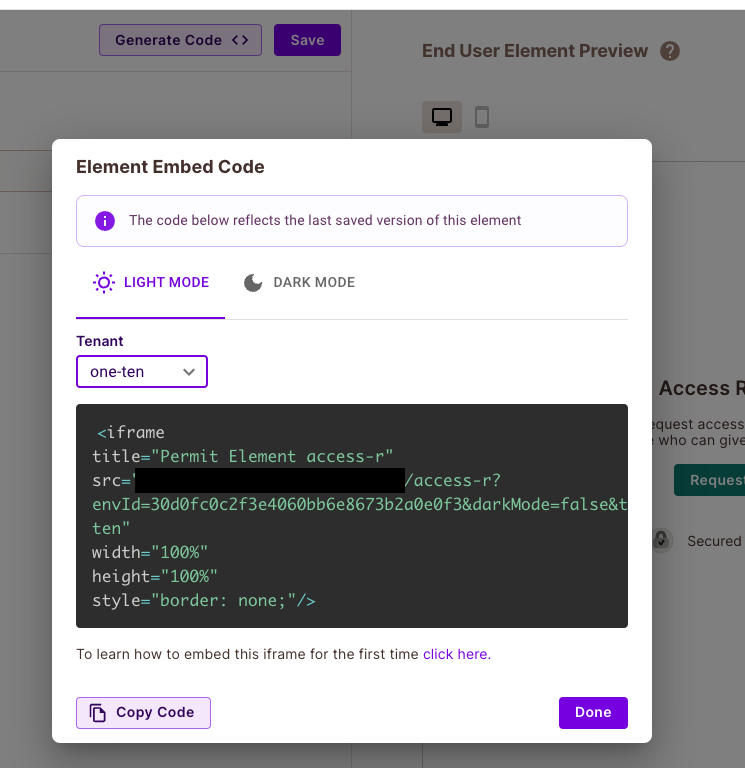
Open the Access Request element, and click Generate Code at the top of the screen.
-
Copy the iframe snippet, and paste it into the page where users request access.
-
Replace the placeholders in
srcwith your values.
Placeholders in the iframe src
| Placeholder | Value |
|---|---|
<ELEMENT_NAME> | The name of the element you created. |
<SOME_UNIQUE_ID> | The ID of your environment. |
<TENANT_KEY> | The key of the tenant the element applies to. |
Set <TENANT_KEY> to the tenant the element applies to. The element doesn't work correctly without the right tenant.
<iframe
	title="Permit Element Name"
	src="https://embed.permit.io/<ELEMENT_NAME>?envId=<SOME_UNIQUE_ID>&darkMode=false&tenantKey=<TENANT_KEY>"
	width="100%"
	height="100%"
	style="border: none;"
/>
Log users in to the element
Before the iframe loads, log the user in to Permit Elements with permit.elements.login(). For the steps, see Embed Permit Elements. For all login methods, see Log users in to Permit Elements.
Verify the access request flow
- Sign in to your application as a user without the role to request, and click Request Access in the Access Request element.
- Sign in as a user whose role is at Level 1 in the connected User Management element. The request appears in the list of users awaiting approval.
- Approve the request.
- In the Permit dashboard, open Directory. The requesting user has the approved role.
Next steps
- Access requests and approvals walkthrough: build the full flow with videos.
- Access Request API: create and review access requests from your own interface.
- Configure webhooks: get notified when a request is created or reviewed.