SCIM integration with Permit.io via Microsoft Entra ID
Provision users from Microsoft Entra ID (formerly Azure Active Directory) into your Permit.io environment with System for Cross-domain Identity Management (SCIM). This page is for Entra ID administrators who want users assigned to an Entra ID application to appear in Permit without sync code. To learn how SCIM maps users, groups, and tenants in Permit, see SCIM provisioning with Permit.
Prerequisites
- An Entra ID account with permission to create enterprise applications
- Your environment API key (Get your API key)
- Your Permit project ID and environment ID (Get the project ID and Get the environment ID)
Configure Entra ID with SCIM
-
Sign in to the Entra ID admin center.
-
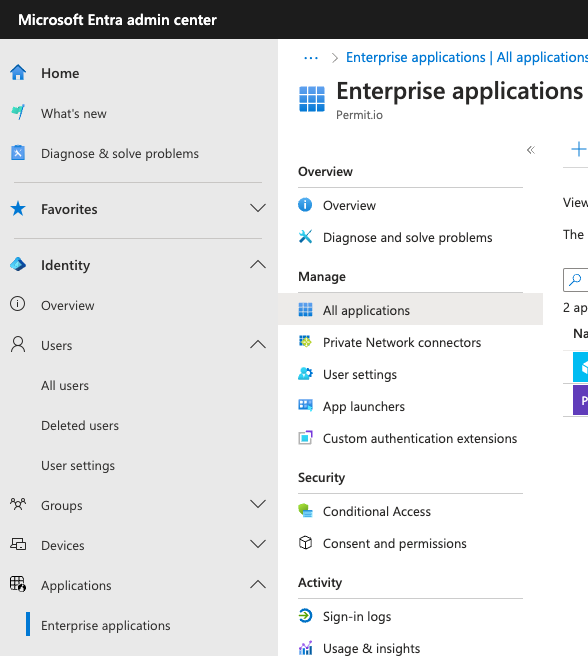
Under Applications, click Enterprise applications.
-
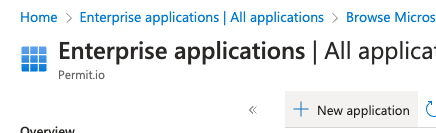
Click New application.
-
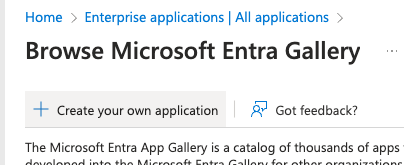
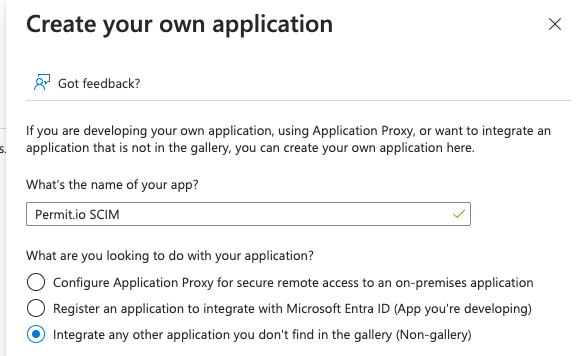
Click Create your own application.
-
Enter a name for the application and click Create.
-
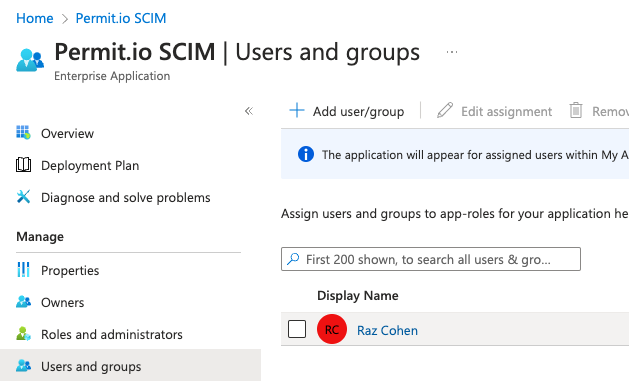
In the application's Users and groups tab, add the users and groups to provision to Permit. Entra ID provisions only users and groups assigned to the application.
-
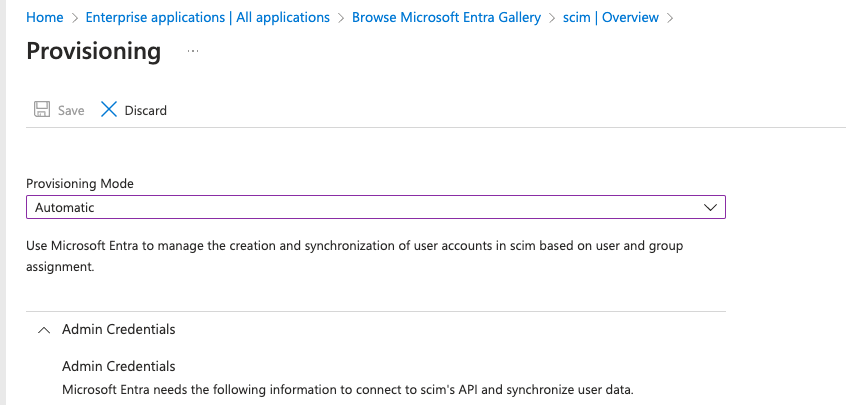
In the Provisioning tab, click Get started, and set Provisioning Mode to Automatic.
-
Under Admin Credentials, enter the following values:
Field Value Tenant URL https://scim.permit.io/scim/v2/{permit_project_id}/{permit_env_id}. For EU users,https://scim.eu-central-1.permit.io/scim/v2/{permit_project_id}/{permit_env_id}.Secret Token Your environment API key Replace
{permit_project_id}and{permit_env_id}with your Permit project ID or key and environment ID or key. The Tenant URL field is an Entra ID label. To assign roles in a specific Permit tenant, use the tenant-aware base URL described in Permit SCIM base URLs.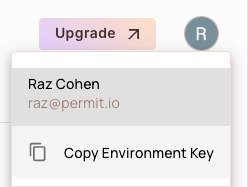
-
Click Test Connection. When the test succeeds, click Save.
Entra ID's Provision on demand has known limitations listed by Microsoft. Use it to test the connection with one user. Use Automatic provisioning to keep all assigned users in sync.
Verify that users reach Permit
-
Create a user in Entra ID, and assign the user to the application in the Users and groups tab.
-
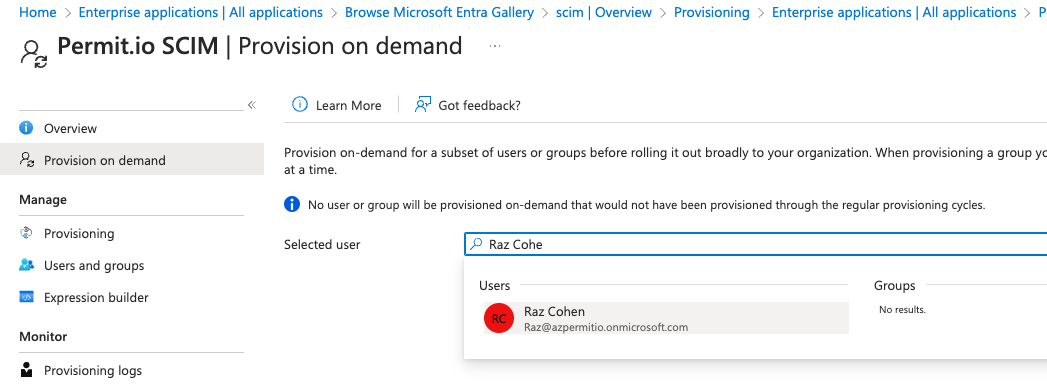
In the application's Provisioning tab, open Provision on demand.
-
Search for the user and click Provision.
-
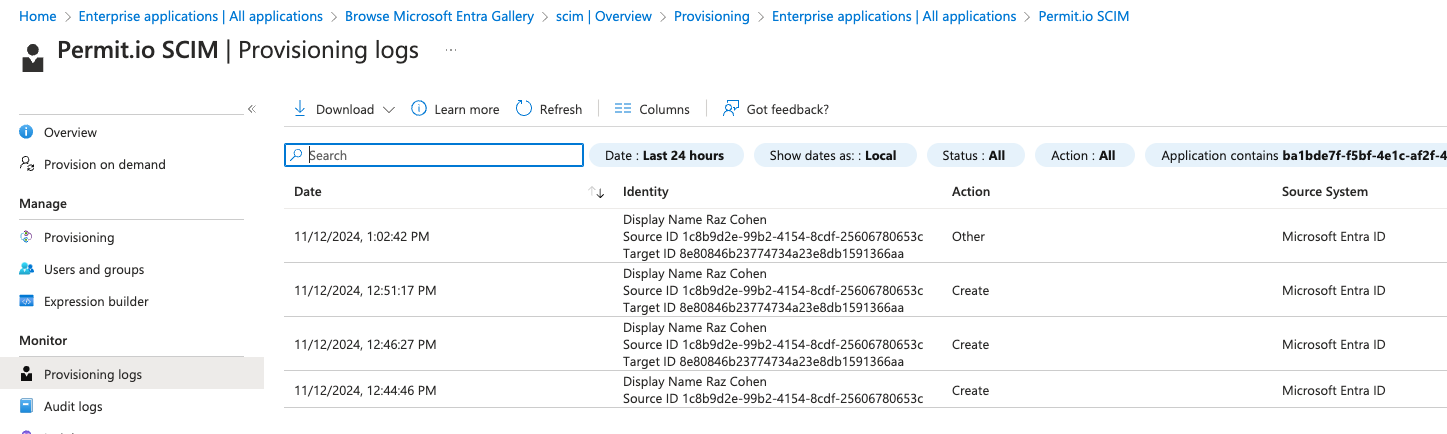
Open Provisioning logs. Each provisioning action for the user, such as Create, appears in the list.
-
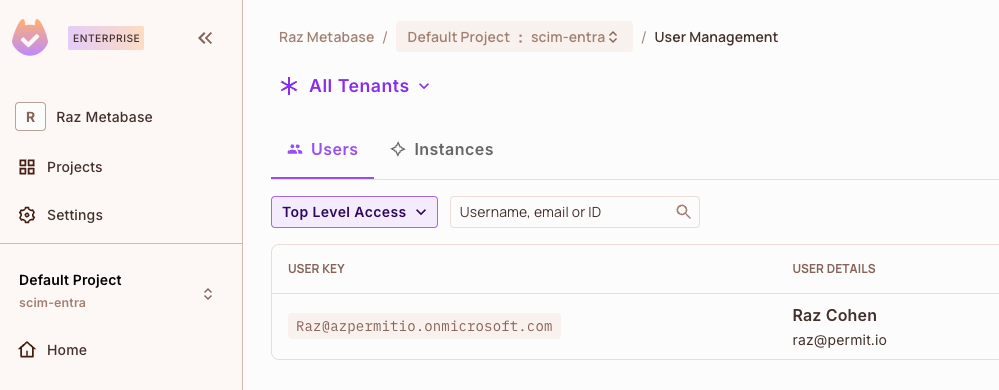
In the Permit dashboard, open the Directory screen. The user appears in the list of users.