Configure Webhooks
Get an HTTP request in your application each time an end user acts in an element, such as inviting a user or approving an access request. This page is for developers who connect Permit Elements, the embeddable UI components, to their backend. It covers the webhook settings, the endpoint you build, and the payload of each event.
How element webhooks work
When you turn on webhook notifications for an element, Permit sends a POST request with a JSON payload to your webhook URL after each supported event. The payload fields depend on the event type. See Webhook payload schemas.
For example, you can use the User Management element's webhook to run your own onboarding when a user is created, or to send a welcome message to invited users.
Prerequisites
- An element created in the Permit dashboard. See Embed Permit Elements.
- A server that can receive HTTPS requests from the internet, or a third-party service that receives webhooks.
Configure your webhook
Most element types have webhook settings in the element form.
- Open the element in the Elements screen.
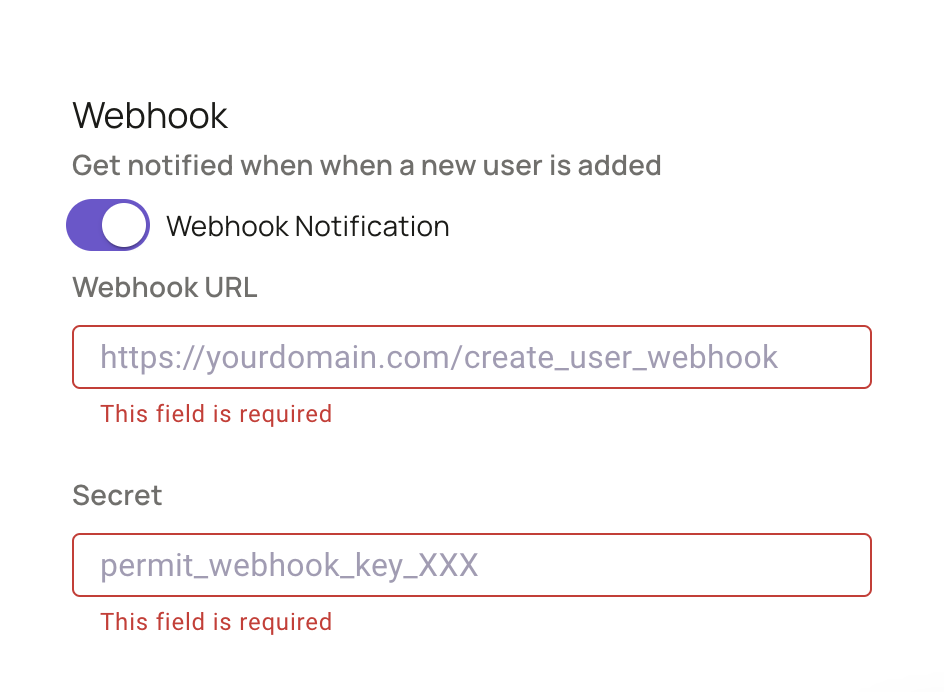
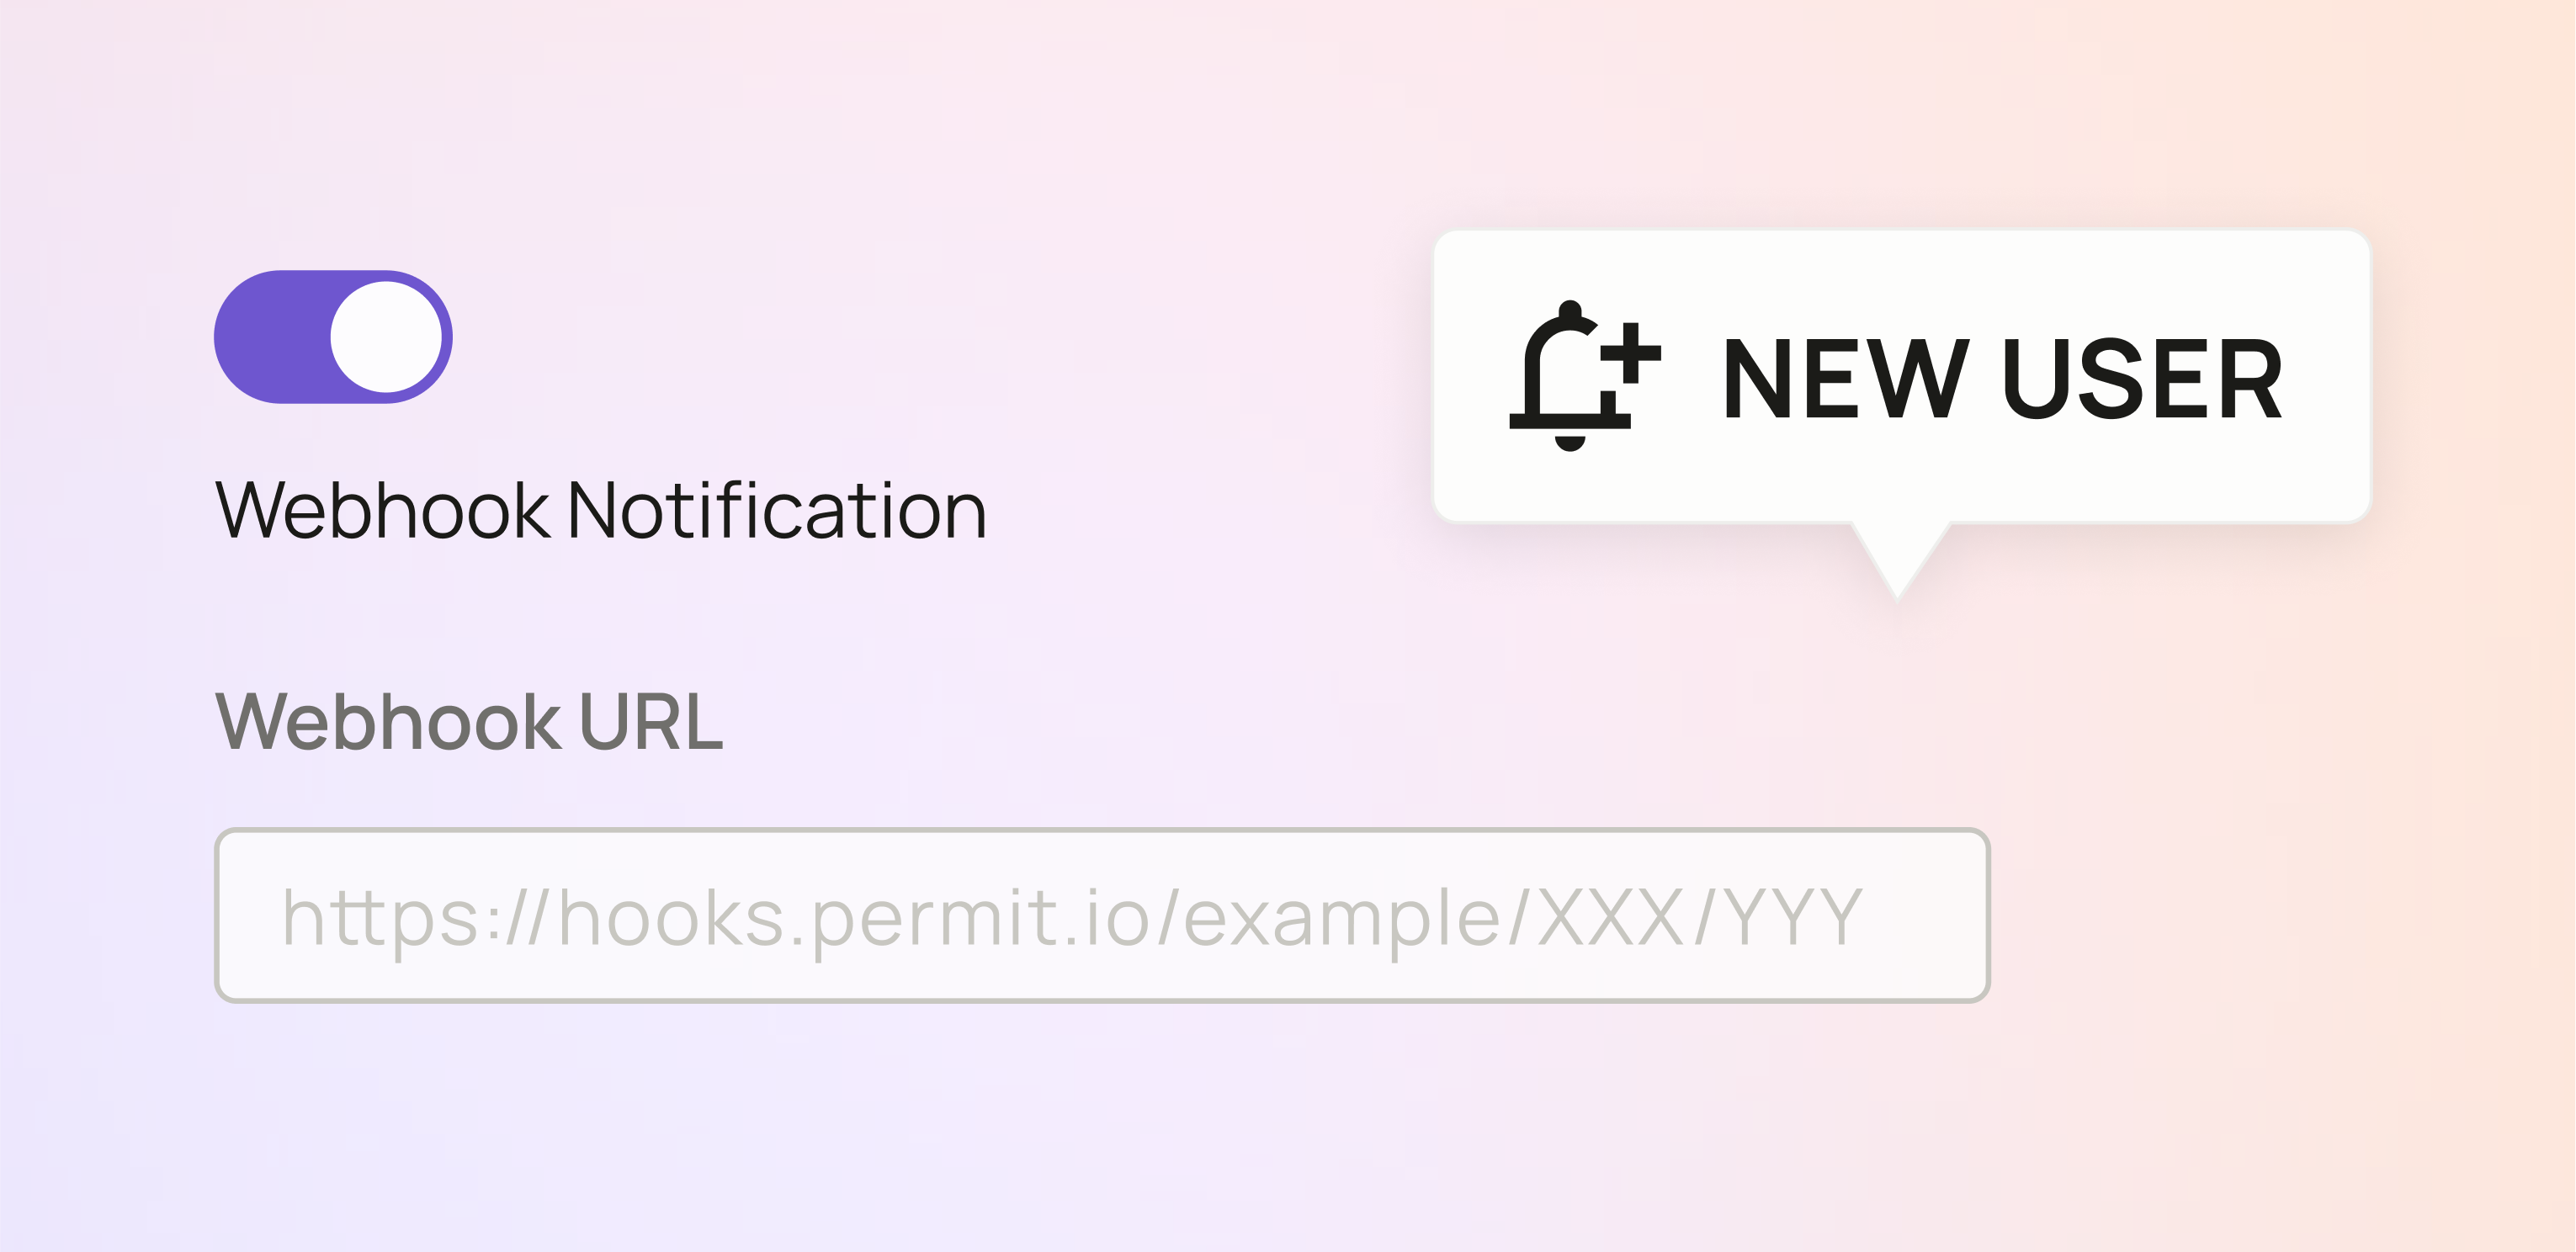
- Turn on Webhook Notification.
- In Webhook URL, enter the URL of your endpoint, for example
https://example.com/create_user_webhook. - In Secret, enter a secret value. Permit uses the secret as a bearer token to authenticate its requests to your endpoint.
- Click Save.
Build the webhook endpoint
Create the endpoint
Add a route to your server, or create an endpoint in your third-party service, for example /new-user-created or /request-approval. Serve the endpoint over HTTPS, so the payload and the secret are encrypted in transit.
Handle the request
The endpoint accepts POST requests. Parse the JSON body, and read the event fields for the element type. The type field of User Management payloads names the event.
Check the secret
Anyone who knows your webhook URL can send requests to it. Before you process a request, compare the bearer token in its Authorization header with the secret you entered in the element settings. Reject requests with a missing or different token.
Respond to the request
Return a 200 status code after you receive the payload. Do slow work, such as sending emails, after you respond.
User invite flows
A User Management invite follows one of two flows. The webhook type you receive tells you which flow applied: create_user or invite_user.
Invite creates the user
Permit creates the user as soon as the invite is sent, and the webhook reports the created user.
Invite requires approval
Permit creates a pending invite and sends an invite_user webhook with a user_invite_id. The user doesn't exist until your application approves the invite with that ID. Your application can verify the invited person first, so only users you approve get an account. To approve an invite, see Approve the invite with the SDK.
Webhook payload schemas
The schemas list each payload field with its type in Python type notation. str | None marks a field that can be null.
User Management: create user
{
    email: str,
    tenant_key: str,
    role: str,
    permission_level: str,
    type: ElementsWebhookType = "create_user"
}
User Management: invite user
The payload includes resource_instance_key when the element uses ReBAC (relationship-based access control).
RBAC invite
{
    email: str,
    role: str,
    tenant_id: str,
    user_invite_id: str,
    type: ElementsWebhookType = "invite_user"
}
ReBAC invite
{
    email: str,
    role: str,
    tenant_id: str,
    user_invite_id: str,
    resource_instance_key: str,
    type: ElementsWebhookType = "invite_user"
}
User Management: assign role to user
{
    user_id: str,
    tenant_id: str,
    role: str,
    permission_level: str,
    type: ElementsWebhookType = "role_assignment"
}
Access Request
Permit sends this payload for access requests from the Access Request element. status is one of pending, approved, denied, or canceled.
{
    requesting_user_id: str,
    access_request_details: {
        tenant: str
        resource: str
        resource_instance: str
        action: str
    },
    reason: str | None,
    status: RequestStatus,
    reviewer_user_id: str | None,
    reviewer_comment: str | None
}
Operation Approval
Permit sends this payload for requests from the Operation Approval element. status takes the same values as in the Access Request payload.
{
    requesting_user_id: str,
    operation_approval_details: {
        tenant: str
        resource: str
        resource_instance: str
    },
    reason: str | None,
    status: RequestStatus,
    reviewer_user_id: str | None,
    reviewer_comment: str | None
}
Related pages
- Email Configuration and Templates: send invites by email and approve them with the SDK.
- Access Request API: read and act on access requests from your backend.
- Operation Approval API: read and act on operation approvals from your backend.